GTA 6 Credit Check Walkthrough
How to complete Credit Check in GTA 6. Gear up with Karim and Andrea, rob three Fleeca banks with the dye pack jammer, lose the cops and meet Valentina.
Jump to the walkthroughMission quick facts
- Chapter
- Chapter 3
- Playable
- Lucia & Jason
- Mission giver
- Raul
- Location
- A hideout garage, three Fleeca Banks in Ocean Beach, and the pink apartment, Vice City
- Time to beat
- 25 min
- Difficulty
- Medium
Credit Check is the point where Jason and Lucia stop doing small jobs and start working like a crew. Raul sends them to a hideout garage, introduces his team and sets them three bank robberies in a single day. Each one is a timed job: Karim cuts the alarm, you get a short window to take the cash, and then you leave before police arrive. You play as both Jason and Lucia, and the mission ends back at the pink apartment with a visit from a woman who moves money for Raul. Expect plenty of driving between banks, a wanted level after each job and a lot of talking at the start.
Quick version: ride to the hideout → talk to Andrea and Karim → choose masks and pick up the dye pack jammer → Go to the Fleeca Bank → Enter the bank and Rob the bank → Leave the area → Go to the next Fleeca Bank (twice) → Lose the cops → Park outside the bank → Answer the door.
Raul’s call and the ride to the hideout
The mission starts with a phone call. Raul says he wants to do you a favour: your days of small jobs are over and you are in the big leagues. He mentions a car waiting in an apartment car park in Ocean Beach, then asks whether you own a key cloner. When the answer is no, he says he will arrange one. Follow the waypoint and ride the motorbike along the highway to the hideout. The route is long and goes through the Vice City night, so use the on-screen turn prompts, such as Keep Right, rather than the map.
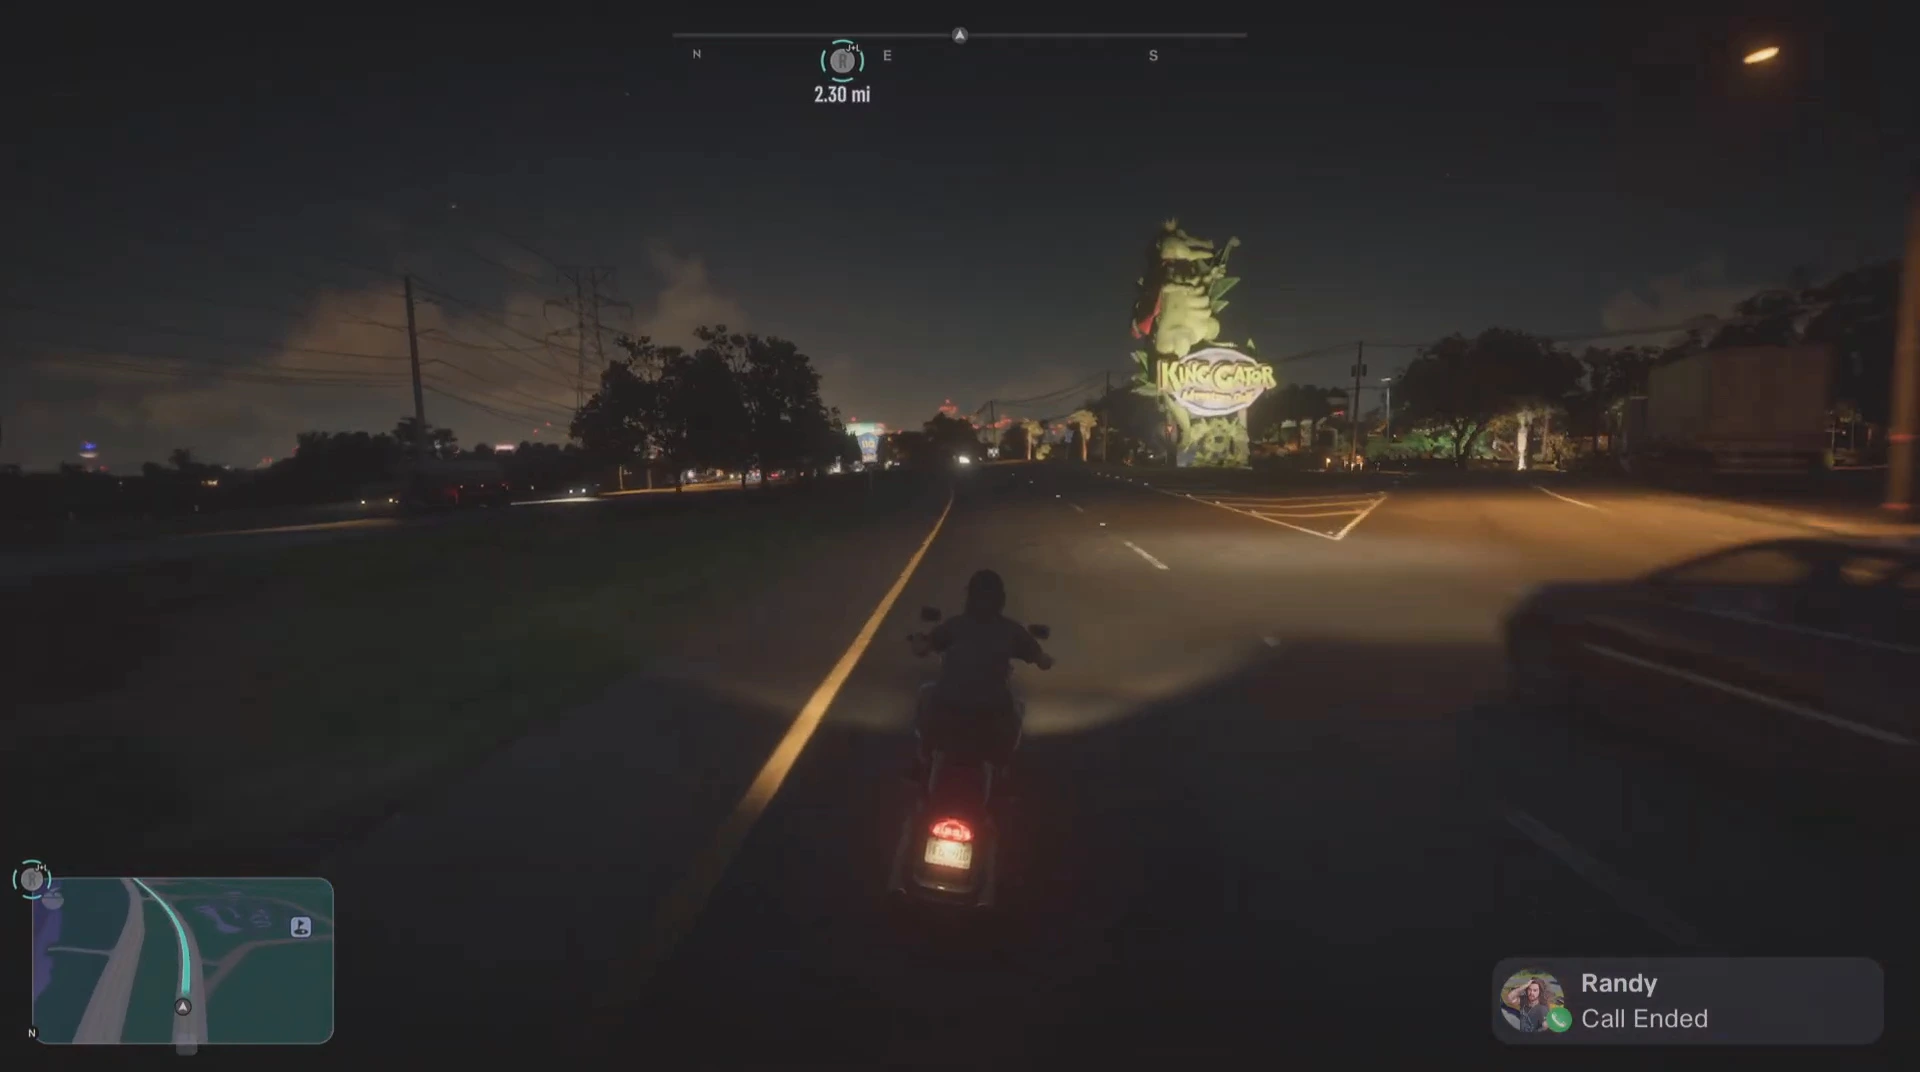
Park near the garage and walk in. A man at a car on a jack is told to go on his break, and Raul’s crew greets you inside.
Meet the team
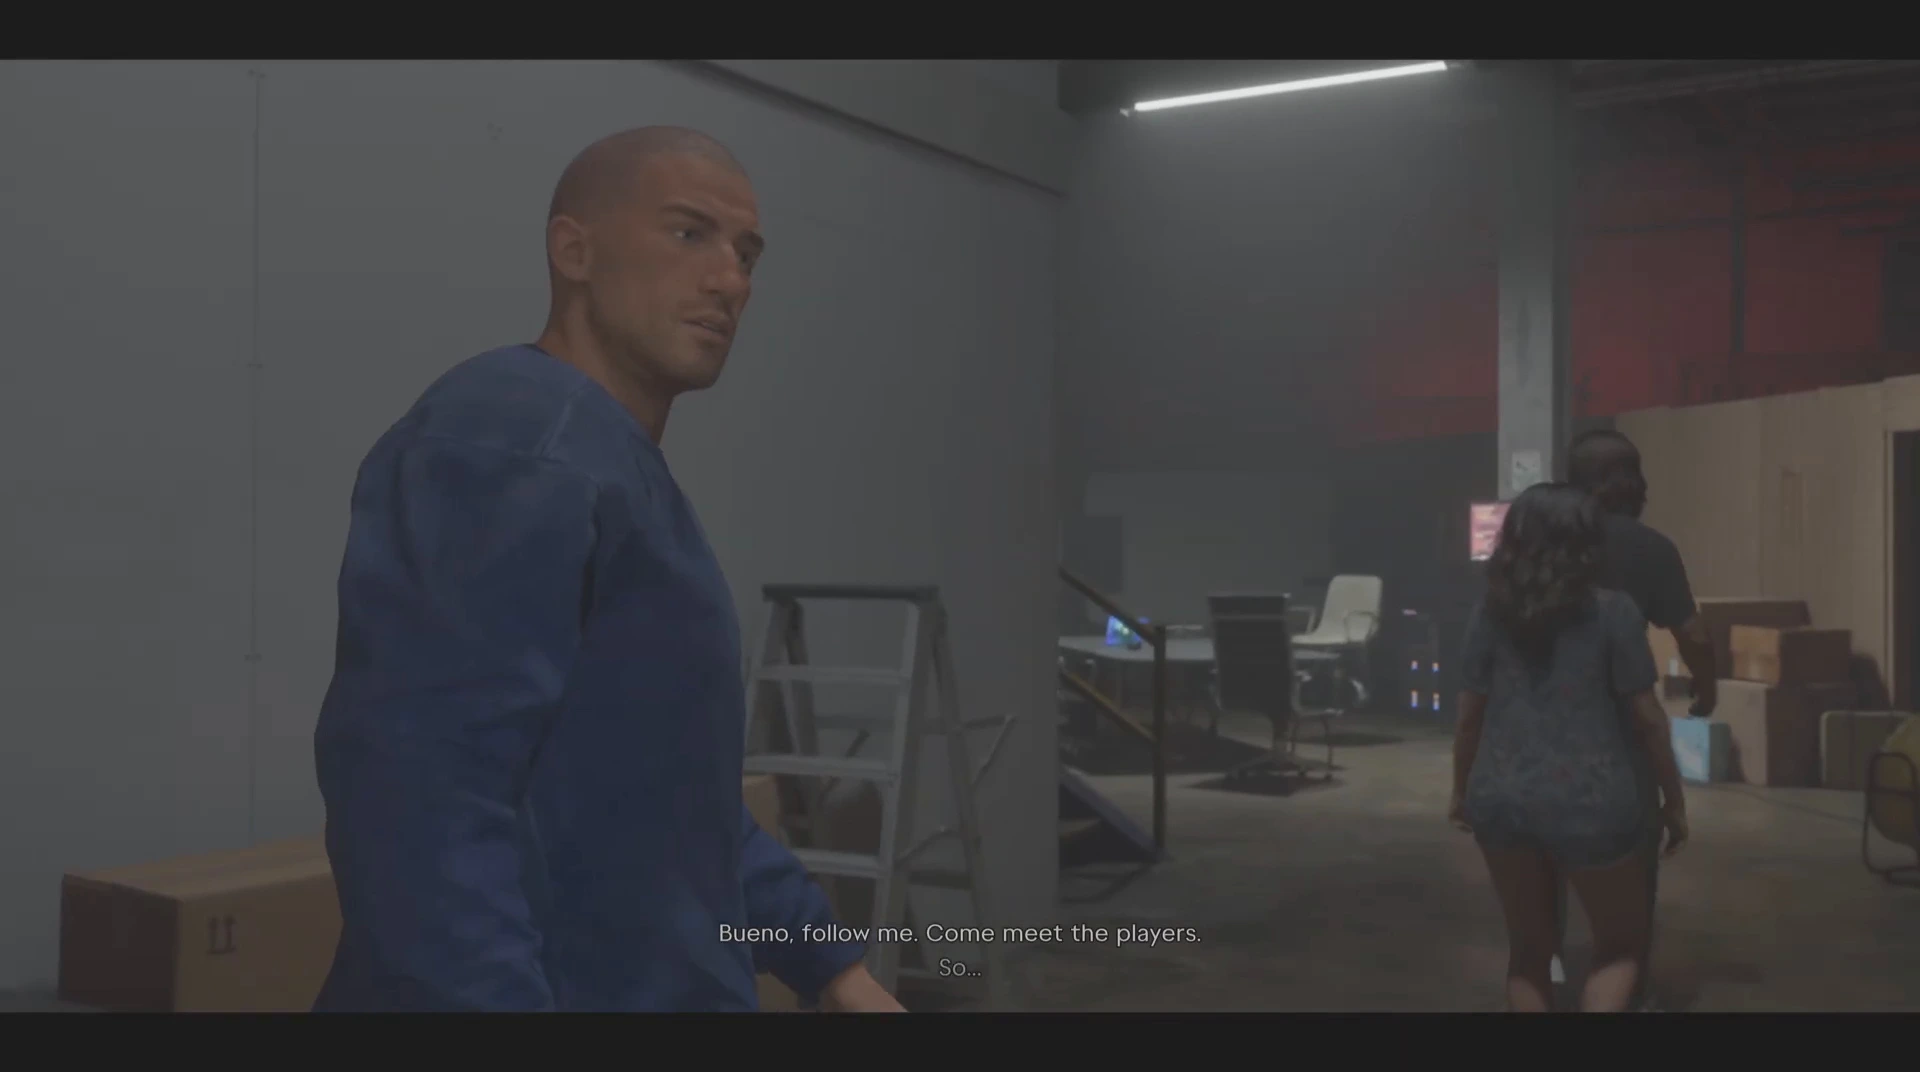
Inside, Raul walks Lucia and Jason through the hideout and introduces the crew. Andrea runs the cons, and Karim is the man on the computers. Raul explains that he needs operators, people who can get in, take the cash and get out. He says small branches are the first step and a chance to practise before a bigger bank job later, and that part of the take goes to you while the rest funds the larger plan.
Gear up
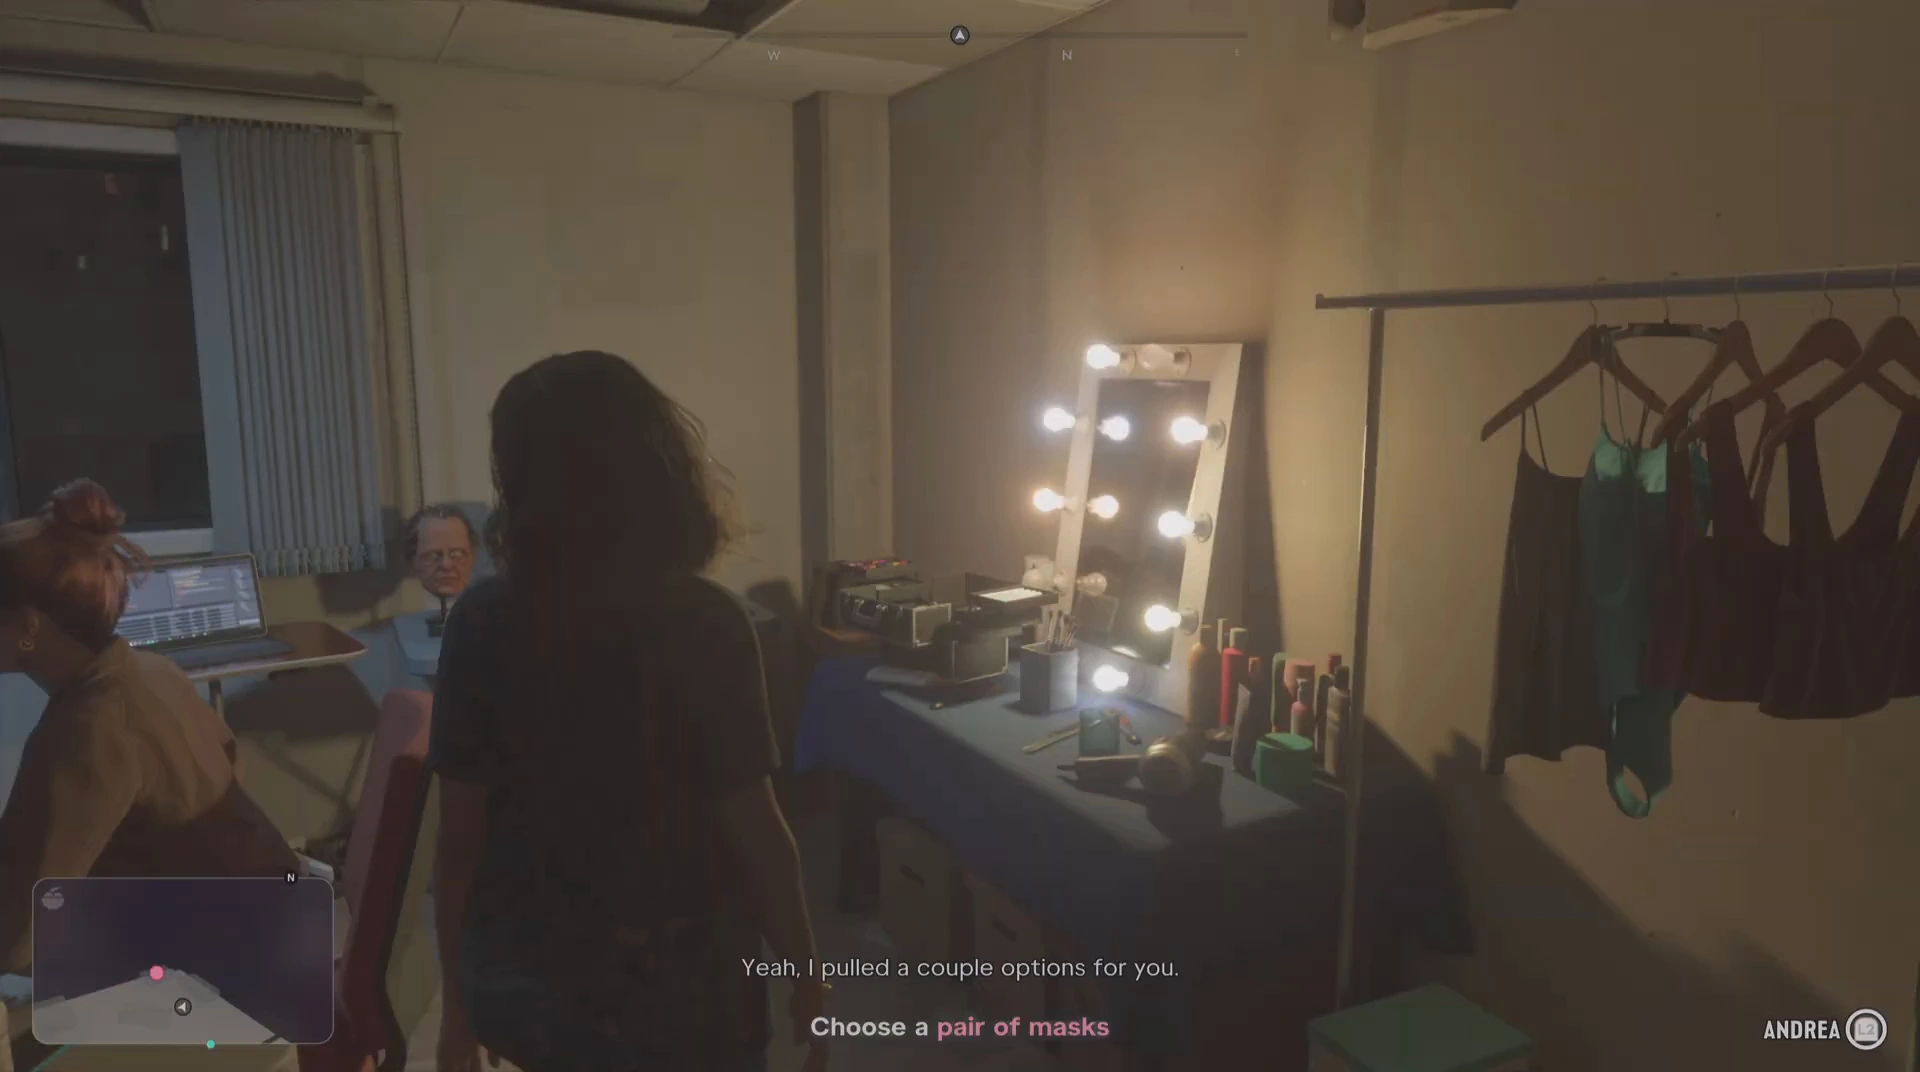
Head upstairs. The objectives are Talk to Andrea and then Choose a pair of masks. Andrea has laid out a few options, including elderly face masks. Pick whichever you like, since the choice is cosmetic.
Next is Talk to Karim. He explains that banks carry marked bills and dye packs, and tells you to take the dye pack jammer, a device that disables anything in range. Pick it up from his desk, and grab sticky bombs from the same area for safes.
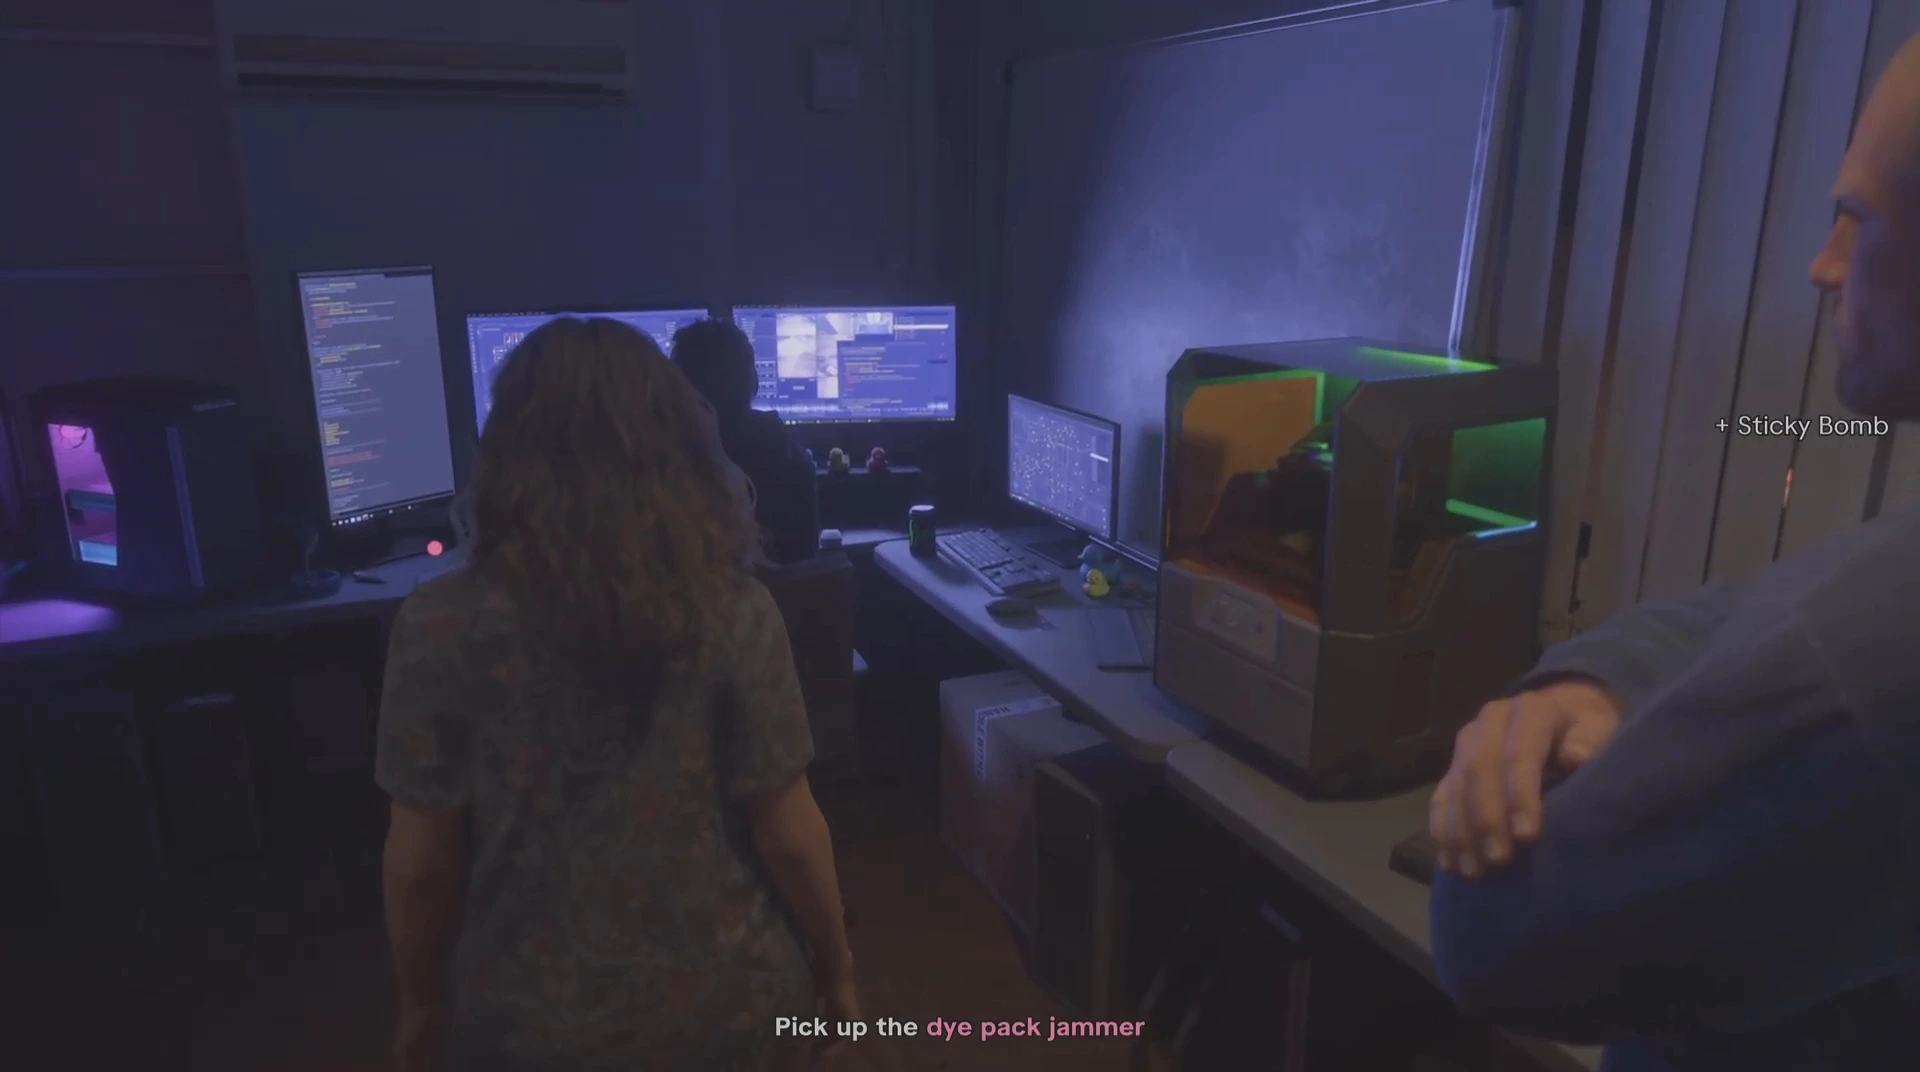
Go to the Fleeca Bank
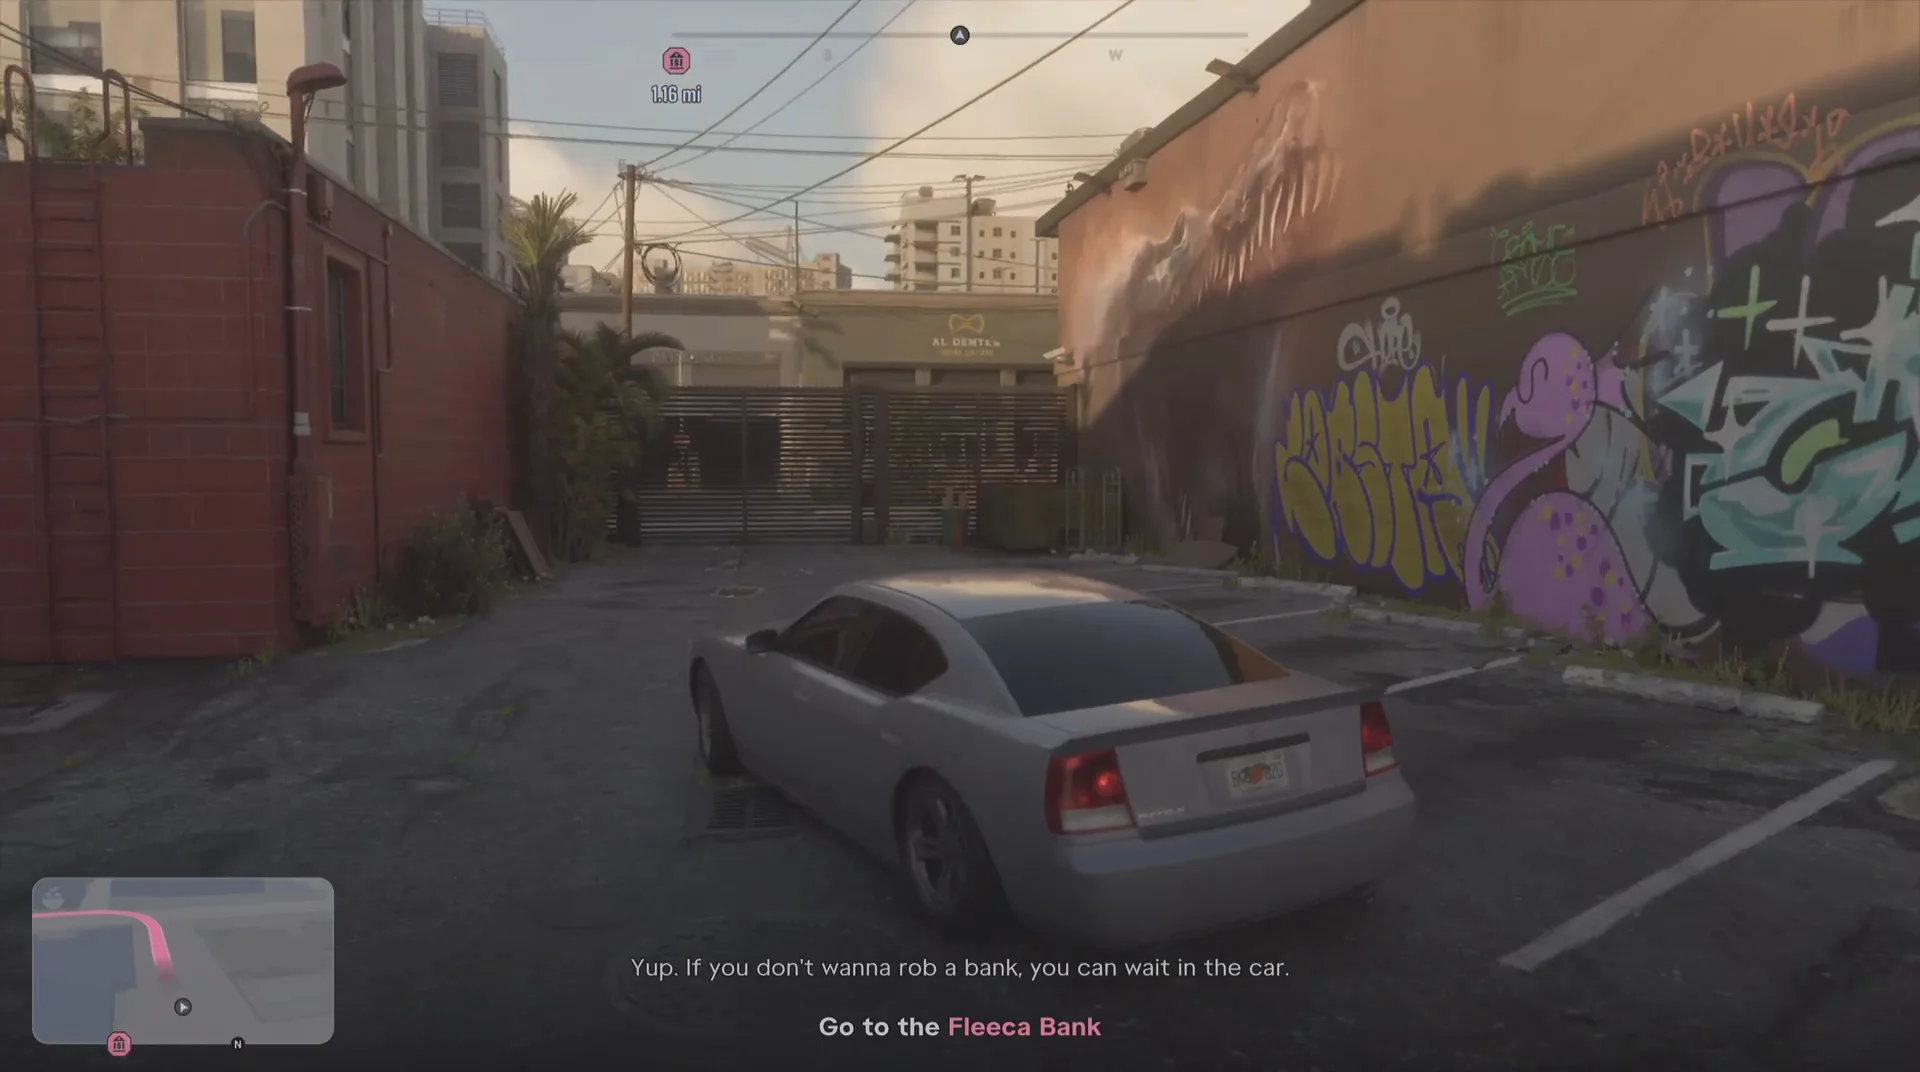
When you are ready, leave the garage and take the car that has been set up for you. The objective is Go to the Fleeca Bank, and Raul gives a final briefing on the way. The key rules are simple: no shooting up the place, no unwanted attention and no warning shots. Karim says he has a tap on the alarms and will cut them when you break in, and there are clean cars parked near each bank in case you need to switch.
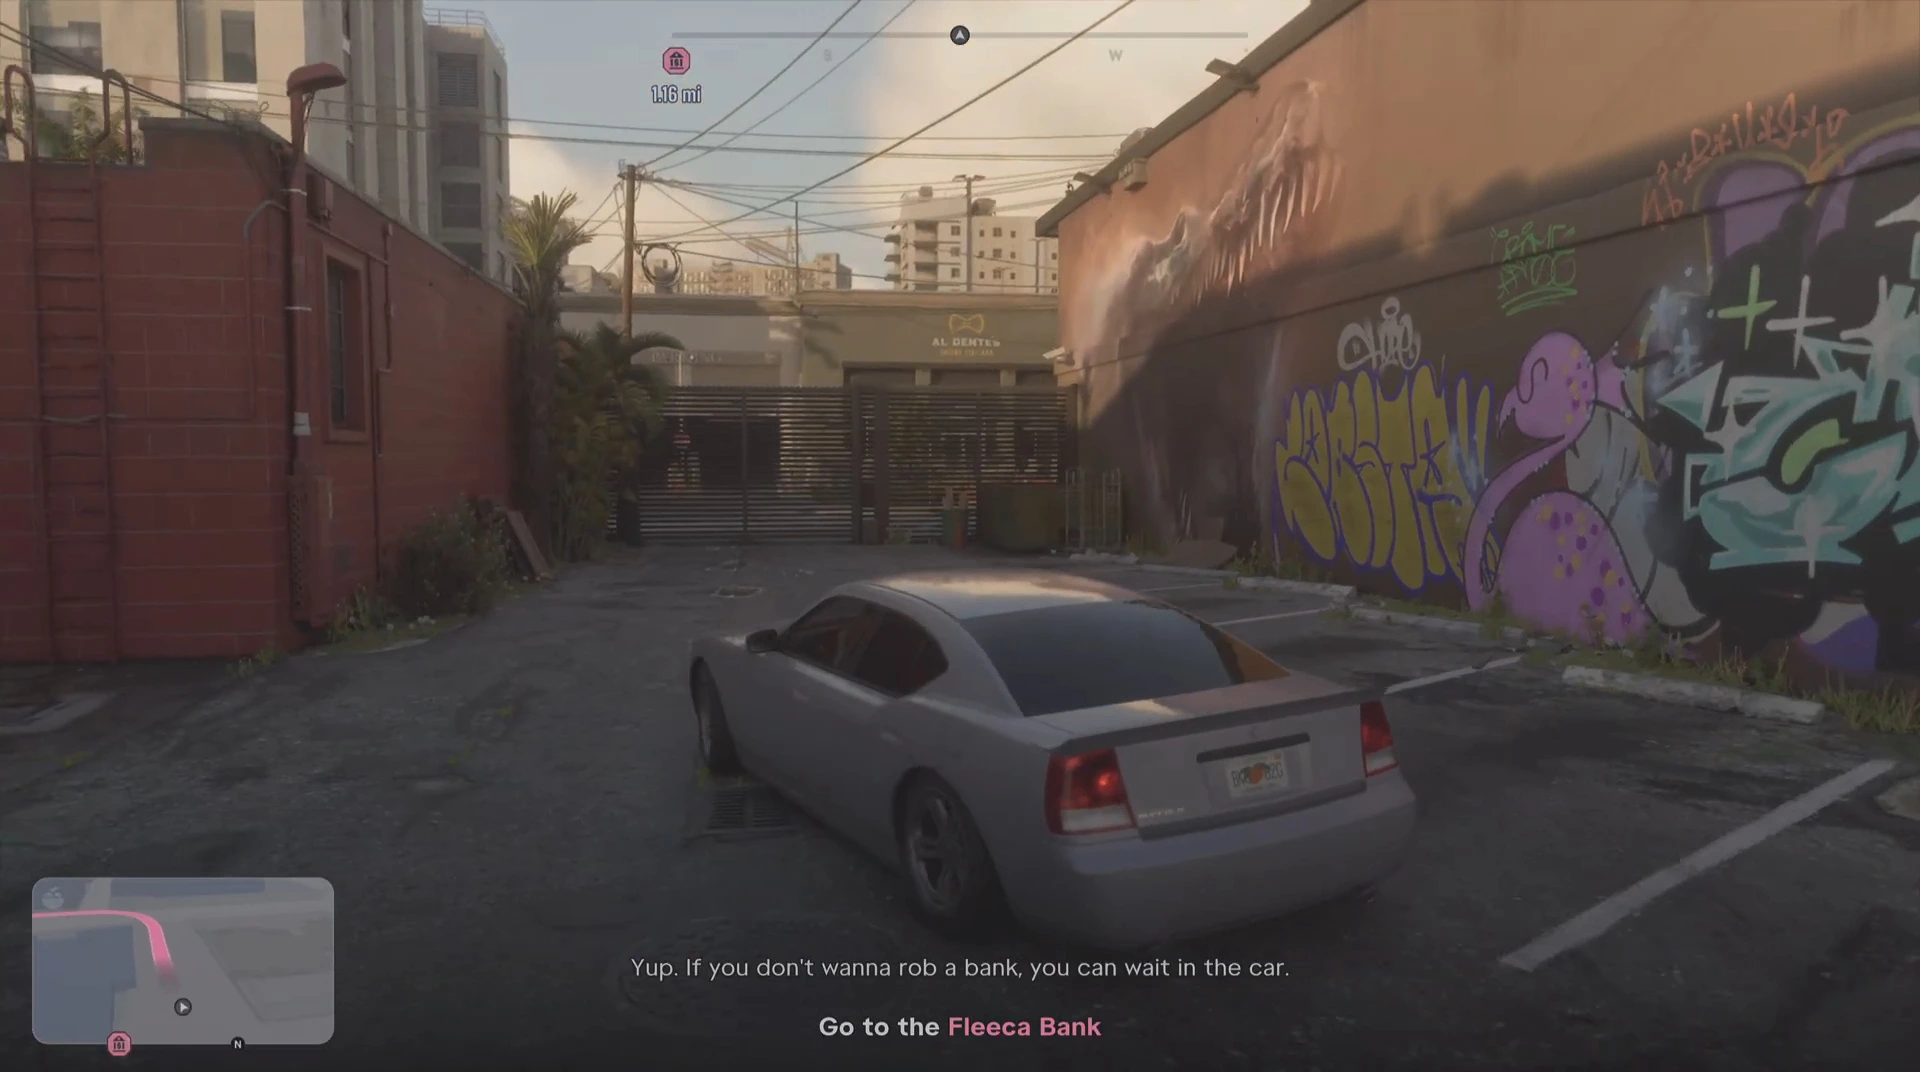
Rob the first bank
The objectives are Enter the bank and Rob the bank. Walk in, aim, threaten the staff and take the cash from the counters. A hint explains that a safe code is sometimes kept at the location or known by staff, so focus on staff members to see who may know it. With the dye pack jammer active, the prompt at the counter reads MARKED BILLS, which lets you take the marked cash safely.
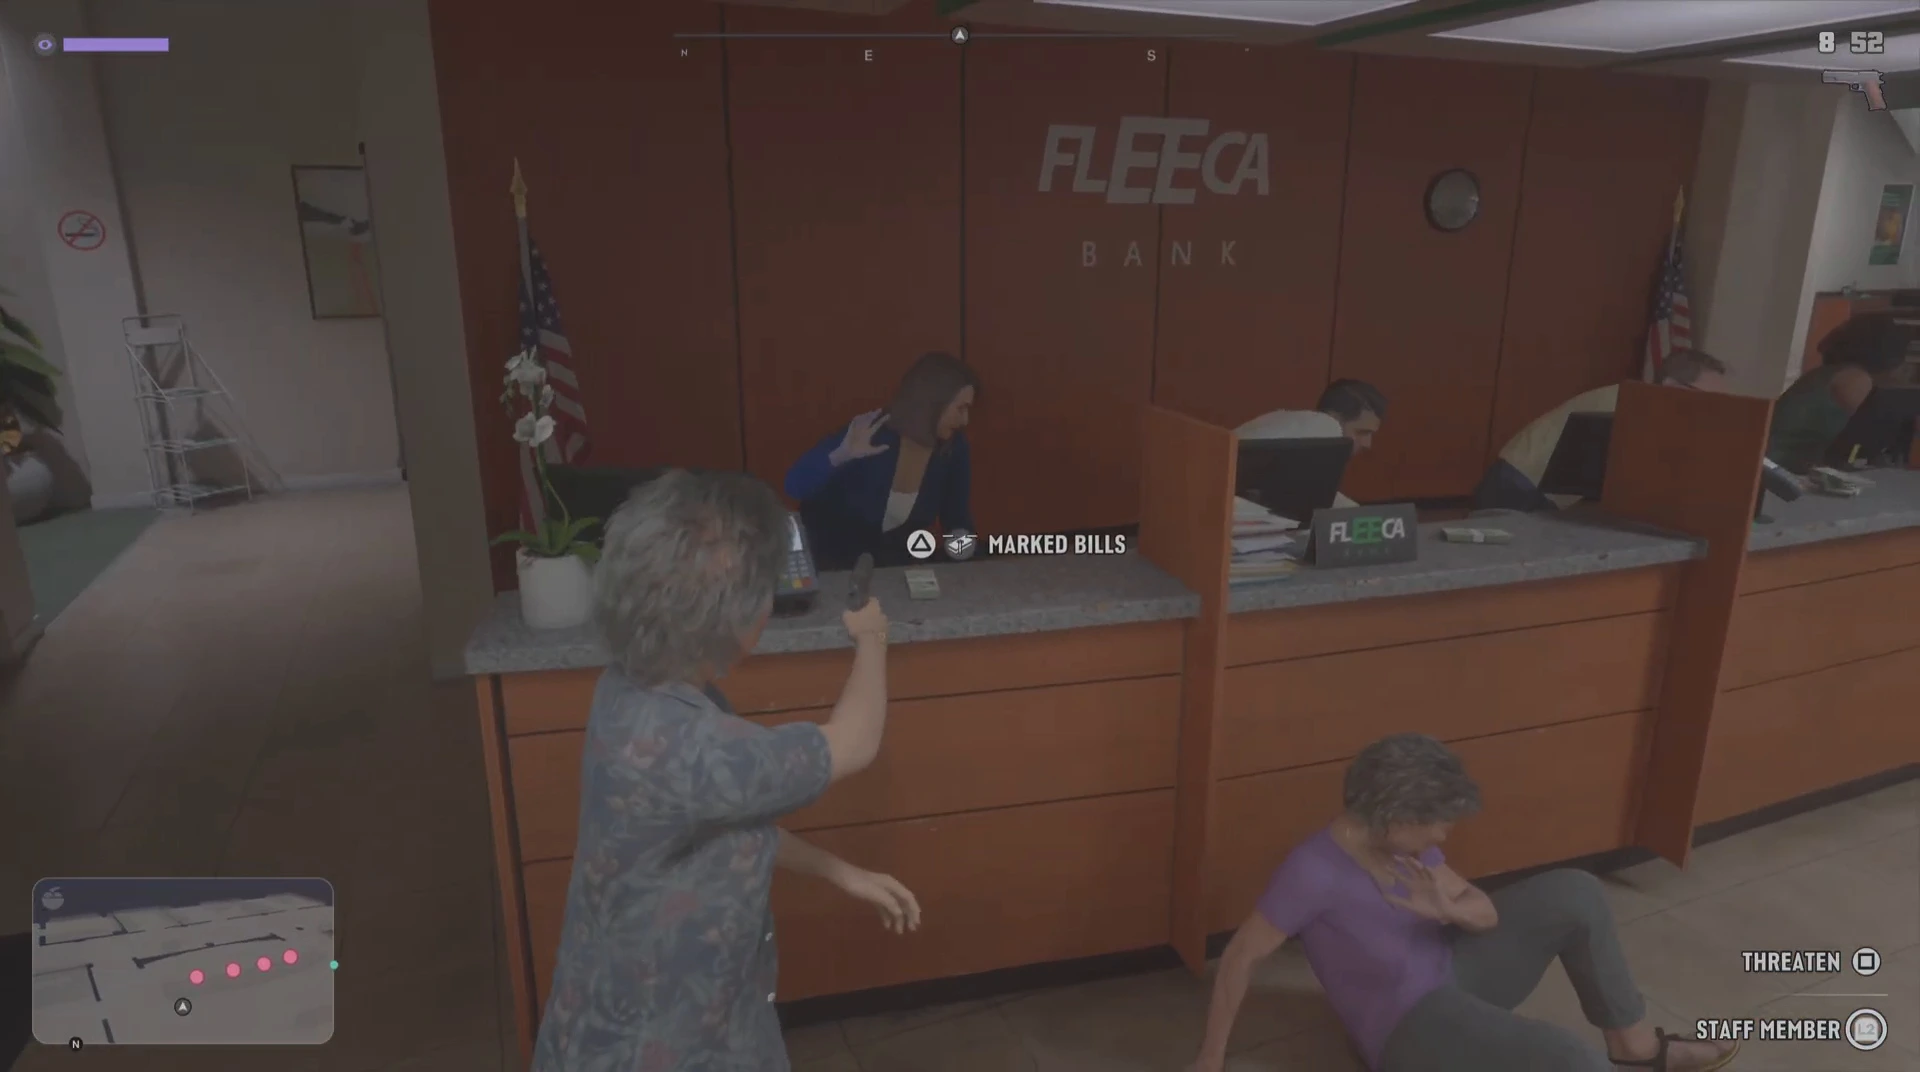
Karim gives you a window of roughly a minute and a half. When the alarm comes back, you get the objective Leave the area. Get out, and swap vehicles if police are close. After the first job, Raul says you did well because you did not go crazy, and Karim sends the next location.
Go to the next Fleeca Bank
The objective is Go to the next Fleeca Bank. Karim sends a map ping in Ocean Beach. Raul tells you not to lose momentum, because the faster you hit the second and third banks, the less time police have to organise.
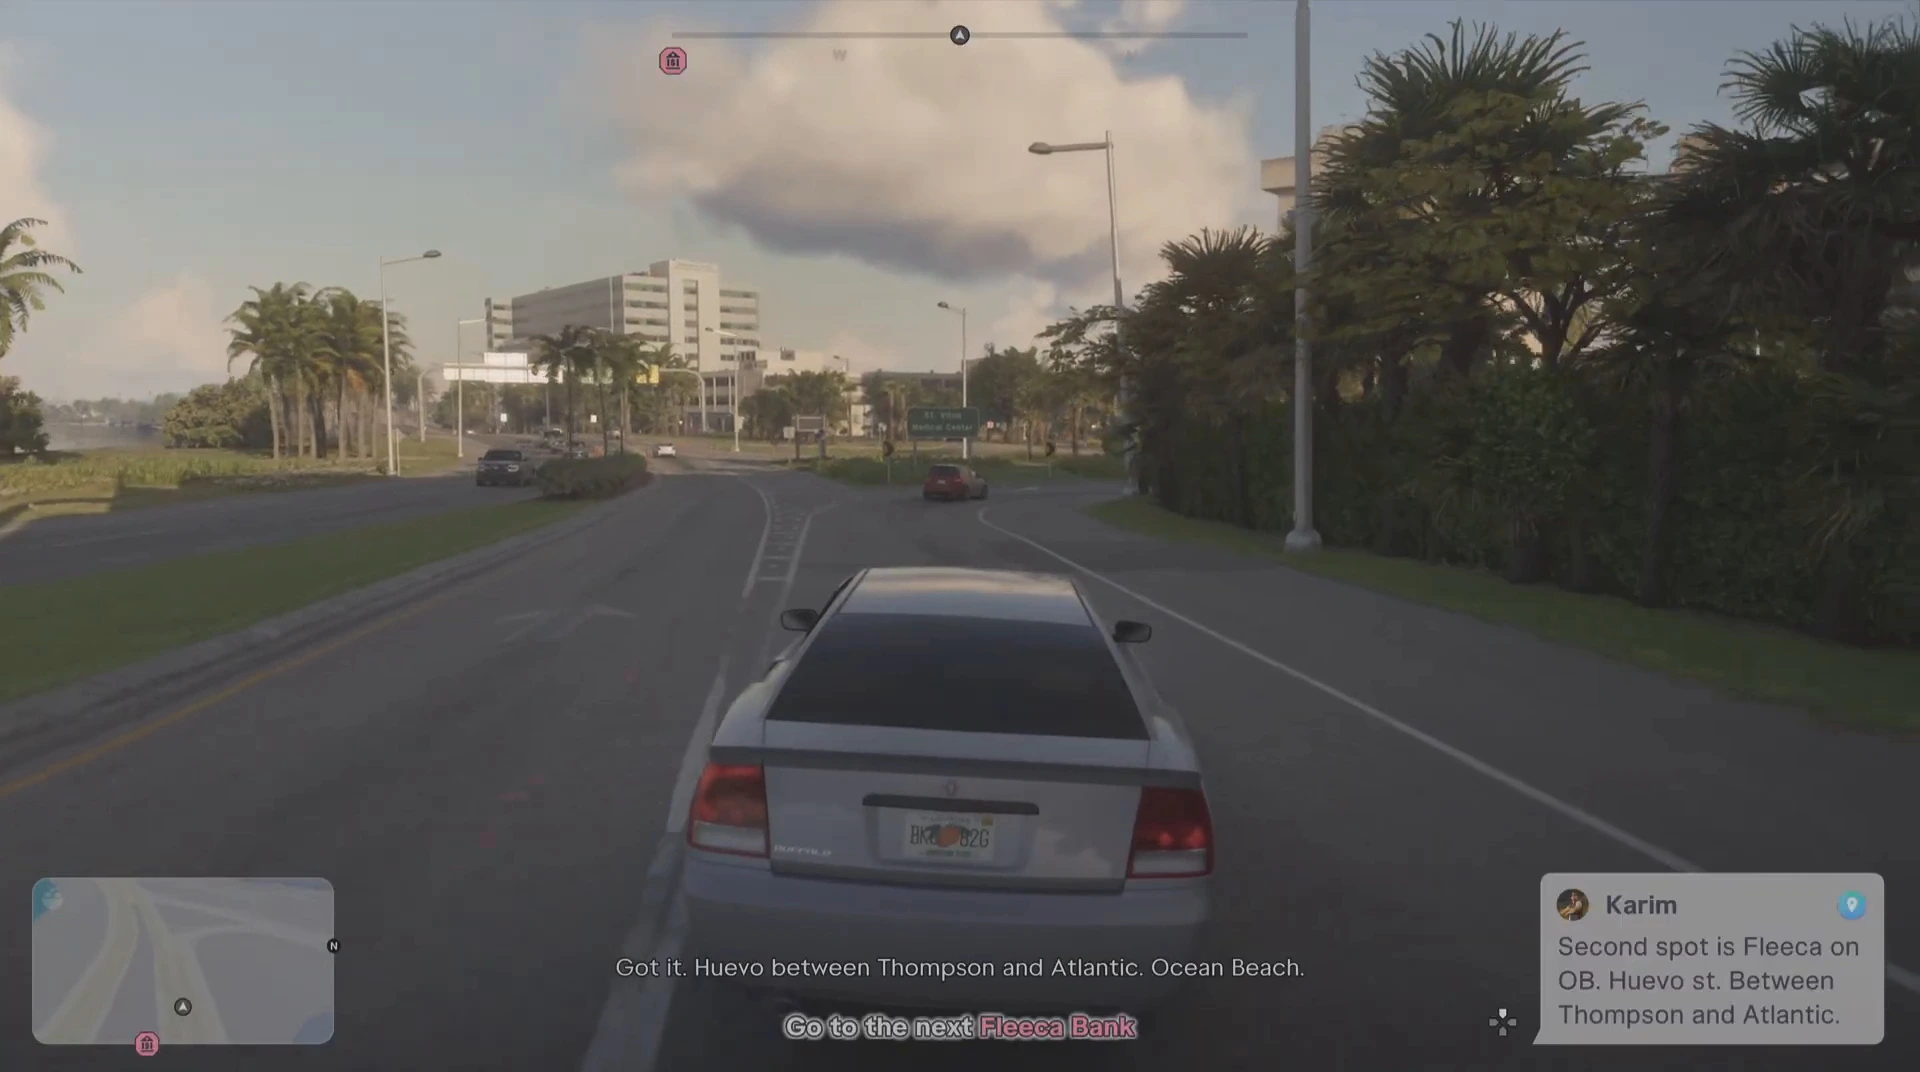
At the second bank there is a small safe behind a partition. Karim tells you to have sticky bombs ready, or to squeeze the tellers for the combination. He says the code is sometimes written down somewhere obvious. At the safe, the game shows the options Enter Code and Plant Explosive.
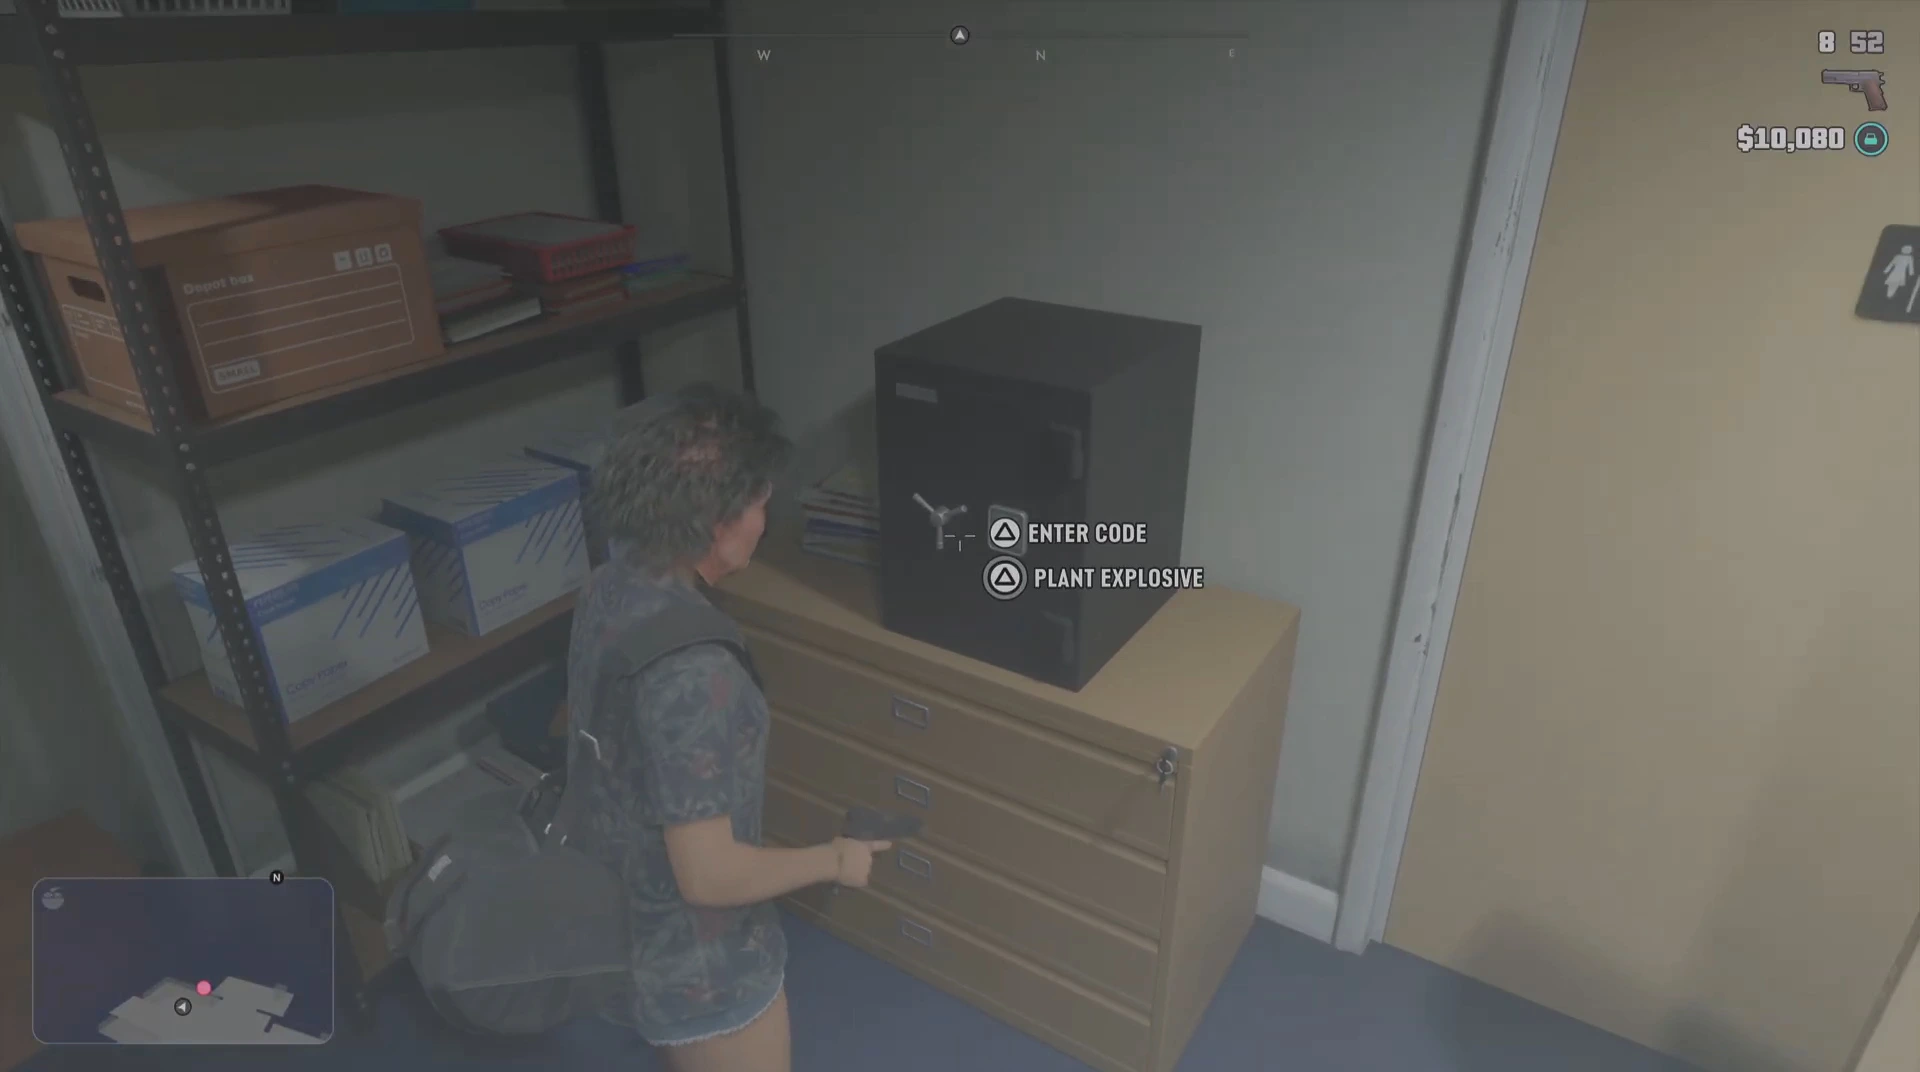
When time runs low, a voice reads out the remaining seconds. Leave as soon as you have the cash, because police arrive soon after the countdown ends.
Lose the cops and the third bank
After the second robbery you have a wanted level and a new objective, Lose the cops. Drive through side streets and break line of sight. The next objective is Go to the next Fleeca Bank again, followed by Park outside the bank. Raul tells the crew this is the last one, so make it count.
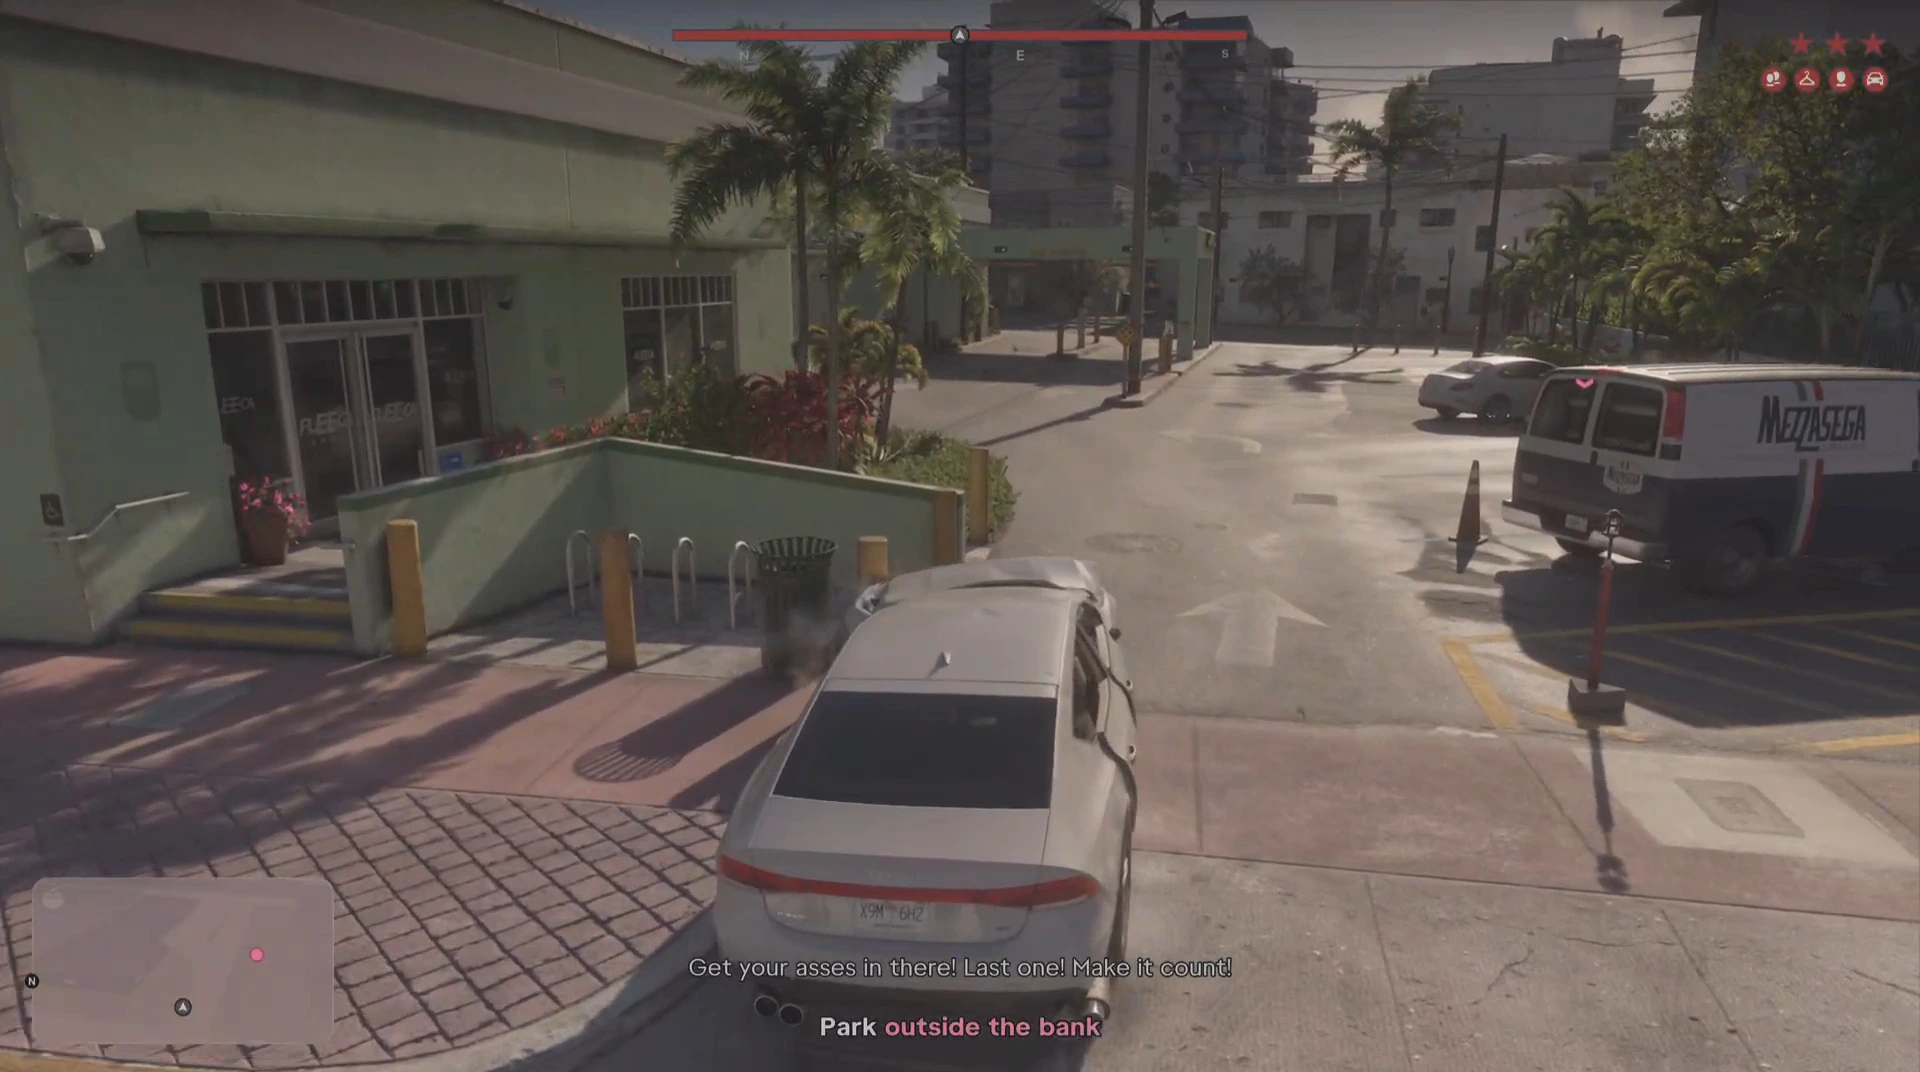
The third robbery is the loudest. Take the cash from the counters as before.
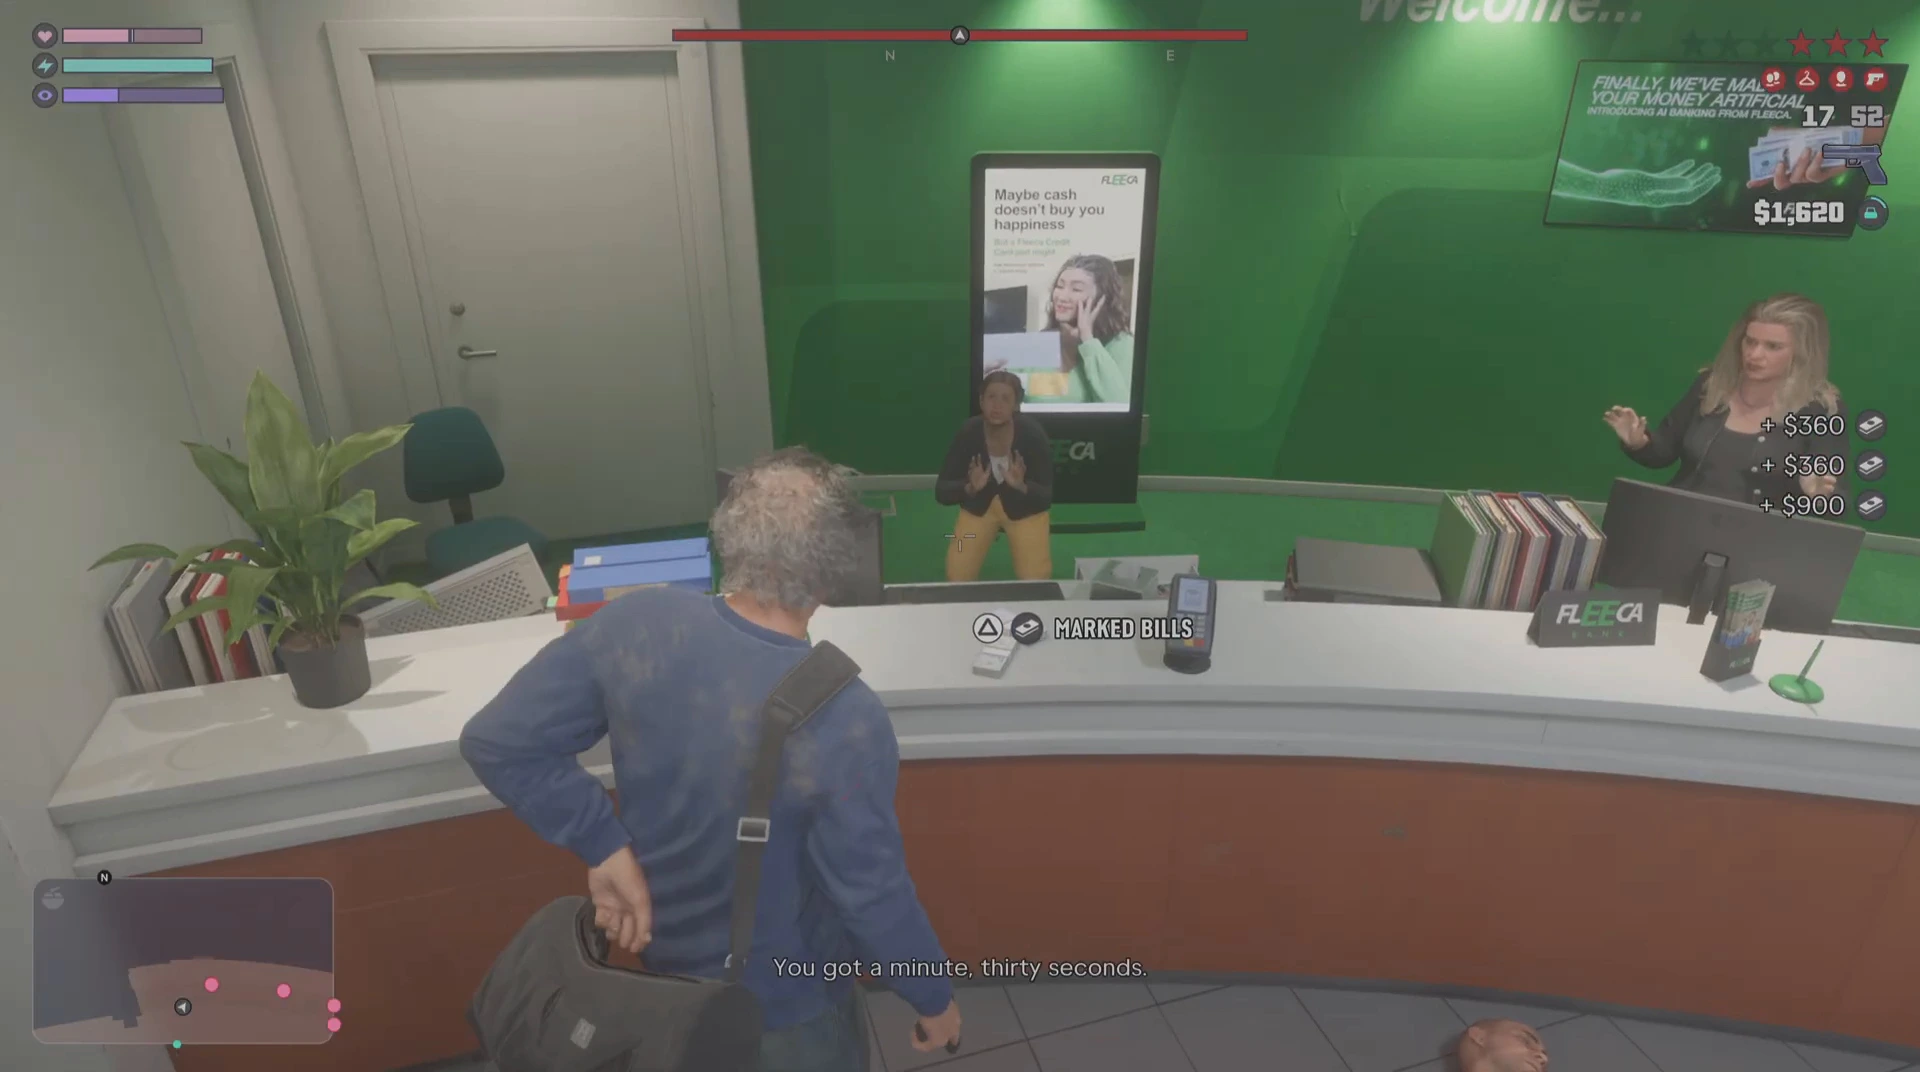
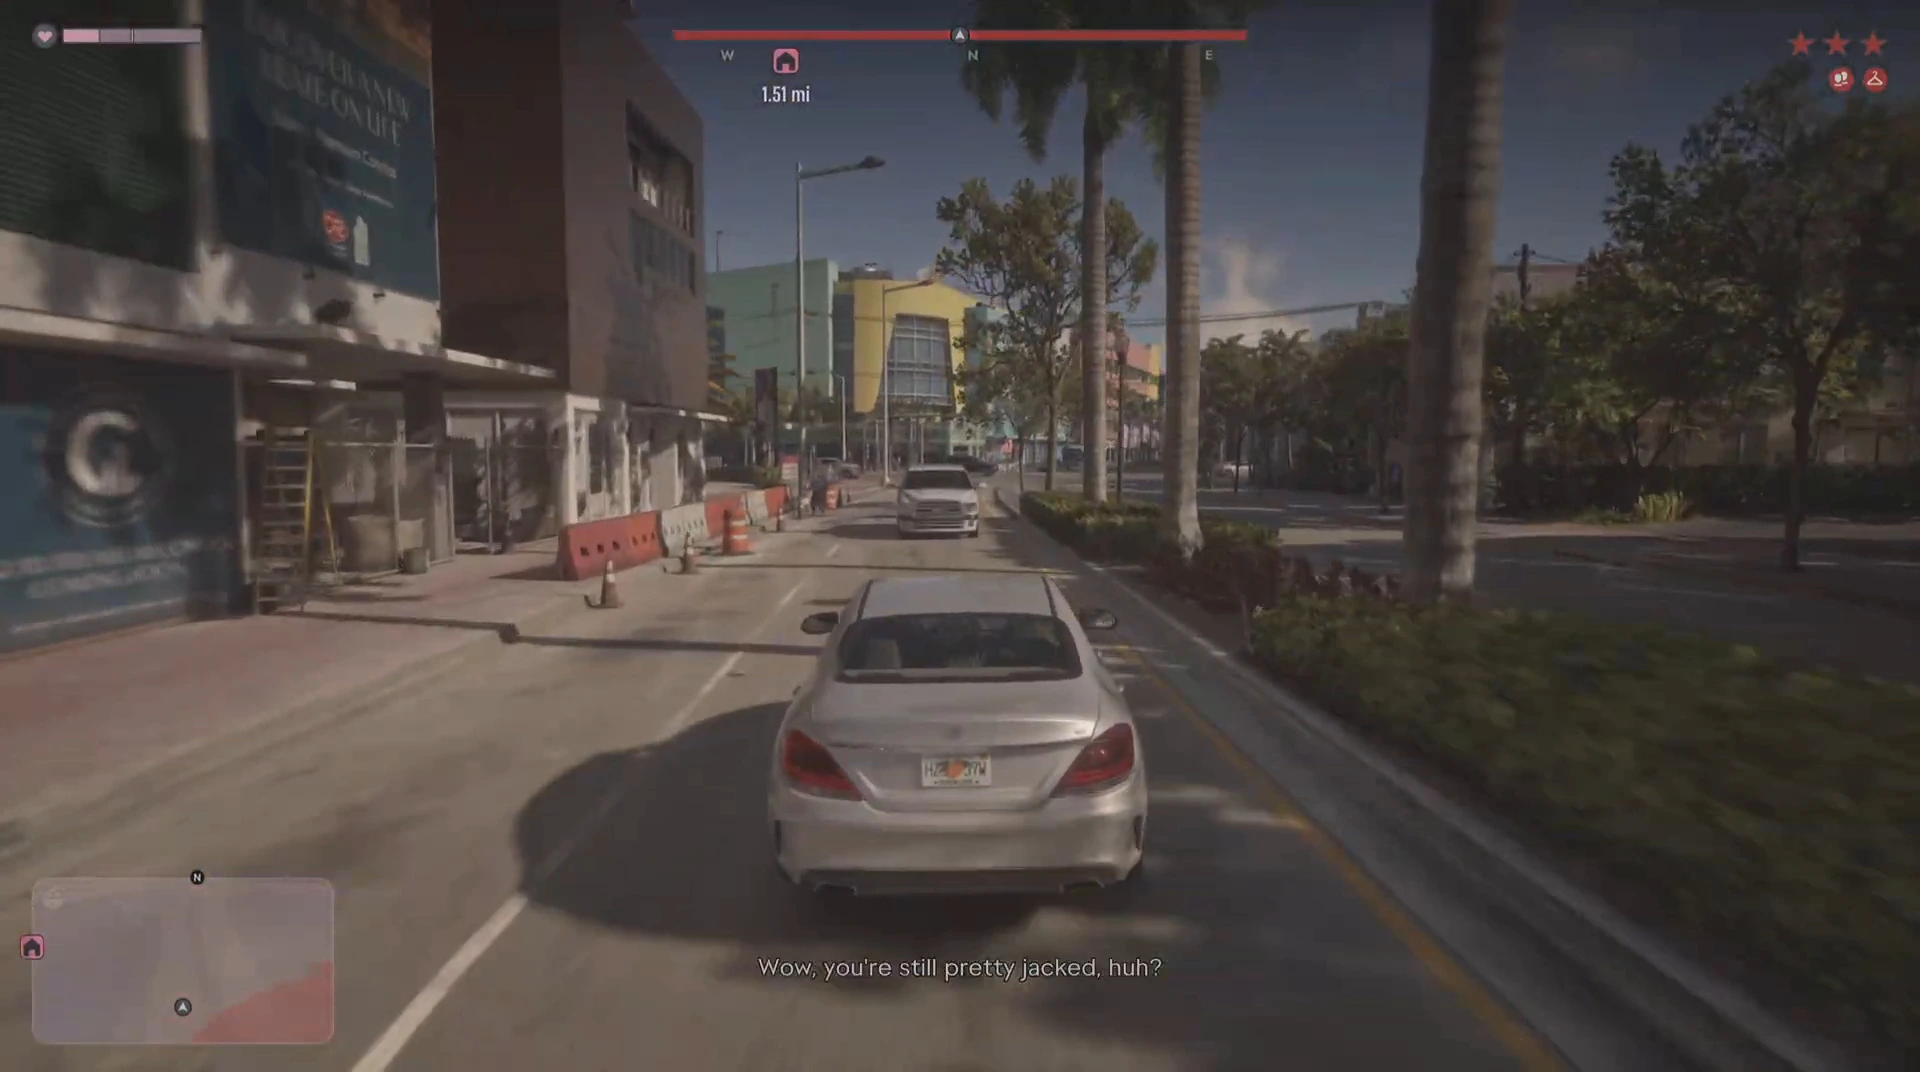
Something goes wrong: police are on the way sooner than expected, and Raul’s crew tells you to take what you have and go. Run to the car and lose the cops again. Once you are clear, Raul tells you to take your share home, lay low and wait for his call.
Story recap (spoilers): the end of the mission
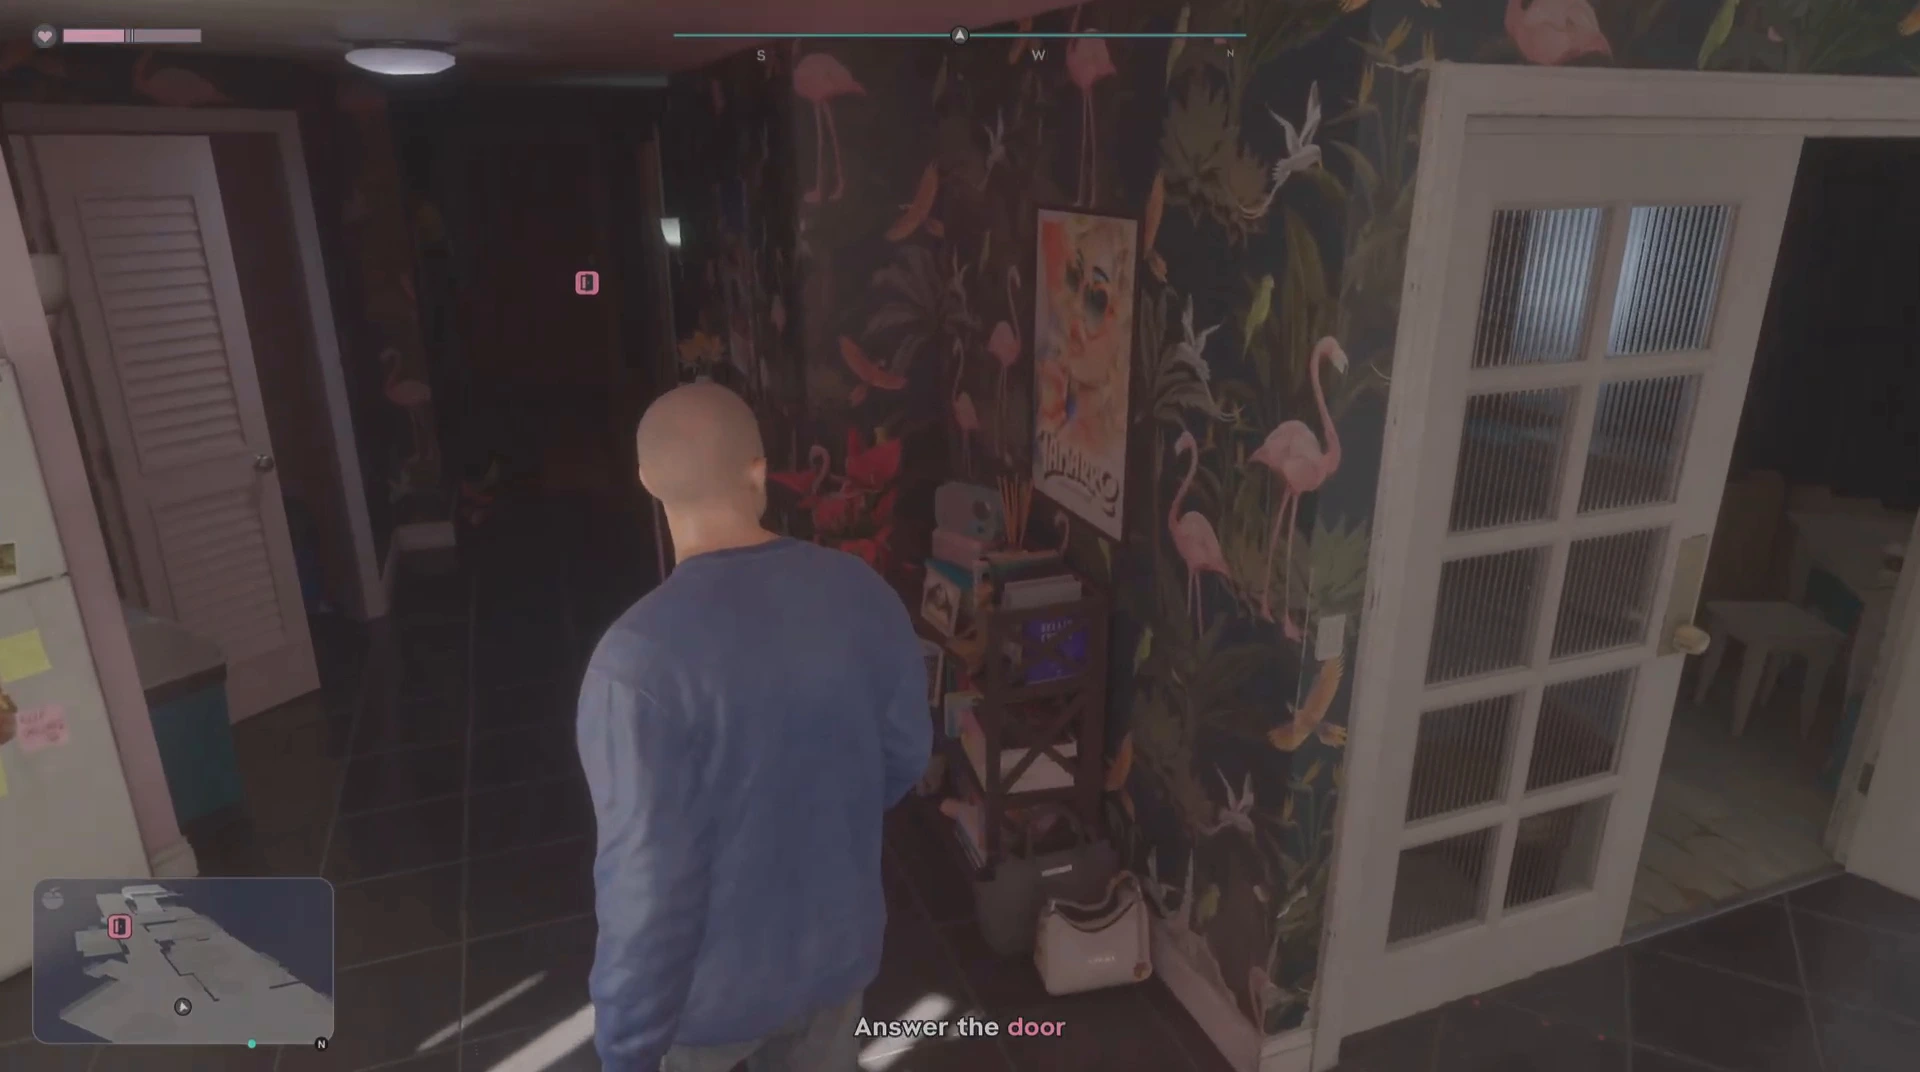
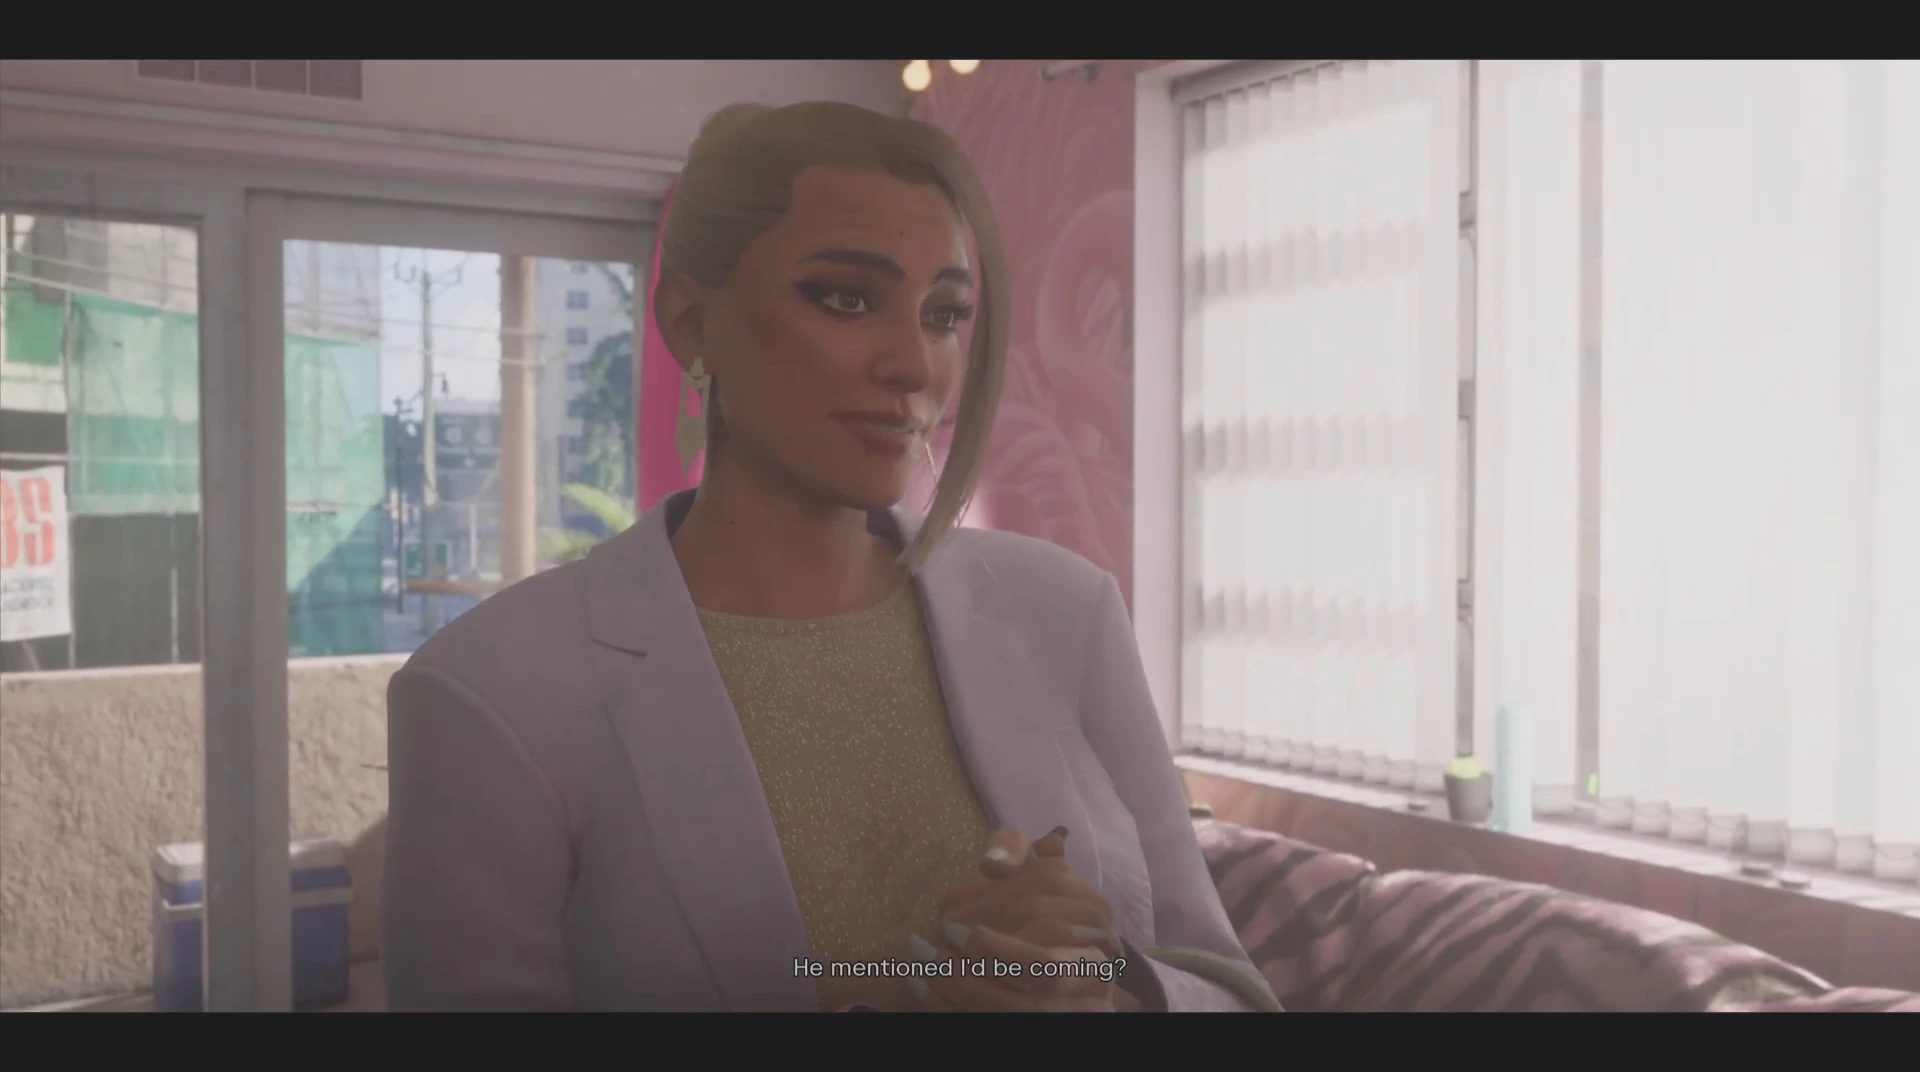
Back at the apartment, Jason and Lucia talk about running away with a single bag of cash, then decide it is not enough. When someone knocks, the objective is Answer the door. The visitor is Valentina, who has come to meet Jason and Lucia and asks whether Raul told them she would be coming. She explains that she moves Raul’s money through shell companies and offshore accounts so that it looks legitimate, and that legitimate money is what you need to buy property. After Valentina leaves, the two agree that she could take them places and joke that life together is never boring. The mission ends with Jason and Lucia wondering whether to tell Raul about the hard drive.
Tips for Credit Check
- Stay quiet. Raul says shooting up the place brings the police sooner.
- Use the jammer. Take cash only from the MARKED BILLS prompts once you have the dye pack jammer.
- Check for the safe code. Staff or notes may have it, so look before you plant a sticky bomb.
- Change cars. Raul has parked clean cars near every bank if yours has been seen.
What’s next
The job leaves Jason and Lucia with cash and a new contact, and the next entry in the Chapter 3 order is Clonin’ Keys, Makin’ GS. The mission before this one is Crosstown Traffic. Browse the Chapter 3 missions or open the full GTA 6 mission list.
Credit Check FAQ
What do you need to rob the banks in Credit Check?
Talk to Andrea and choose a pair of masks, then talk to Karim and pick up the dye pack jammer. Karim also tells you to grab sticky bombs for any safes you cannot open another way.
How many banks do you rob in Credit Check?
Three Fleeca Banks. Raul tells the crew the first is one of three jobs for the day, and Karim sends a new location after each one.
What does the dye pack jammer do in Credit Check?
A hint in the footage says it lets you steal marked bills from banks and payday loan stores. At the counter, a MARKED BILLS prompt appears and you take the cash.
How do you open the safe at a Fleeca Bank?
The safe shows two prompts, Enter Code and Plant Explosive. A hint says a safe code is sometimes kept at the location or known by staff, and Karim suggests looking for a code written down or squeezing the tellers.
How long do you have inside each bank?
Karim says he can cut the alarm when you go in, which buys a little over a minute and a half. A voice in the footage counts down, and once the security system comes back, police arrive quickly.