GTA 6 Alien Easter Egg (Abandoned Site Bunker)
How to find the alien in GTA 6: the Abandoned Site bunker near Cottonmouth Lake, door code 2314, the power puzzle, the milk and the UFO ending.
Skip to the guideView these places on the GTA 6 interactive map →
GTA 6 hides a full alien Easter egg in a secret underground lab. You find it at a map location called Abandoned Site, northeast of Cottonmouth Lake and south of Hamlet. Open the bunker door with the code 2314, restore power at the control panel, find a jug of milk in the lab, feed it to the alien and carry it outside. A UFO arrives to collect it, and Jason gets permanent boosts to max health, stamina and focus.
Quick version: go to the Abandoned Site east of the Cottonmouth Lake airstrip → enter the graffiti-covered building → keypad code 2314 → take the lift down → solve the control panel until every light is green → go through the opened doors to the cow pens → read the “Why milk??” whiteboard → take the milk jug from the bench by the steel tanks → Insert it at the machine in the medical room → pick up the alien → follow the evacuation route back to the surface.
The whole thing took about 15 minutes in the footage, including some time spent looking around. There’s no mission marker, objective text or checklist entry for it, so this page walks through each step as it played out.
Where to find the Abandoned Site
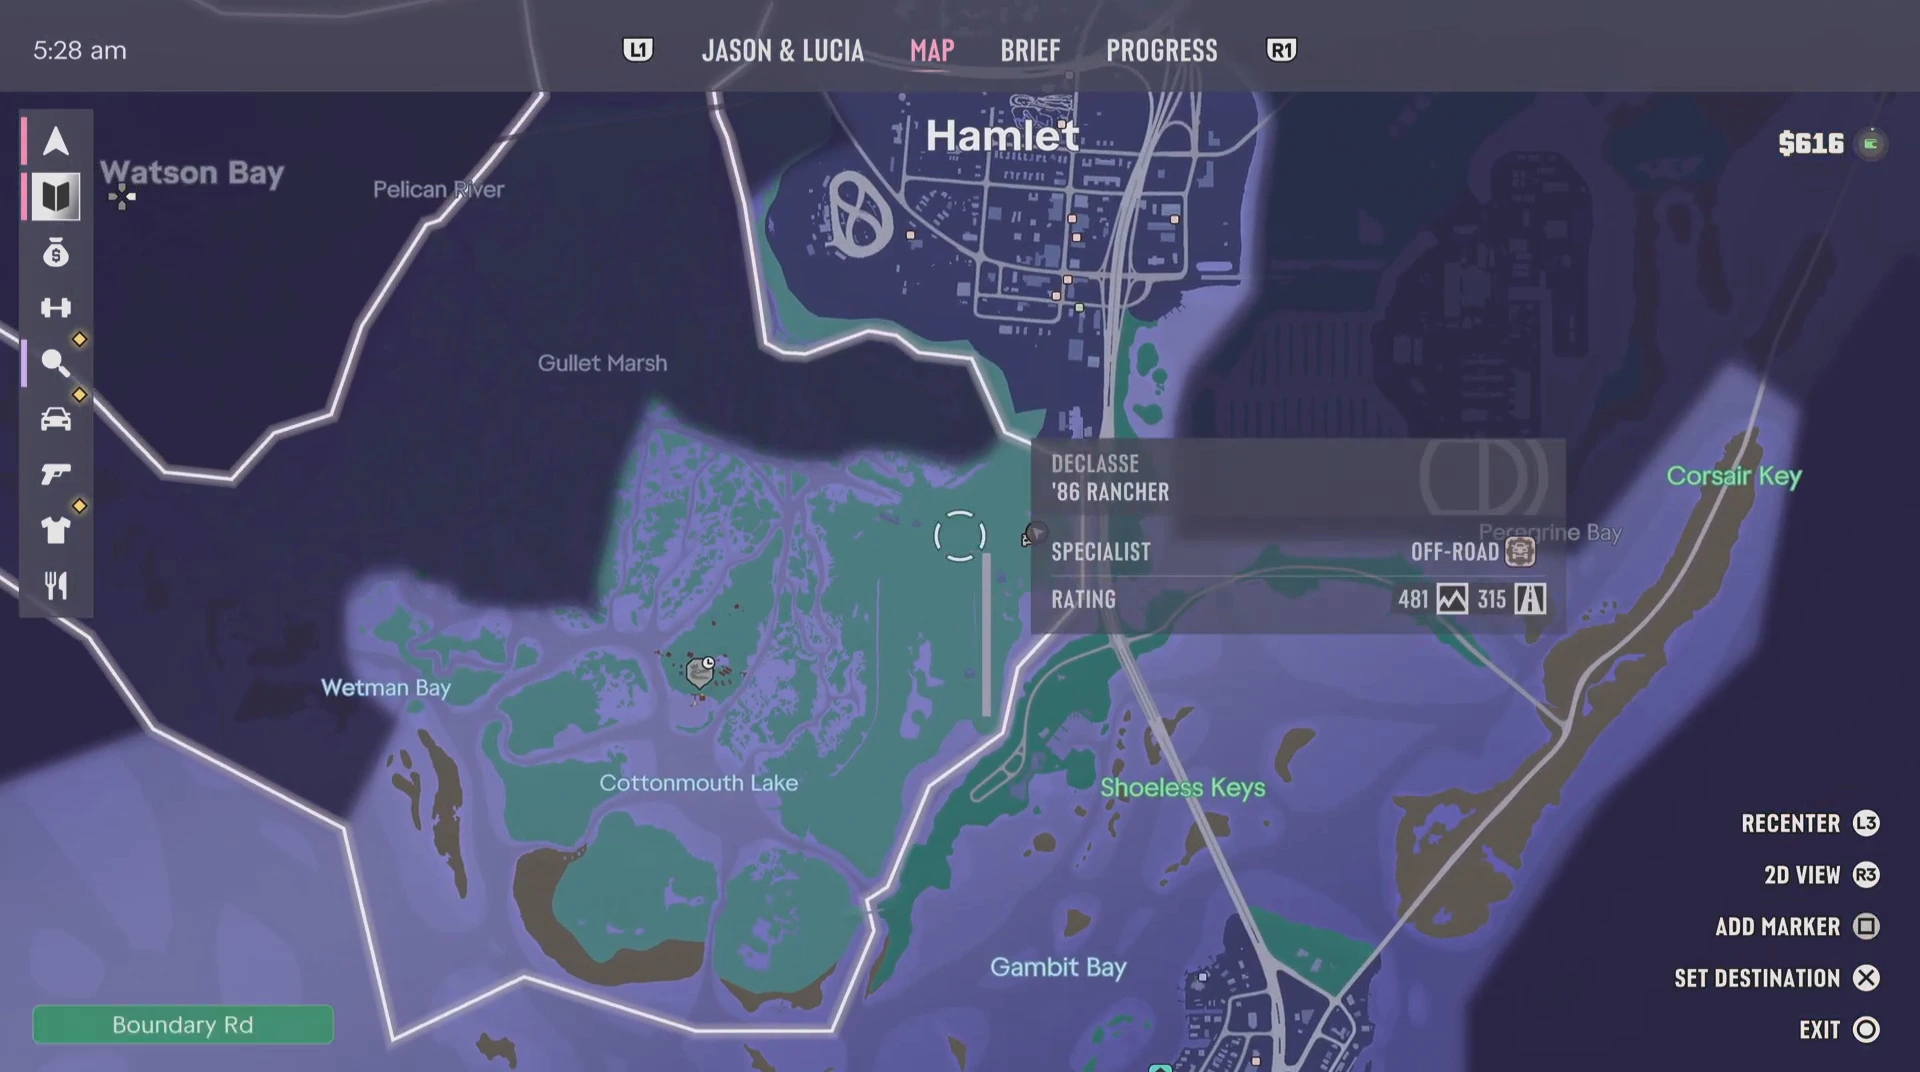
The Abandoned Site is on the patch of land between Cottonmouth Lake and the highway that runs south from Hamlet toward Gambit Bay. On the map, look for the long north-south airstrip east of the lake. The site is just northeast of the top of that runway, near the shoreline before the highway. The location name “Abandoned Site” appears in the bottom-left corner when you arrive.
The footage starts at 5:28 am with Jason playing and about $616 in cash, so this was early in the story. We haven’t confirmed whether any mission has to be finished first, but nothing in the footage suggests a story lock.
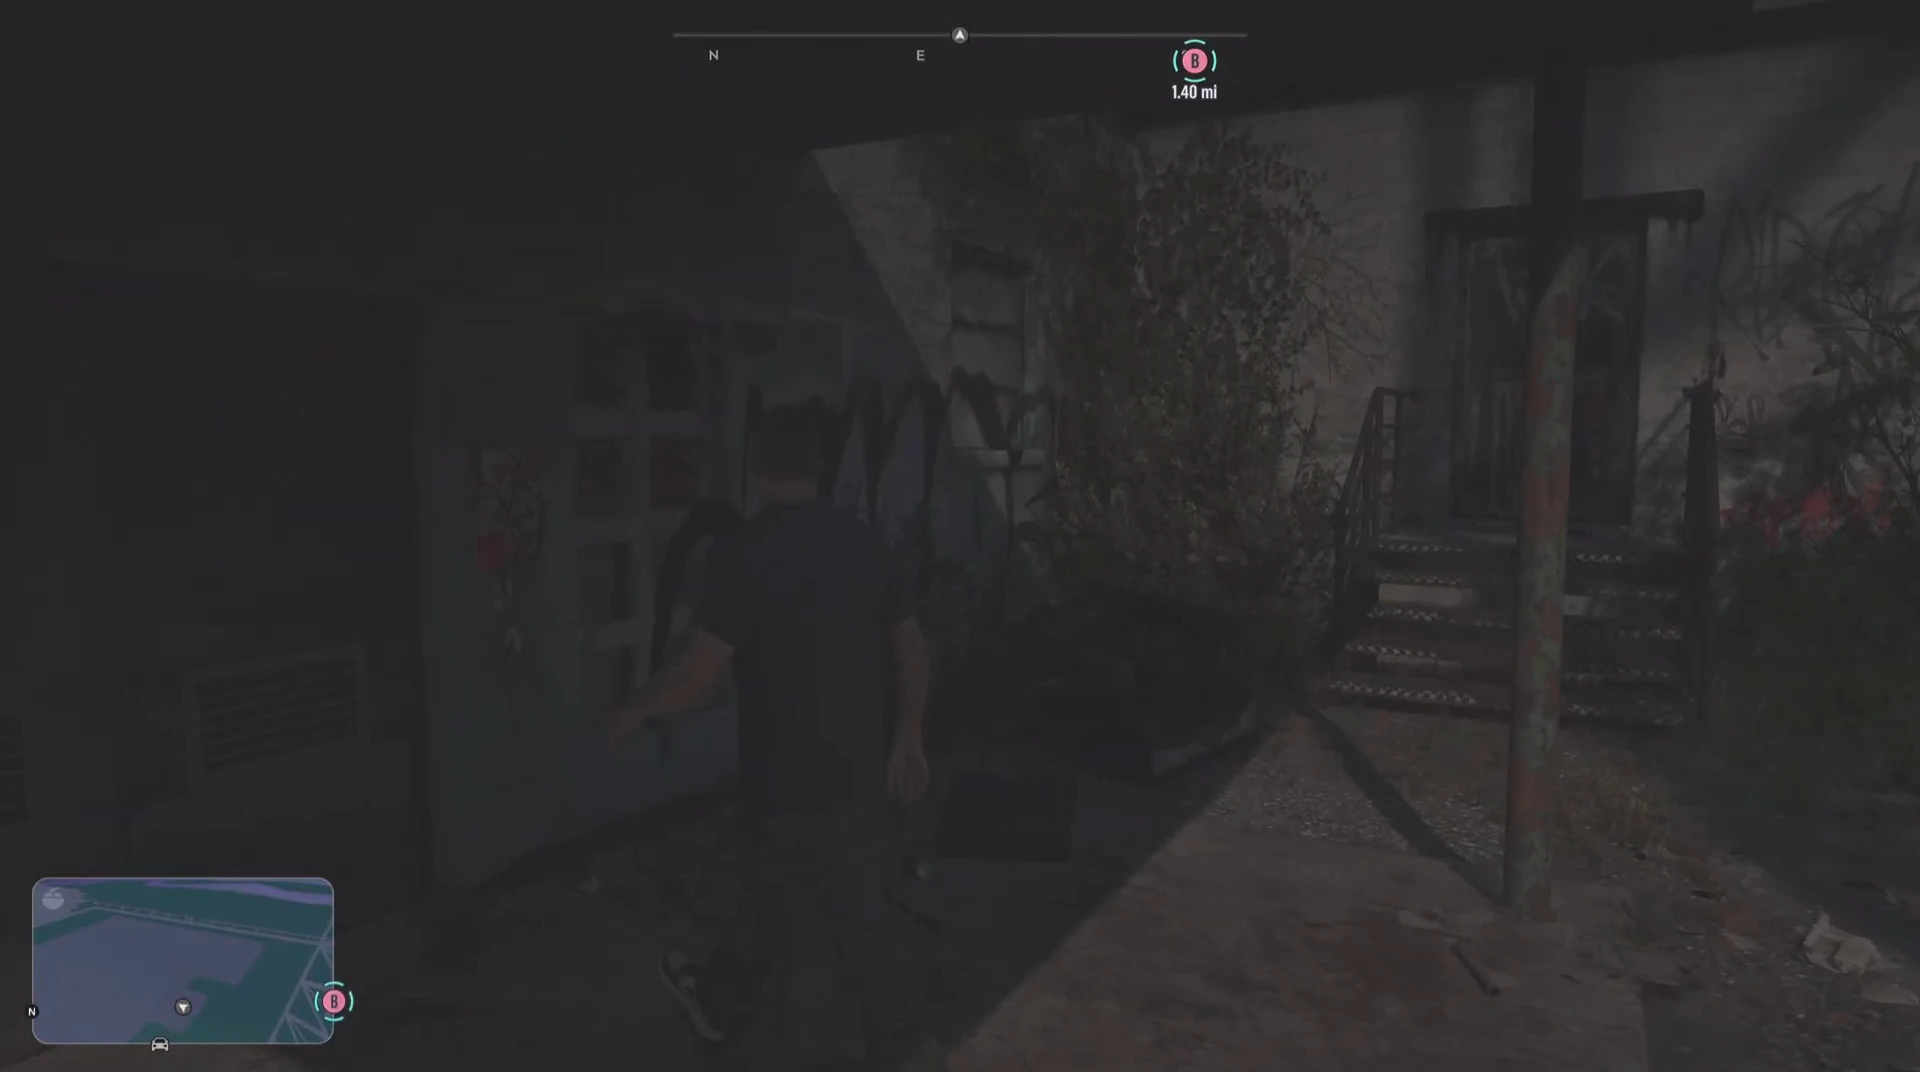
The surface is a run-down compound of concrete roofs, graffiti and overgrown plants, with a lattice radio mast nearby. Climb the ladder at the side, then head for the building with the stairs and the barred door. A red-lit corridor leads inside.
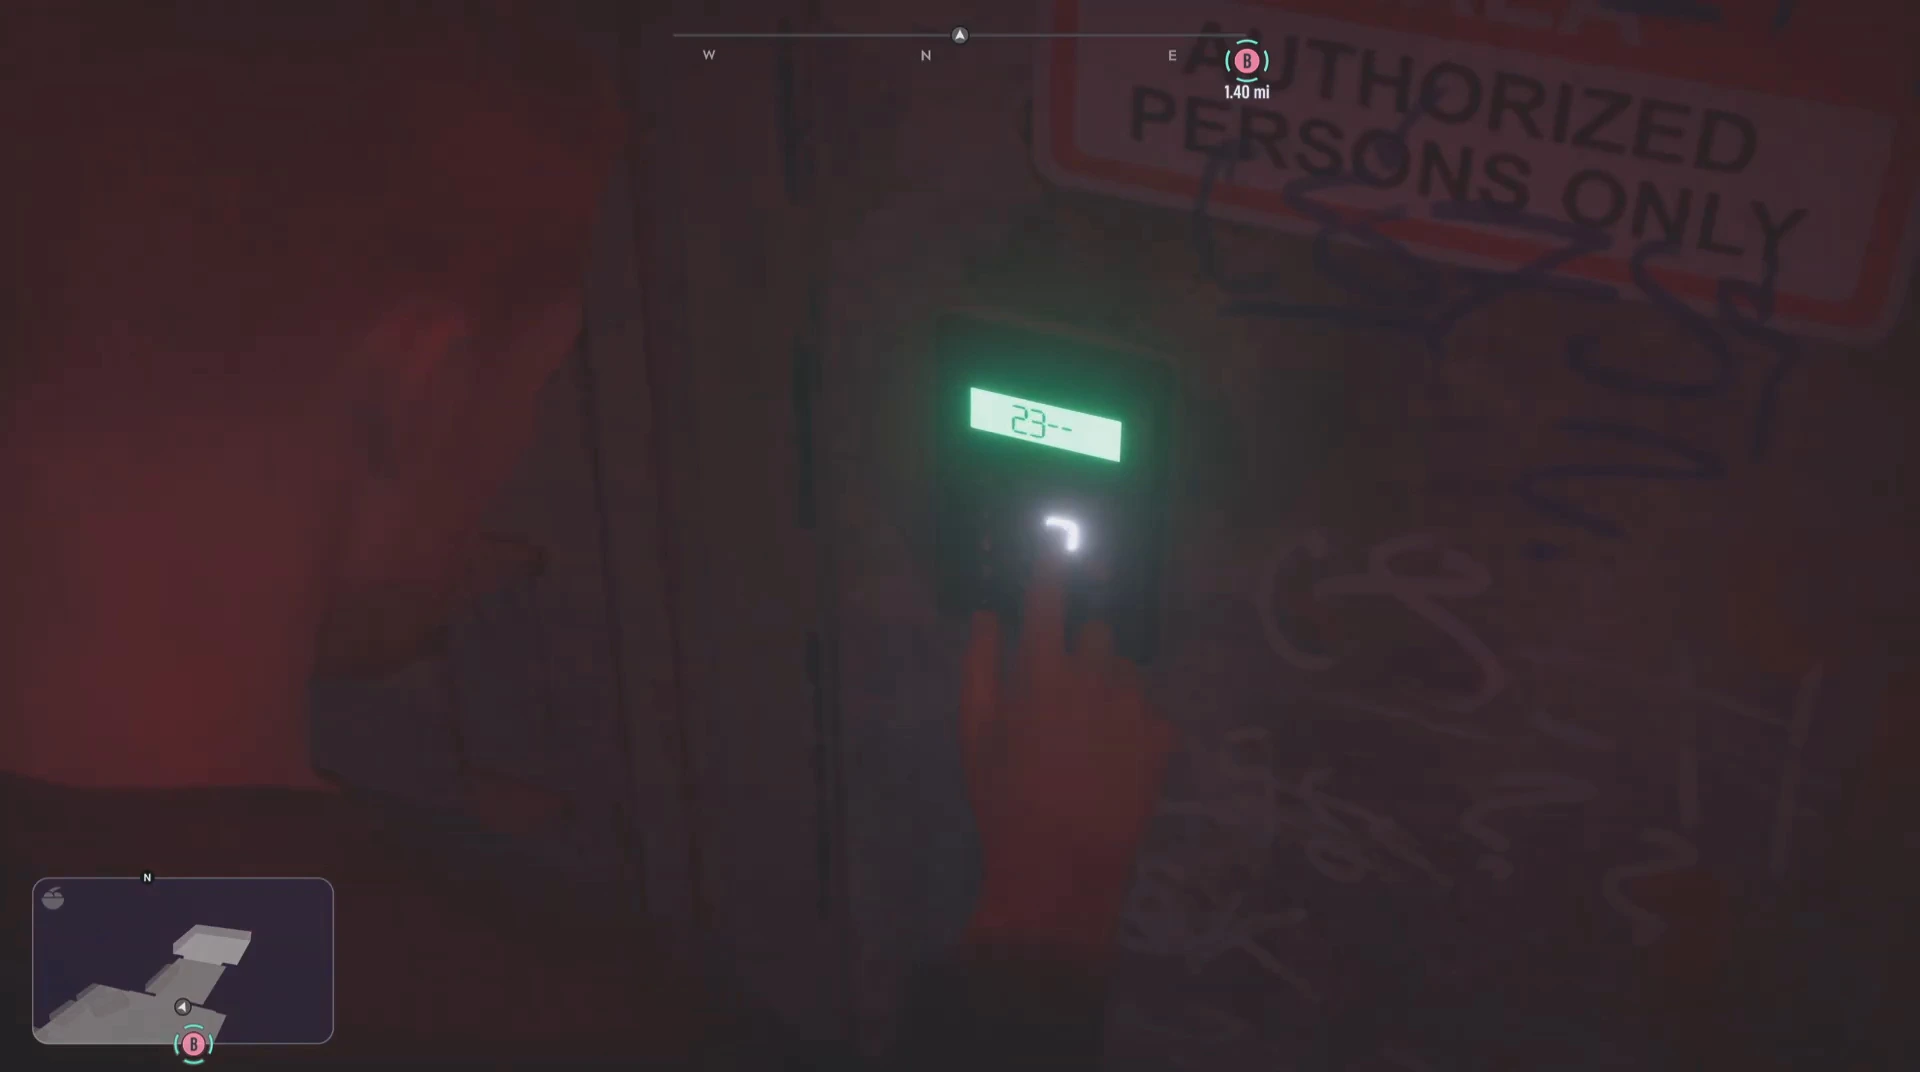
Door code: 2314
Deep in the red corridor there’s a steel door with a red Restricted Area, Authorized Persons Only sign and a small keypad with a green screen. Press the Use prompt to bring up the keypad and enter 2314. The door unlocks and leads to a service lift. Press Call, ride it down and walk through the tunnels to the circular control room.
Restore power at the control panel
The control room is a ring of old consoles under three round blast doors. Slumped over one console are the remains of a worker in a protective suit. An audio log plays here about “subject NHI01”, which mentions that the creature has a taste for raw cow’s milk and that cows have gone missing in the state. That’s your hint for later.
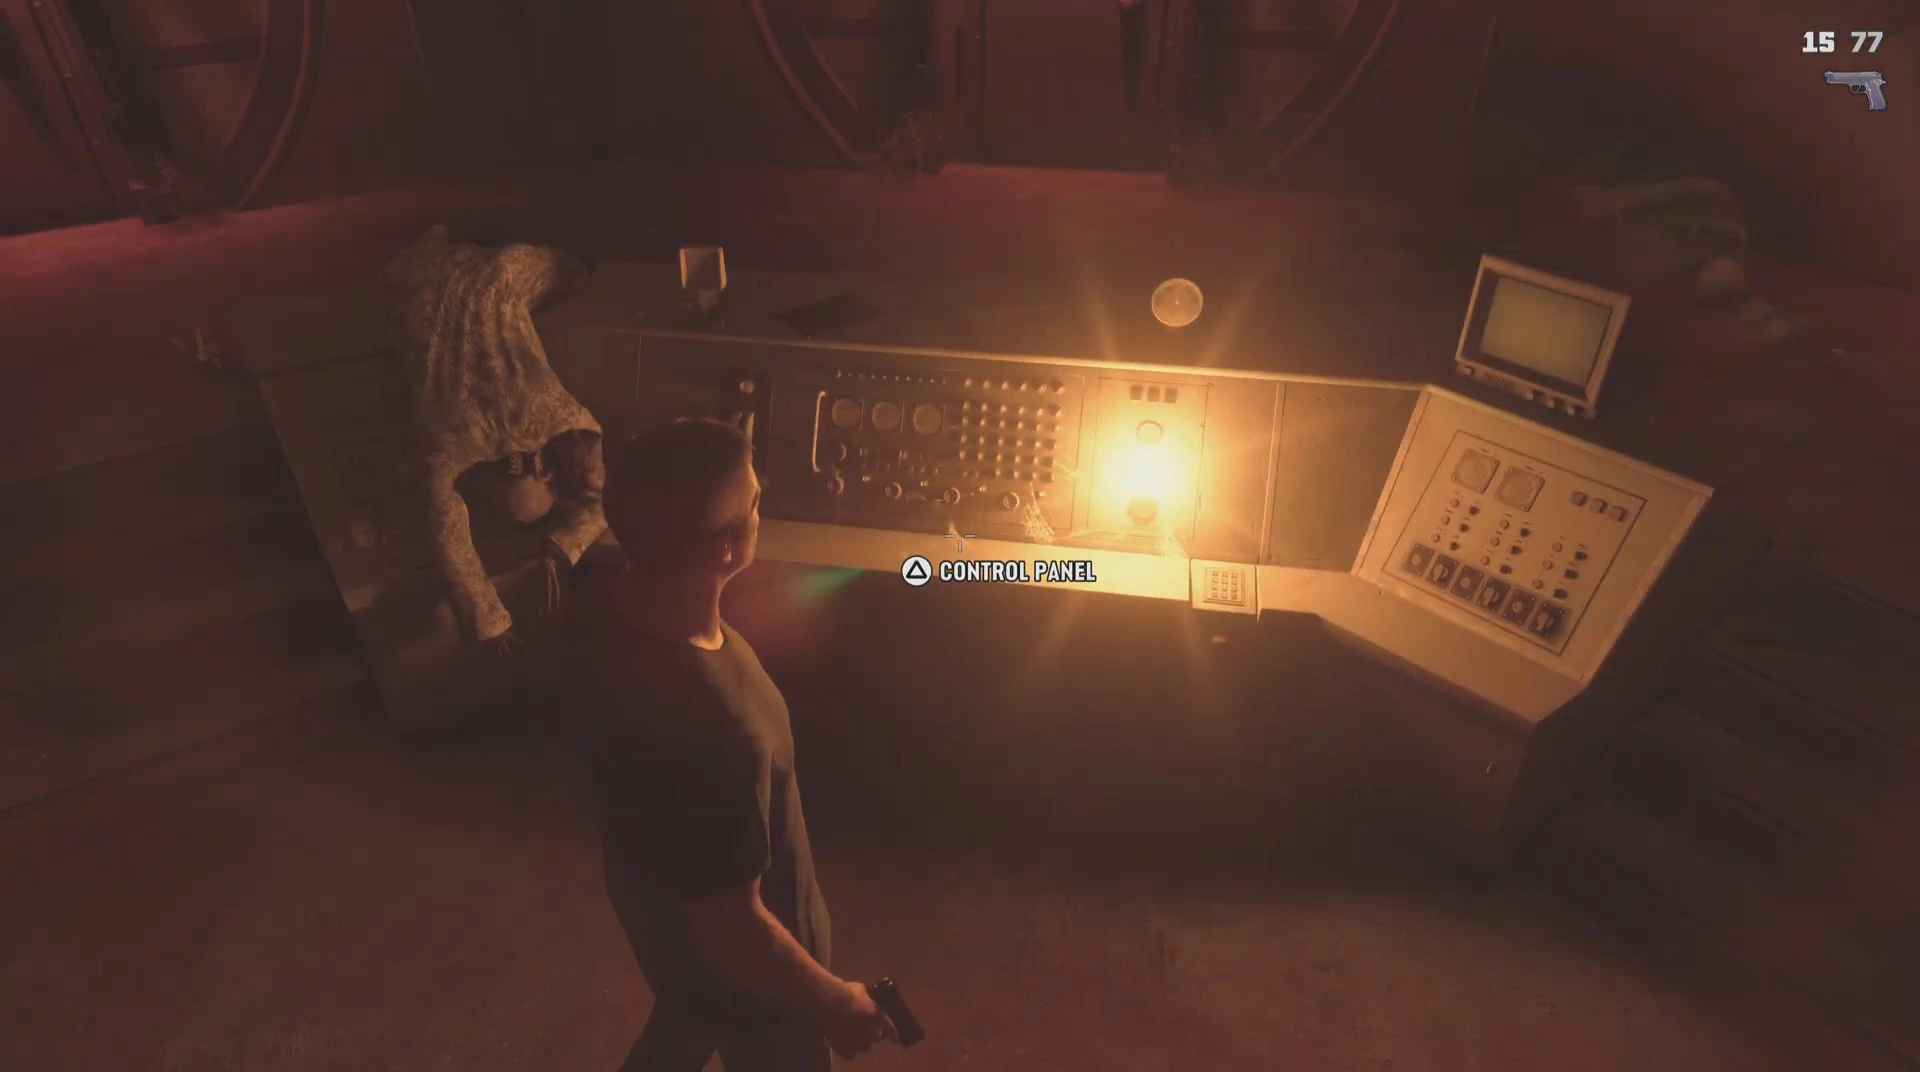
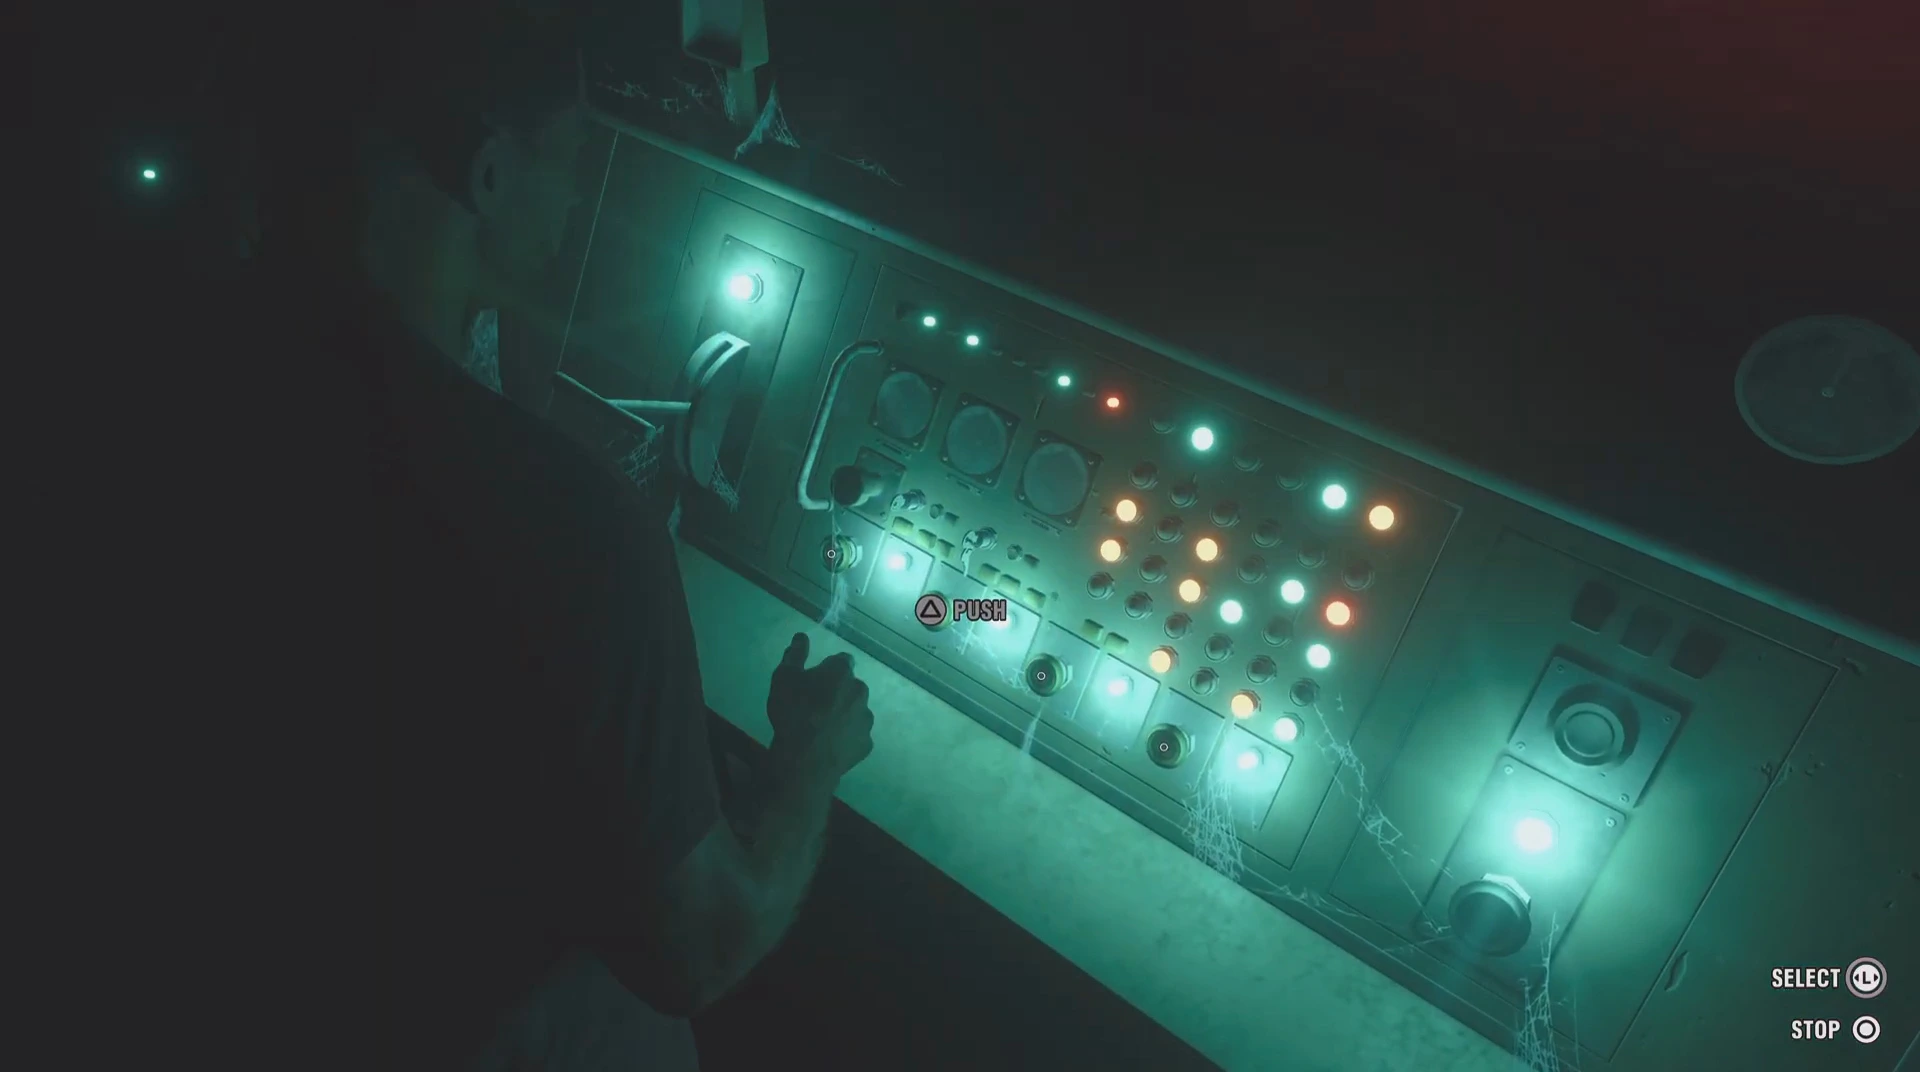
Walk up to the main console and choose Control Panel. The camera moves to a board of round buttons with orange and green lights. Move between buttons with the stick (Select) and press Push on each one. Pushing a button changes the lights around it, so the goal is to get the whole board lit green. You can back out with Stop at any time.
In the footage it took about a minute and a half of trial and error. When every light is on, a voice says the generator is online, power is at 73% and the containment lockdown has ended.
The cow pens and the milk
With power restored, the blast doors open. Be ready for a jump scare as you go through the first one. Follow the tunnel to a room of red steel cattle pens and large steel tanks.
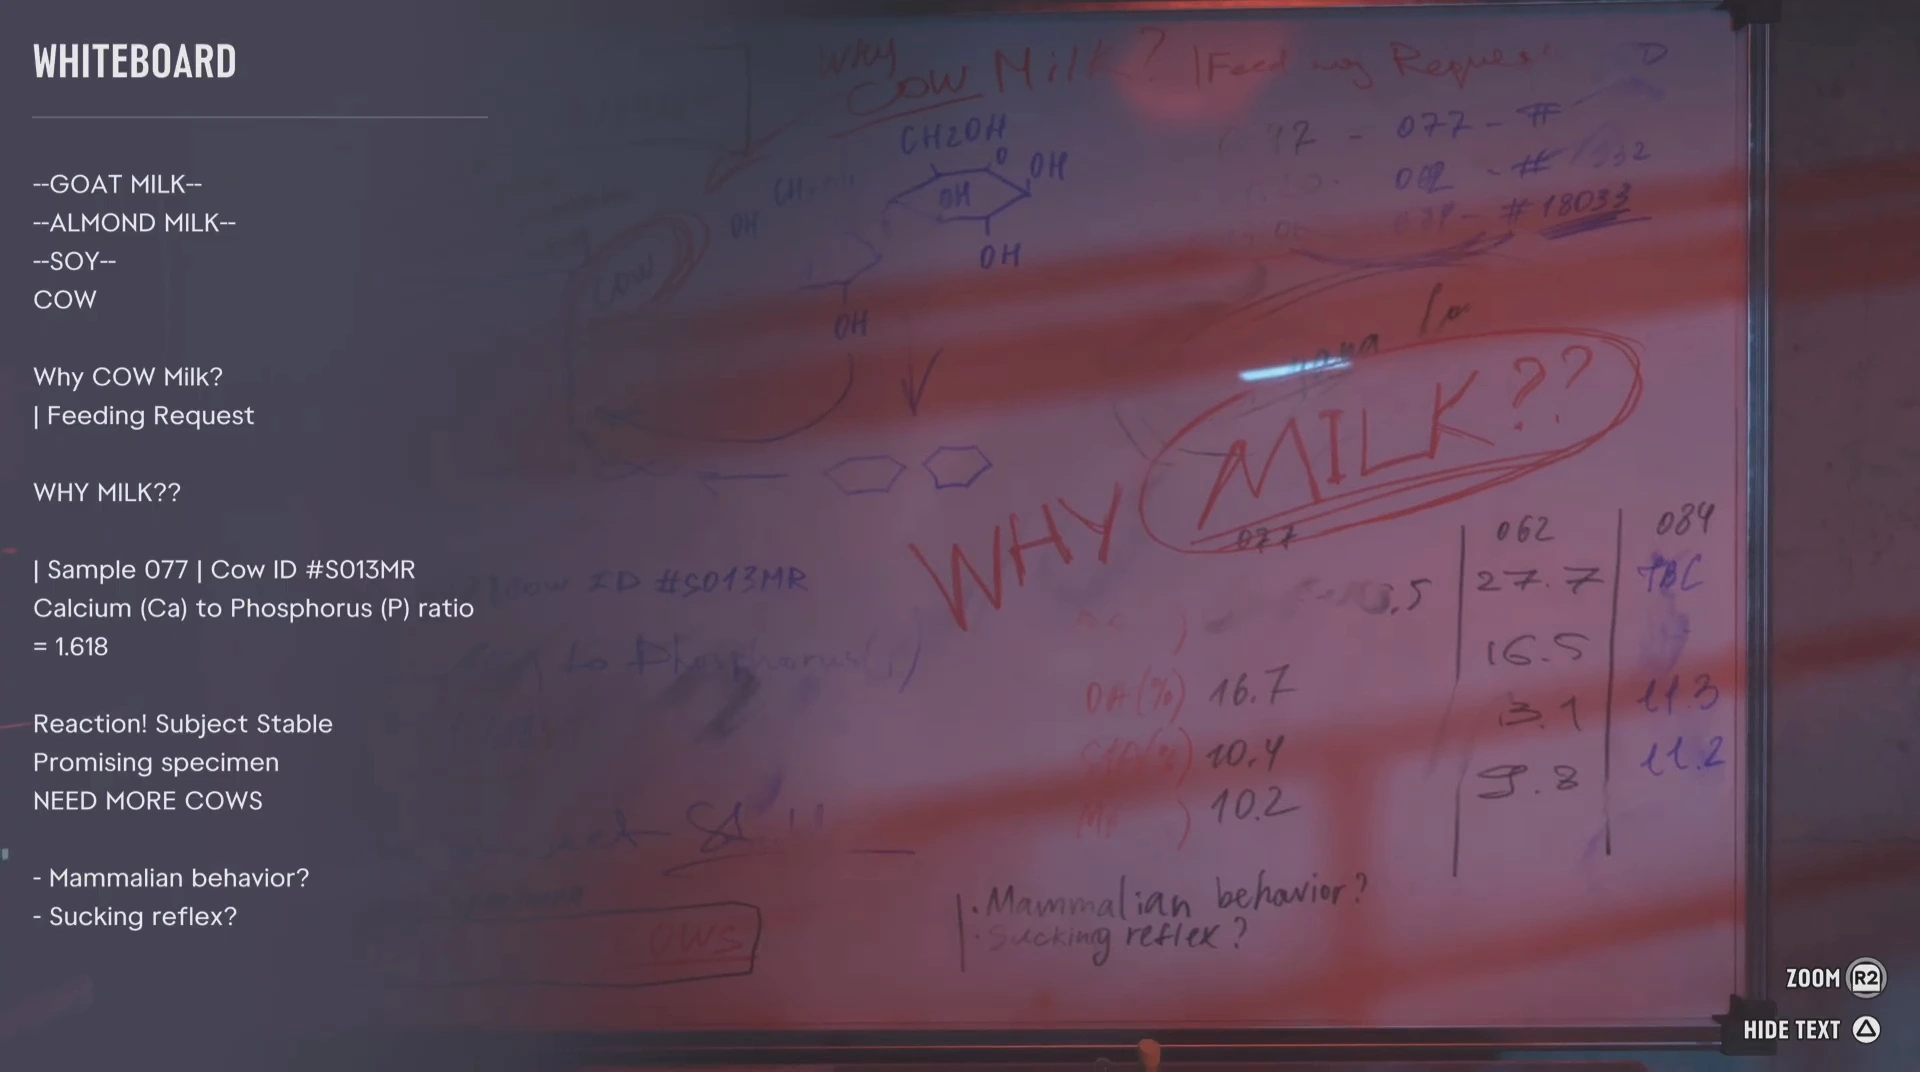
On the wall by a filing cabinet is a whiteboard you can zoom into. The text reads “Goat milk, almond milk, soy” all crossed out, then “Cow”, “Why cow milk?”, “Why milk??”, a calcium-to-phosphorus ratio for “Sample 077, Cow ID #S013MR”, and “Reaction! Subject stable. Promising specimen. NEED MORE COWS.”
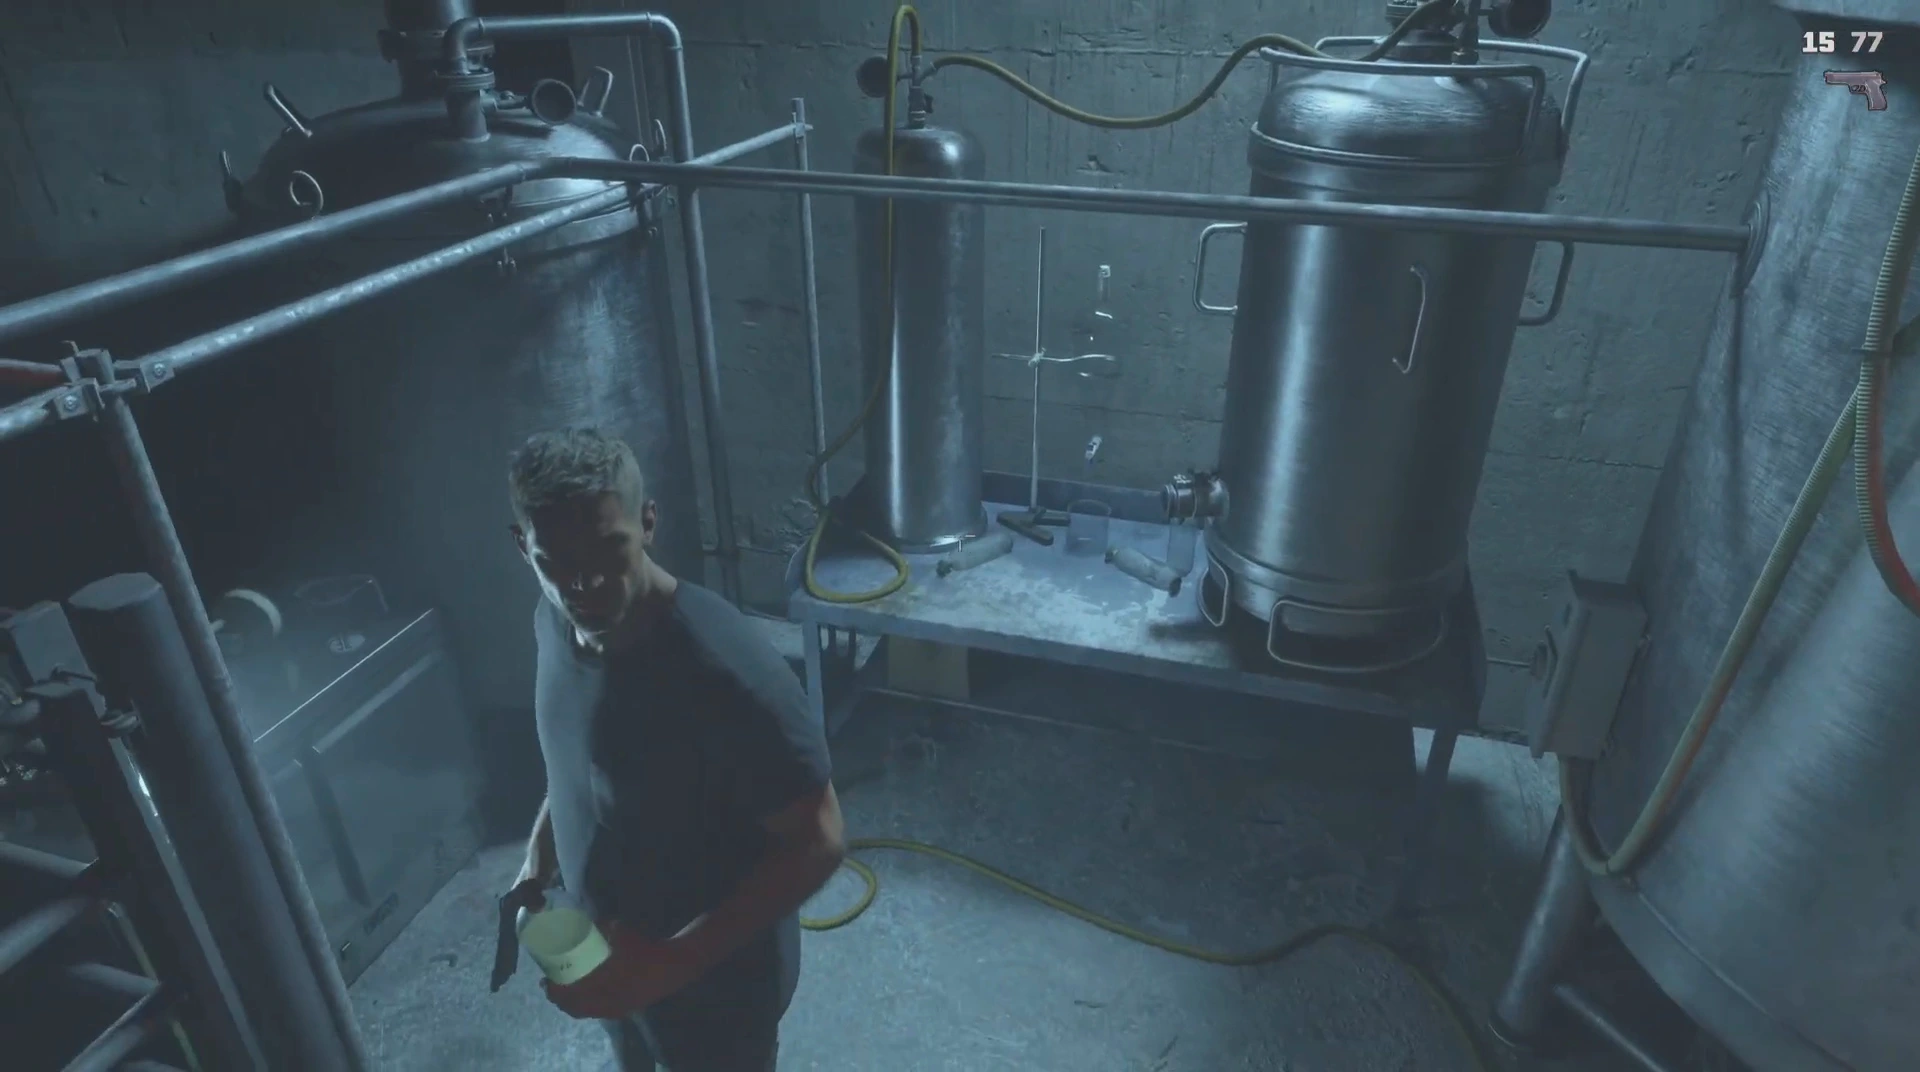
Walk to the bench between the steel tanks at the back of the room and pick up the jug of milk. Jason carries it in his hand.
Feed the alien
Head back through the tunnels to the tiled medical room with a large machine shaped like an iron lung and a heart monitor on the wall. Go to the glowing green slot on the machine and press Insert.
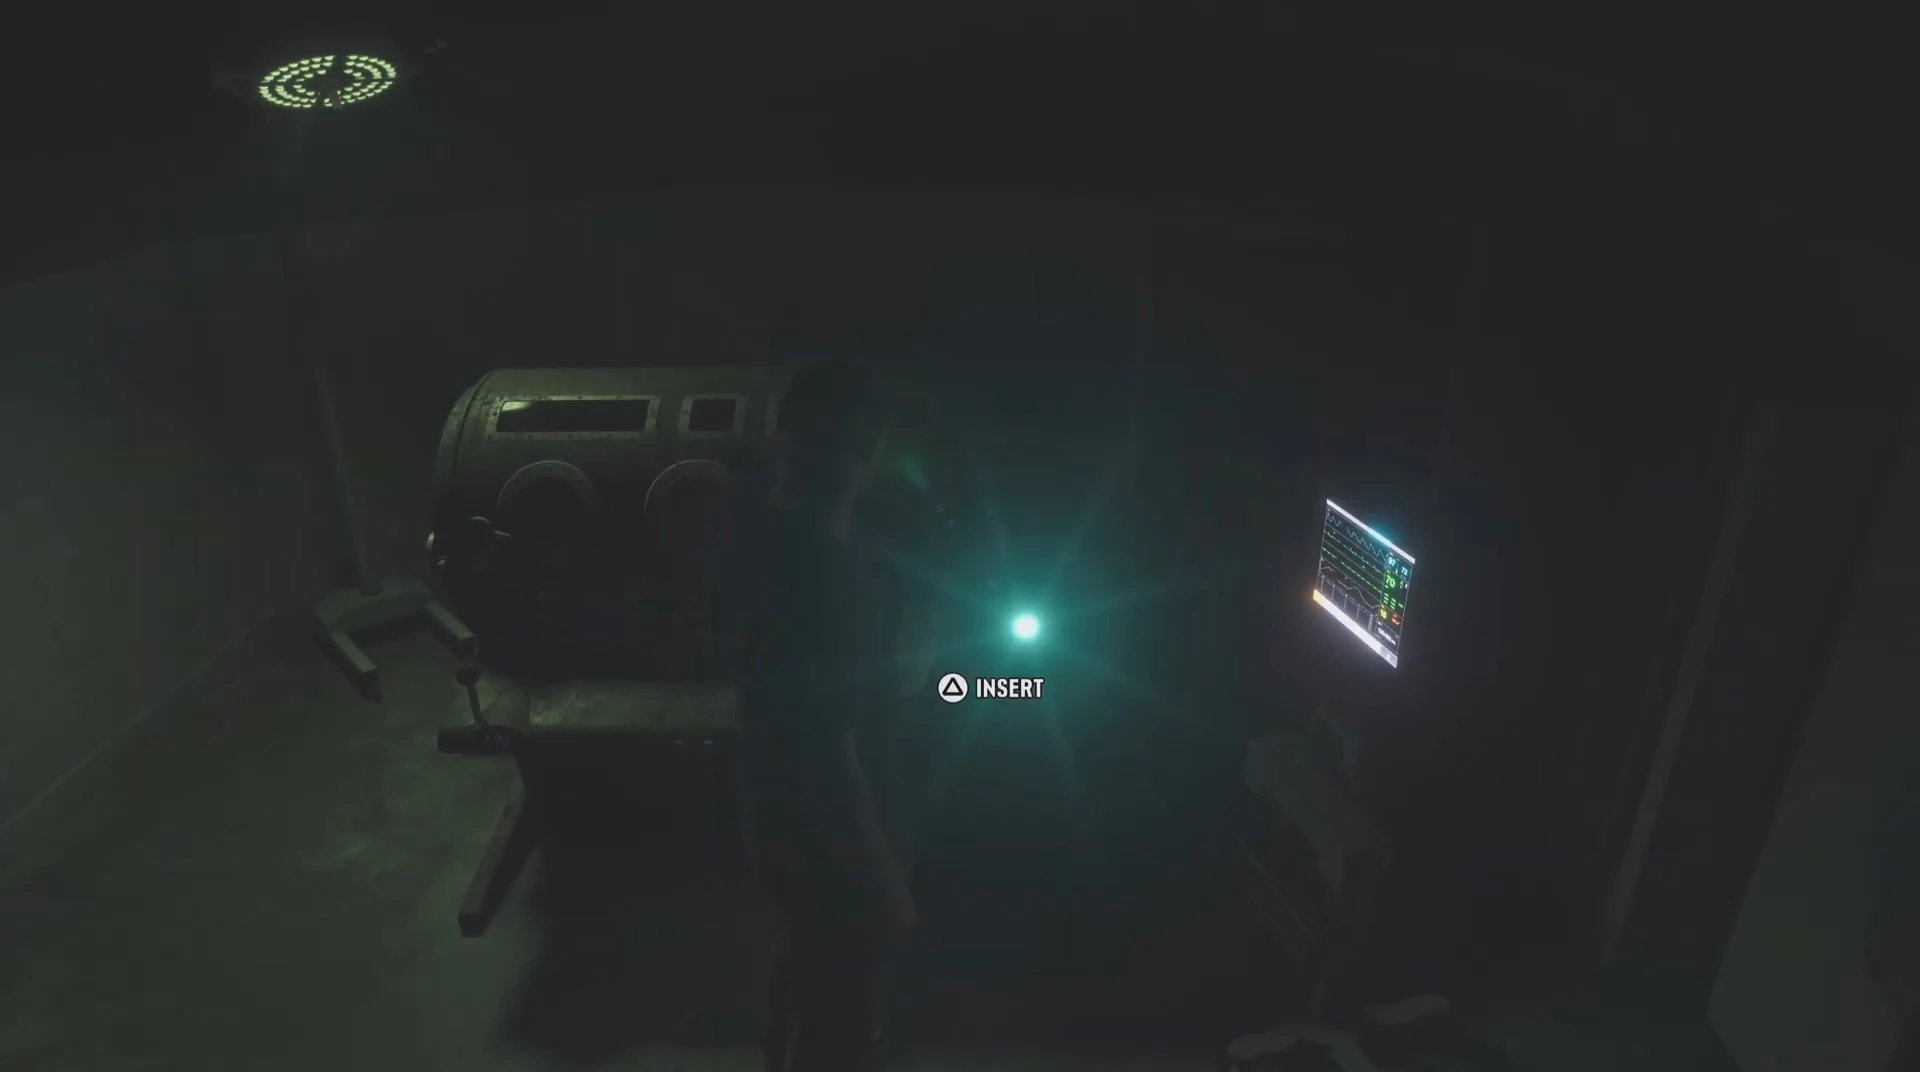
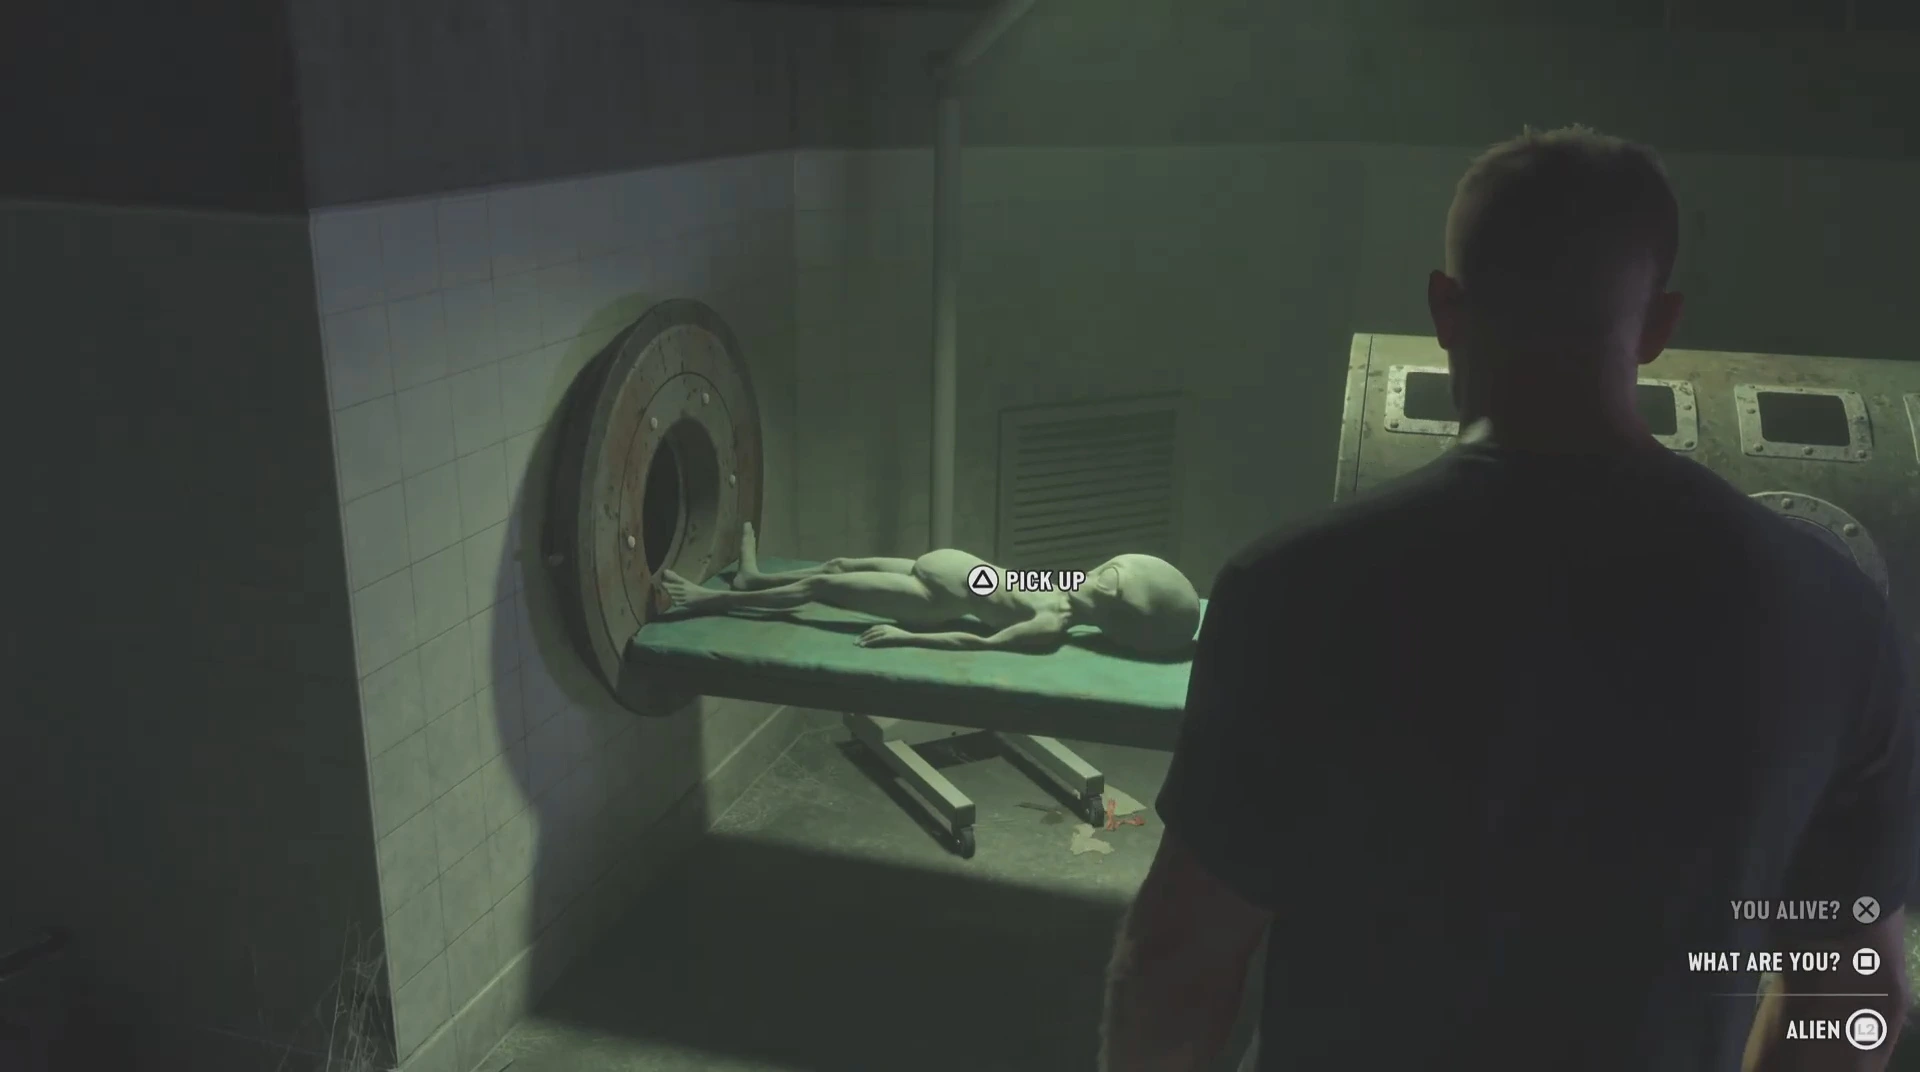
The tray slides out and a small grey alien is lying on it. You get three dialogue options: You alive?, What are you? and Alien. Then choose Pick Up. Jason lifts the alien and carries it in his arms.
Escape and the UFO ending
As soon as you pick it up, an alarm sounds and a voice calls for immediate evacuation under an “NHI escape protocol”. Follow the lit route back through the smoke-filled corridors and the lift to the surface.
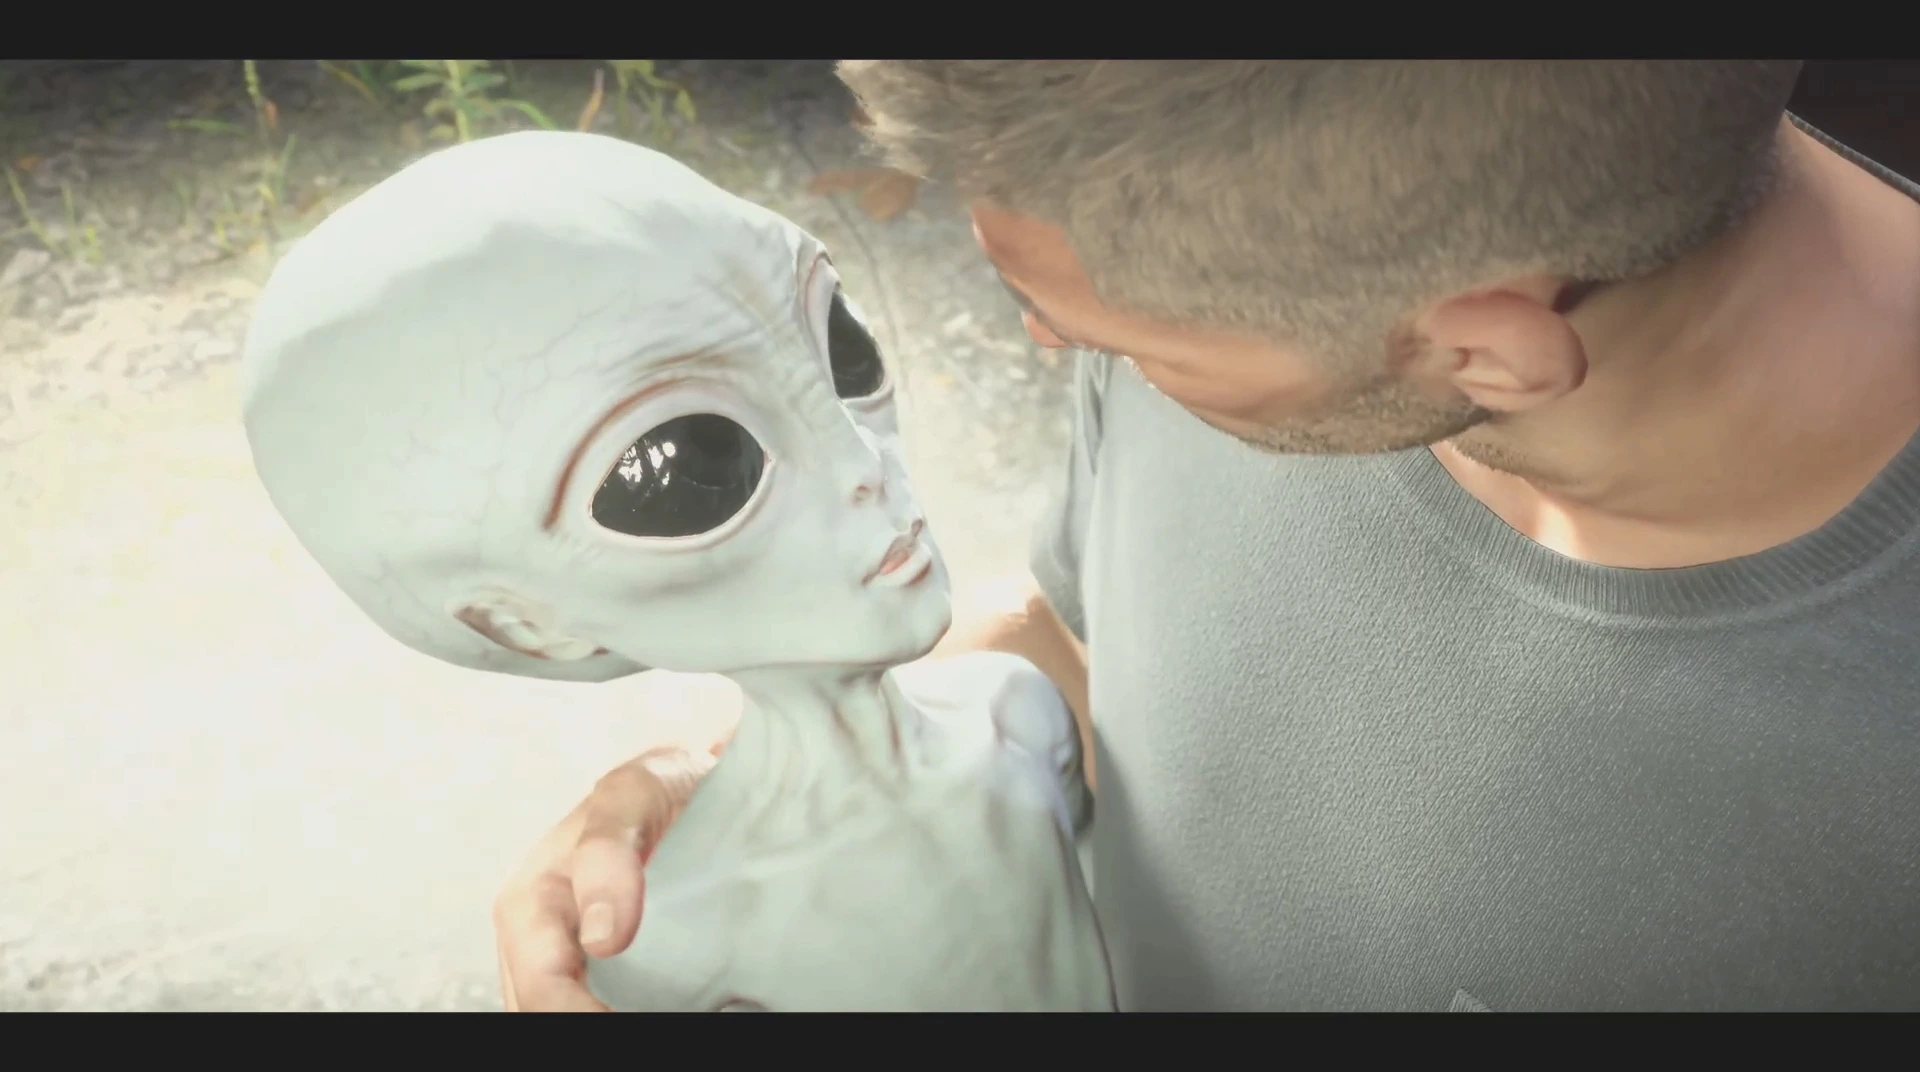
Outside, a short cutscene plays. Jason sets the alien down and gets four notifications:
- Focus buffed
- Max focus increased
- Max stamina increased
- Max health increased
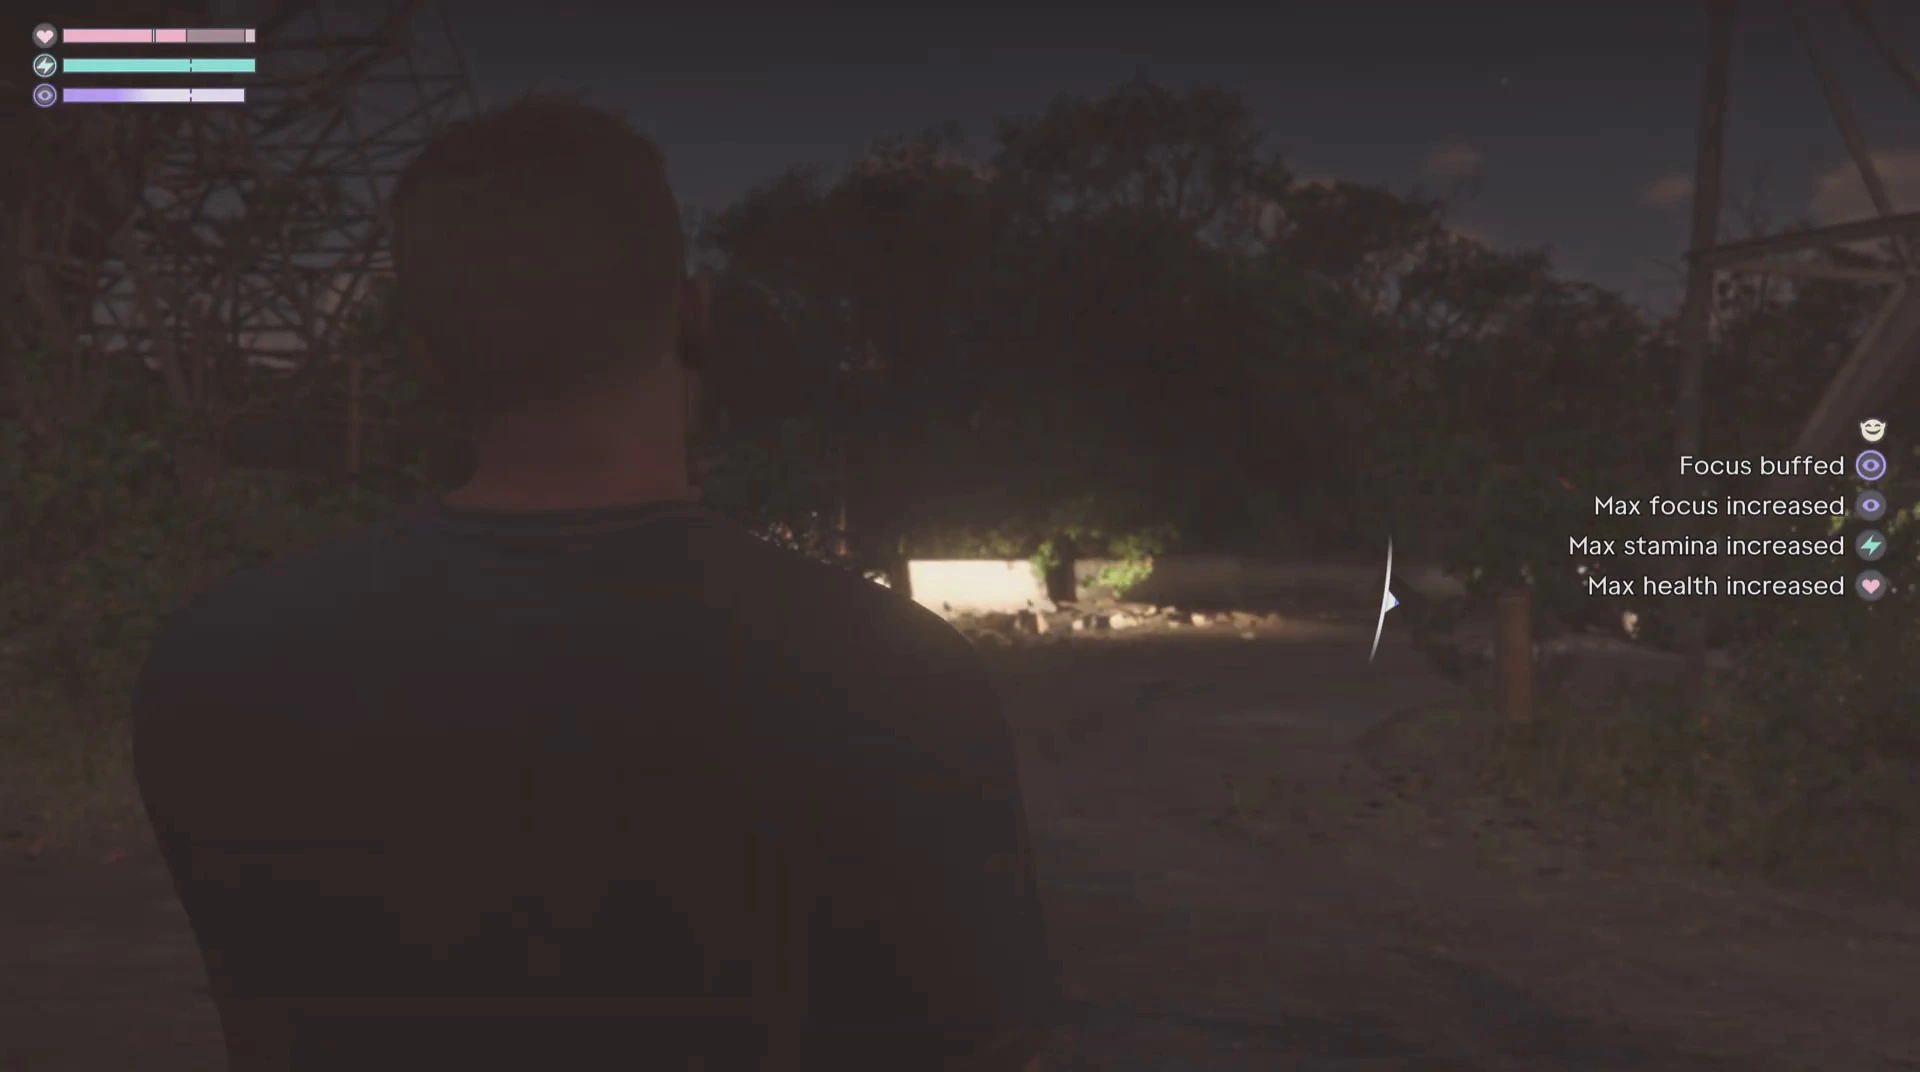
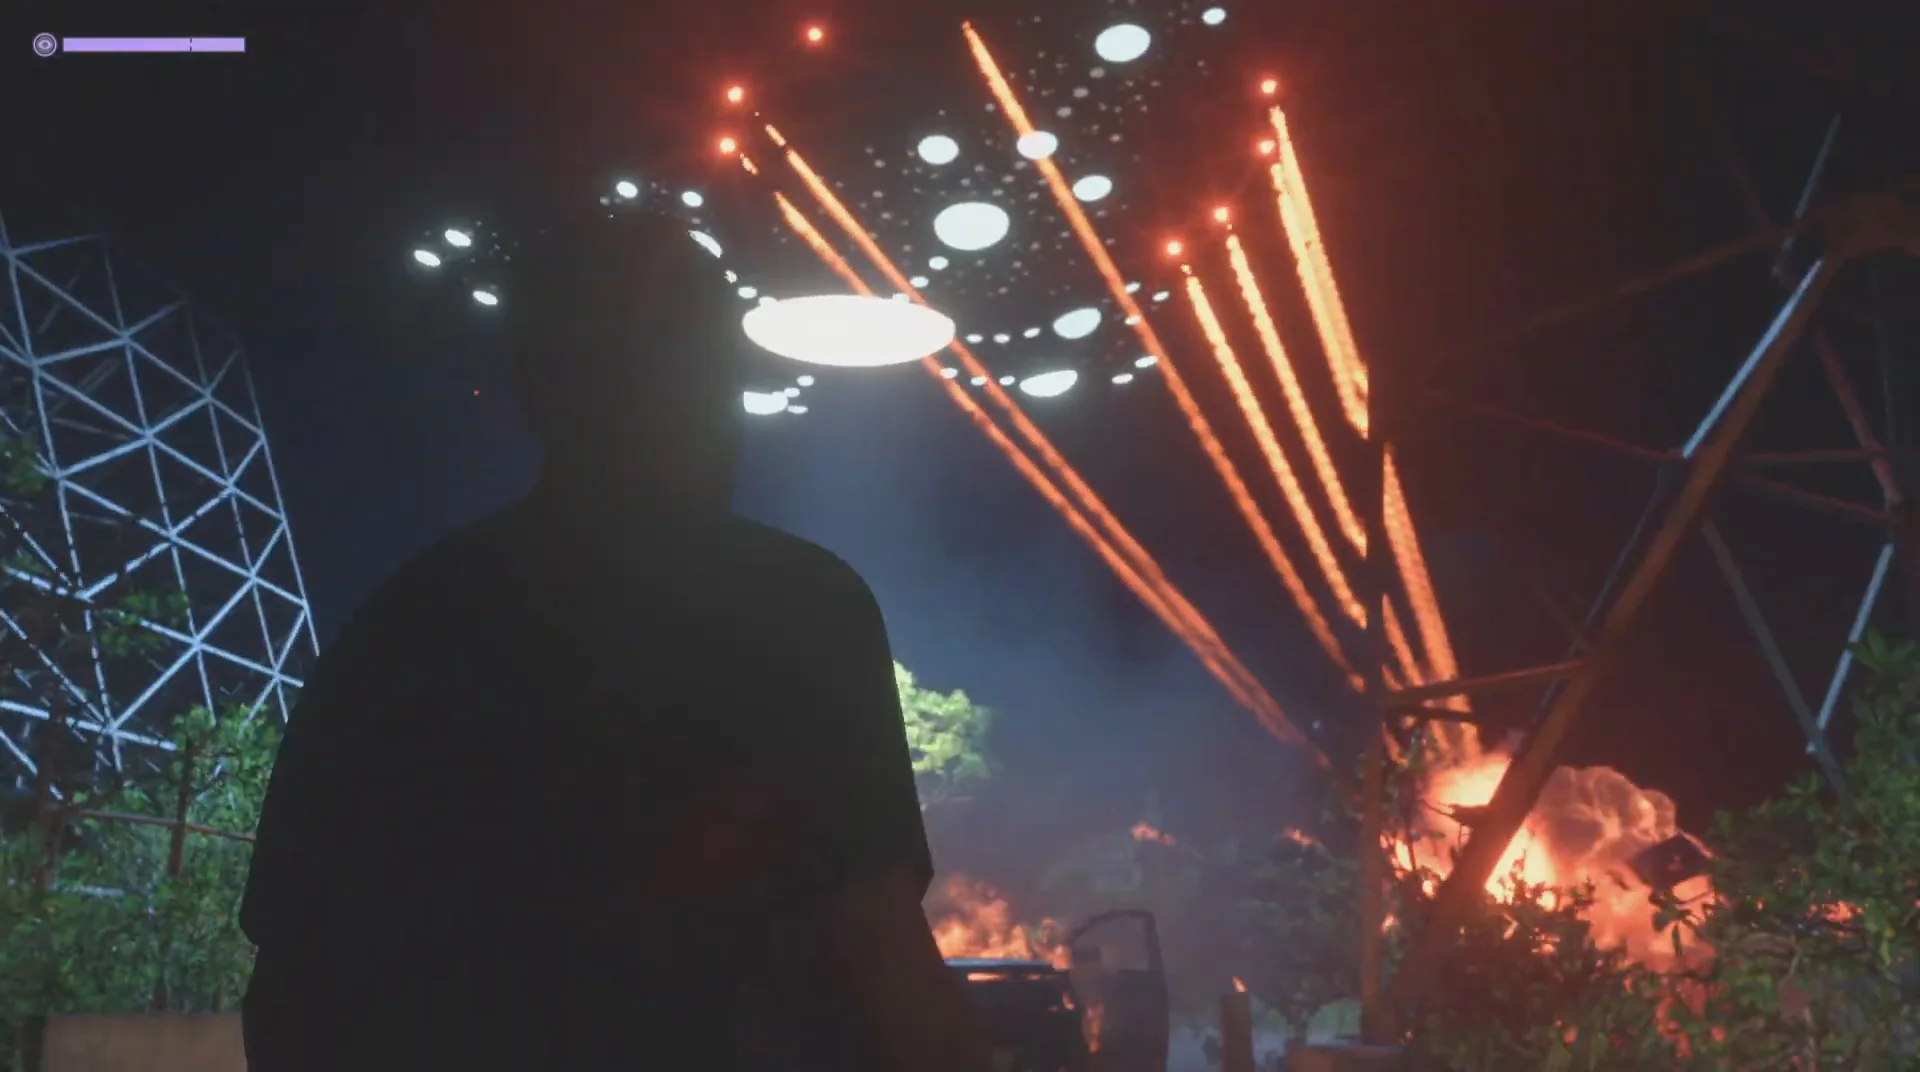
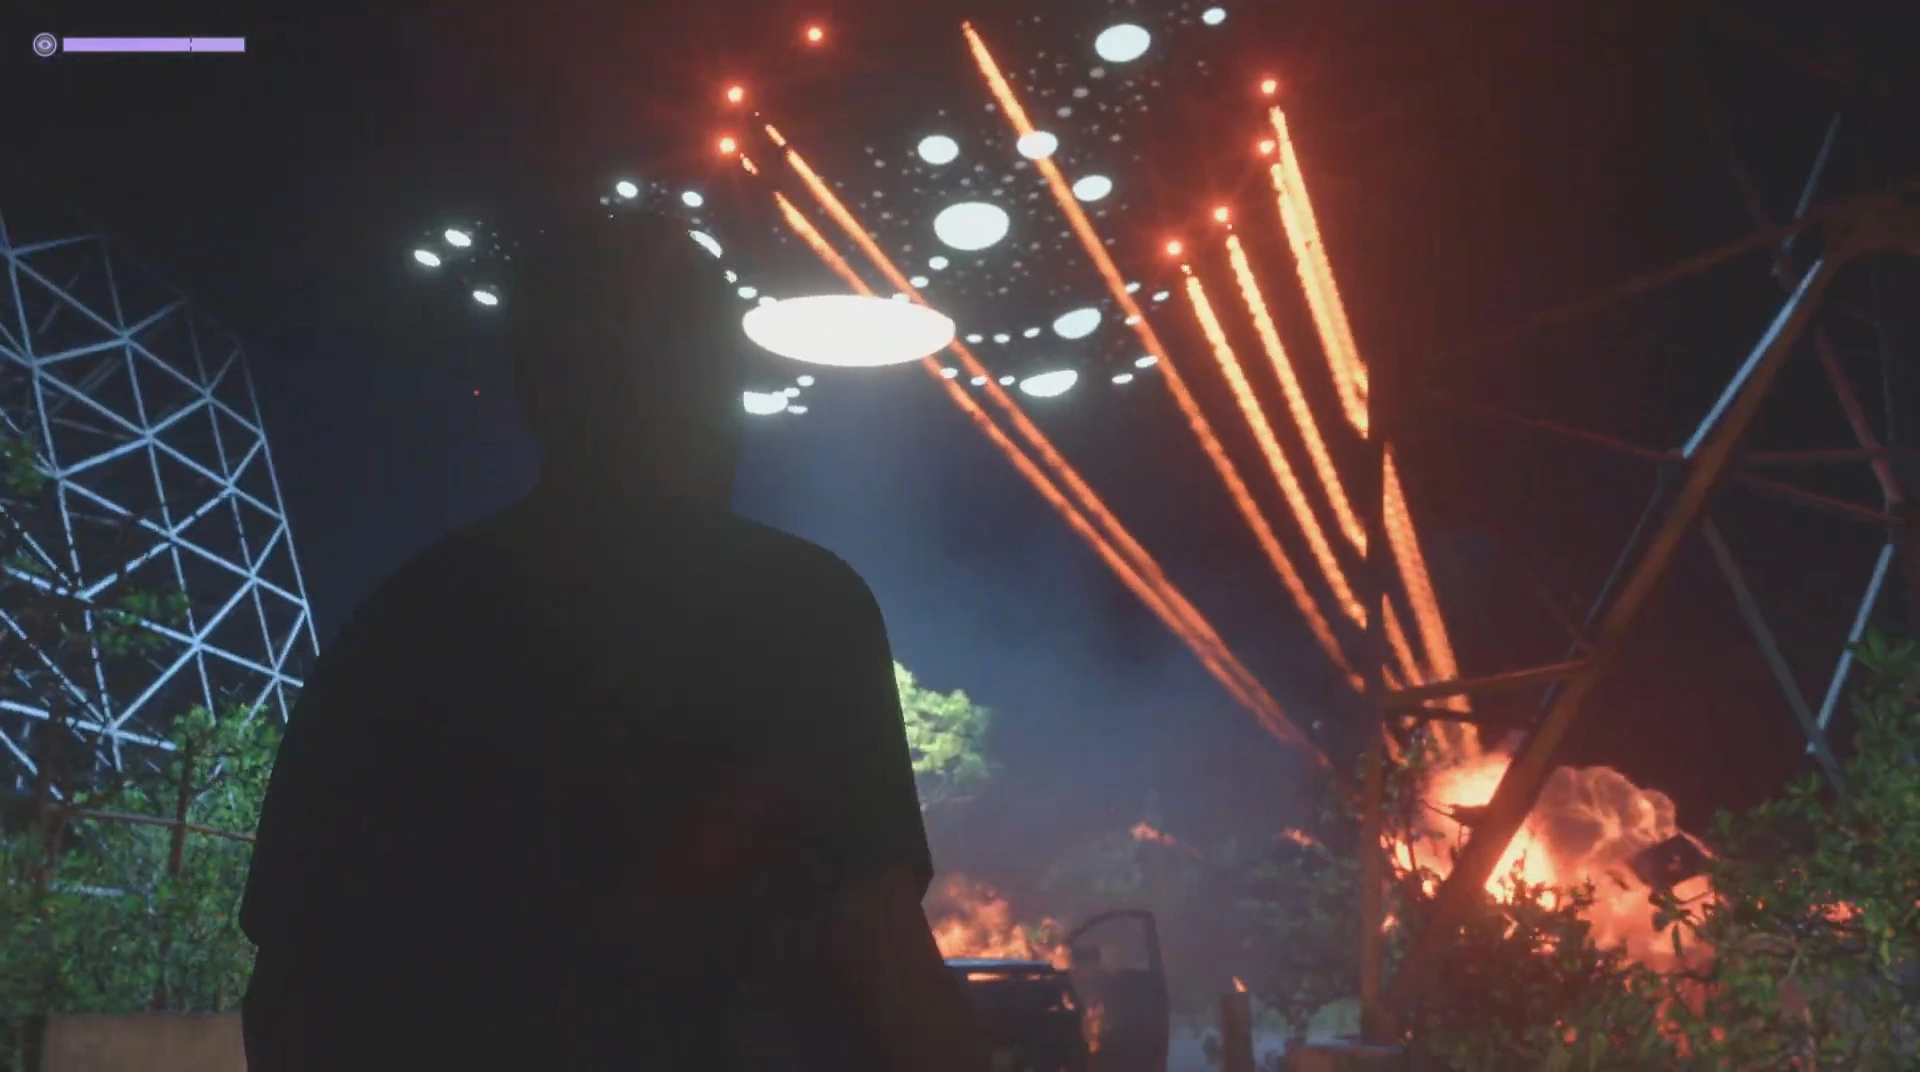
A vehicle then pulls up and someone tells Jason he’s not allowed to be there. Before anything else happens, a huge UFO appears over the radio masts, fires on the vehicle and sets it on fire. The UFO hovers overhead before leaving, and control returns to you.
What we don’t know yet
- Repeatable? We haven’t seen whether the bunker can be entered again after the UFO leaves.
- Lucia? The footage shows Jason only. We don’t know yet if Lucia can trigger it or if the boosts apply to both characters.
- Trophies: no trophy pop appeared in the footage.
- Size of the boosts: the notifications don’t give numbers. Compare your health, stamina and focus bars before and after to see the difference.
More GTA 6 guides
- GTA 6 Easter eggs and secrets
- GTA 6 Bigfoot (Skunk Ape) location
- GTA 6 beginner tips
- GTA 6 FAQ
- Every GTA 6 mission walkthrough