GTA 6 Combat Tips
GTA 6 combat tips: how the weapon wheel and loadout limits work, cover and combat focus, healing and adrenaline, and how your criminal profile and heat react.
Skip to the guideGunfights in GTA 6 are slower and more grounded than in GTA 5. You carry fewer guns, cover matters, and the game keeps track of how violent you are. These tips come from the first two chapters, with Jason and Lucia, and each links to the mission where the mechanic shows up. Controls are given for PS5, as shown in the footage.
Quick version: hold L1 for the weapon wheel and keep a pistol plus one longarm ready. Fight from cover and use combat focus for hard shots. Heal between waves and save adrenaline for emergencies. Loot every body, and after a fight get out of sight before the cops identify you.
The weapon wheel and your loadout
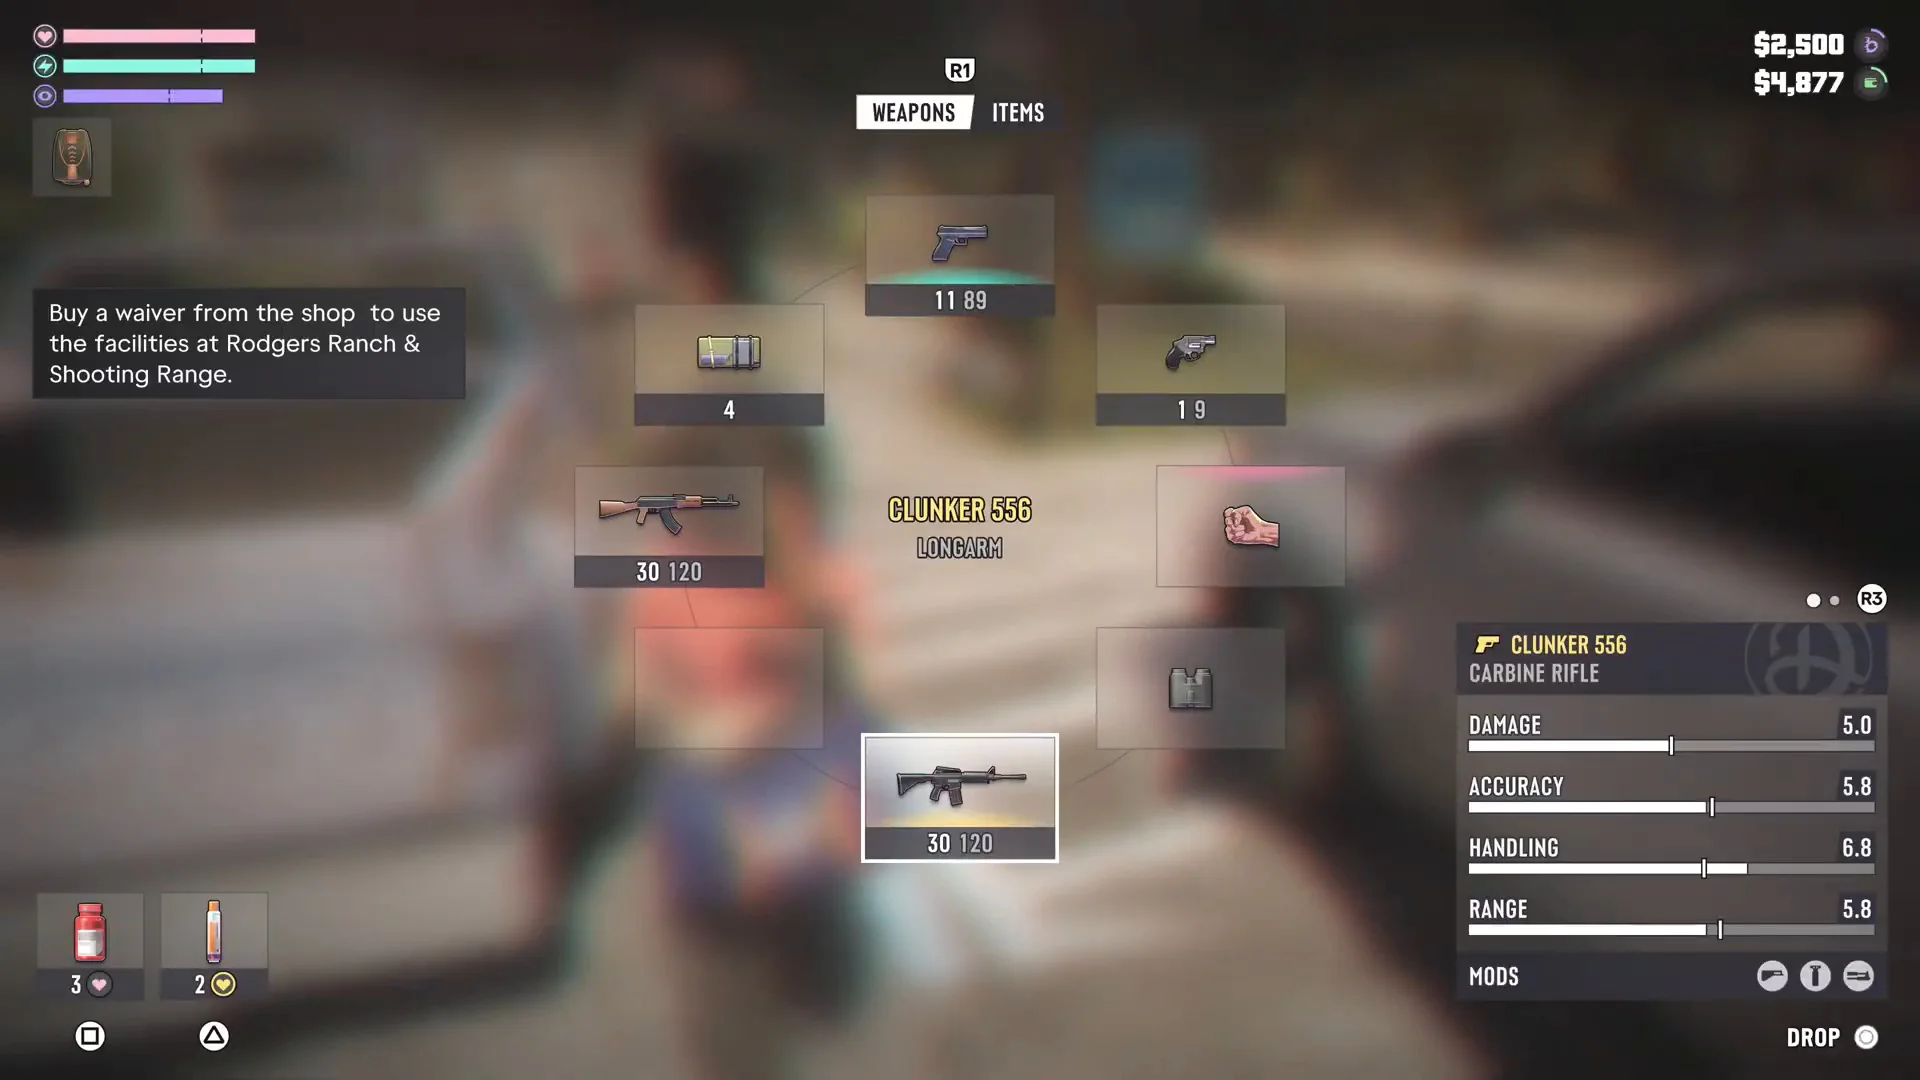
Hold L1 to open your loadout, the GTA 6 weapon wheel. Island Dreams shows the same prompt underwater. The wheel has two tabs, Weapons and Items, and R1 switches between them. The hero screenshot shows Lucia’s wheel at Rodgers Ranch:
- Sidearms and longarms around the ring, each with its loaded and spare ammo (for example “30 120” on a rifle).
- Unarmed (fists) in its own slot, plus throwables (the slot marked 4) and tools such as the binoculars you use in Gone Fishing.
- The selected gun’s stats card on the right: damage, accuracy, handling, range and mods.
- Health items and adrenaline in the bottom corner, each with a button shown under it, and a Drop option for the selected weapon.
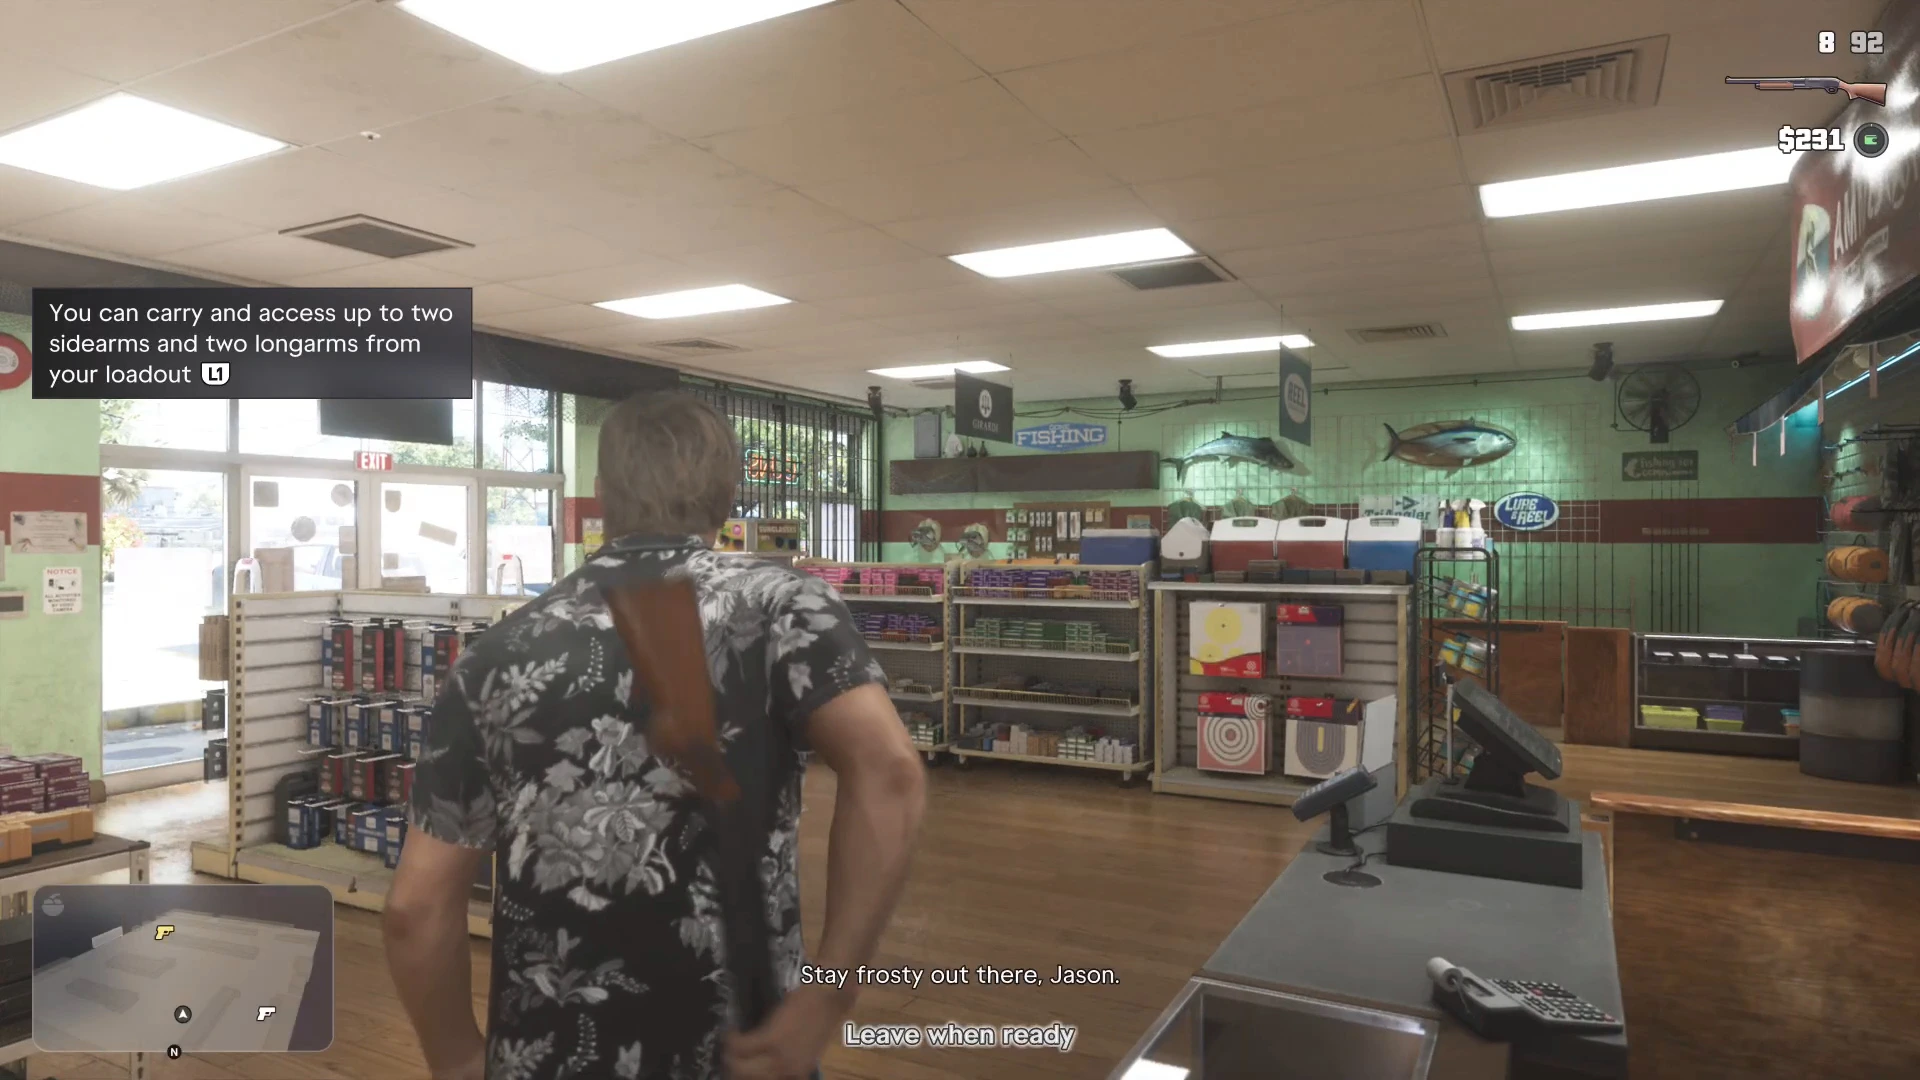
When you leave Chuck’s Tackle & Shot in Gear Up, a hint spells out the limit: “You can carry and access up to two sidearms and two longarms from your loadout.” Anything else has to go in a weapon locker or your car’s trunk.
Picking up weapons
Walk over a dropped gun and a prompt shows its name with the button to take it. After the parking lot fight in Gear Up, Jason can pick up a WCR1 Compact Revolver and a Knife from the attackers. Loot prompts on bodies also give ammo, cash and items such as Zombix.
Cover and aiming
Gone Fishing introduces both quick-equipping your gun and taking cover, right as you start the escape with Donnie. After that, most fights are built around it:
- Move from cover to cover. In Gone Fishing it’s ATVs and trailers. In Swamped it’s the sheds and trucks. In Tourist Trap it’s planters, pillars and a low wall by a food truck.
- Use what’s in the room. In Hit Kingpin Bowling Lucia fights from behind barrels, booths and the snack counter.
- Don’t rush into the open. In Find Donnie’s Package, walking onto the dock with no cover ended in a Wasted screen. Shooting from the boat worked.
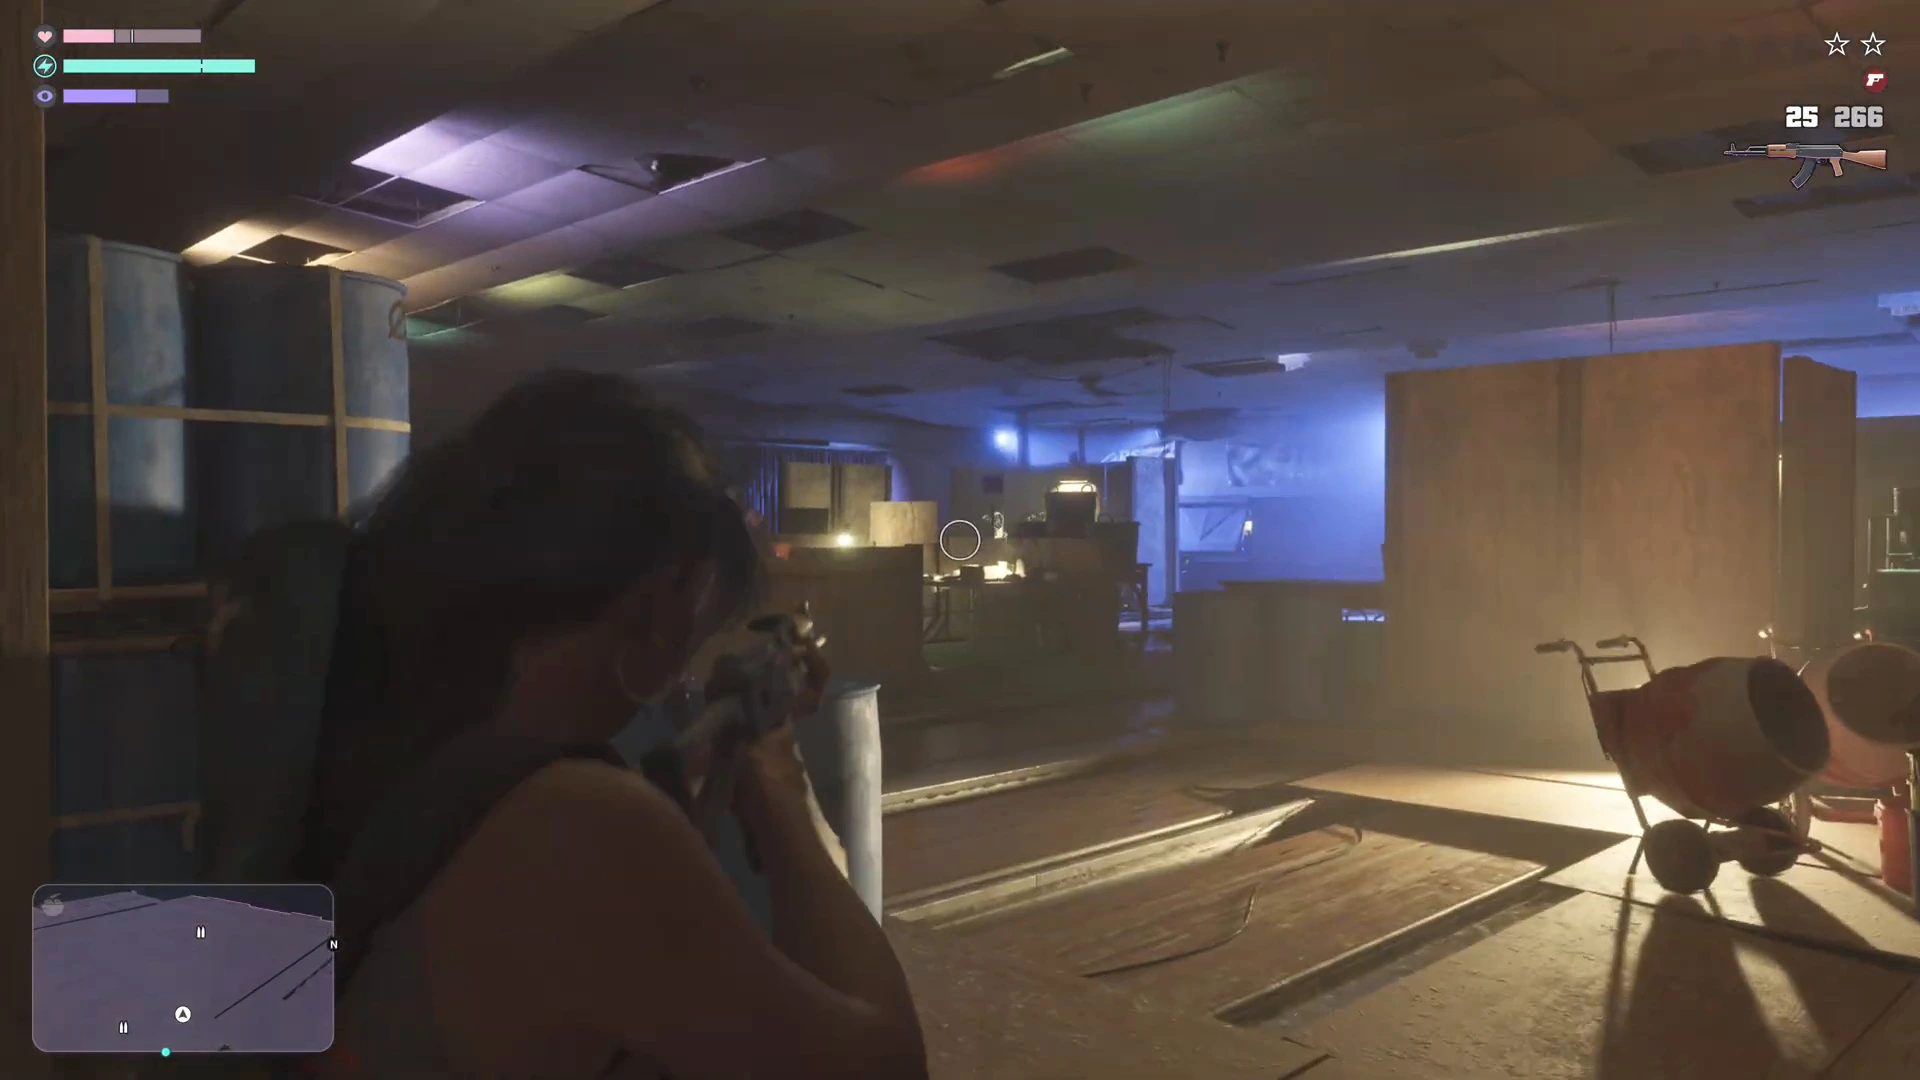
Aim for the upper body and keep moving between shots. Enemies push toward you, so let them come into the open.
Combat focus
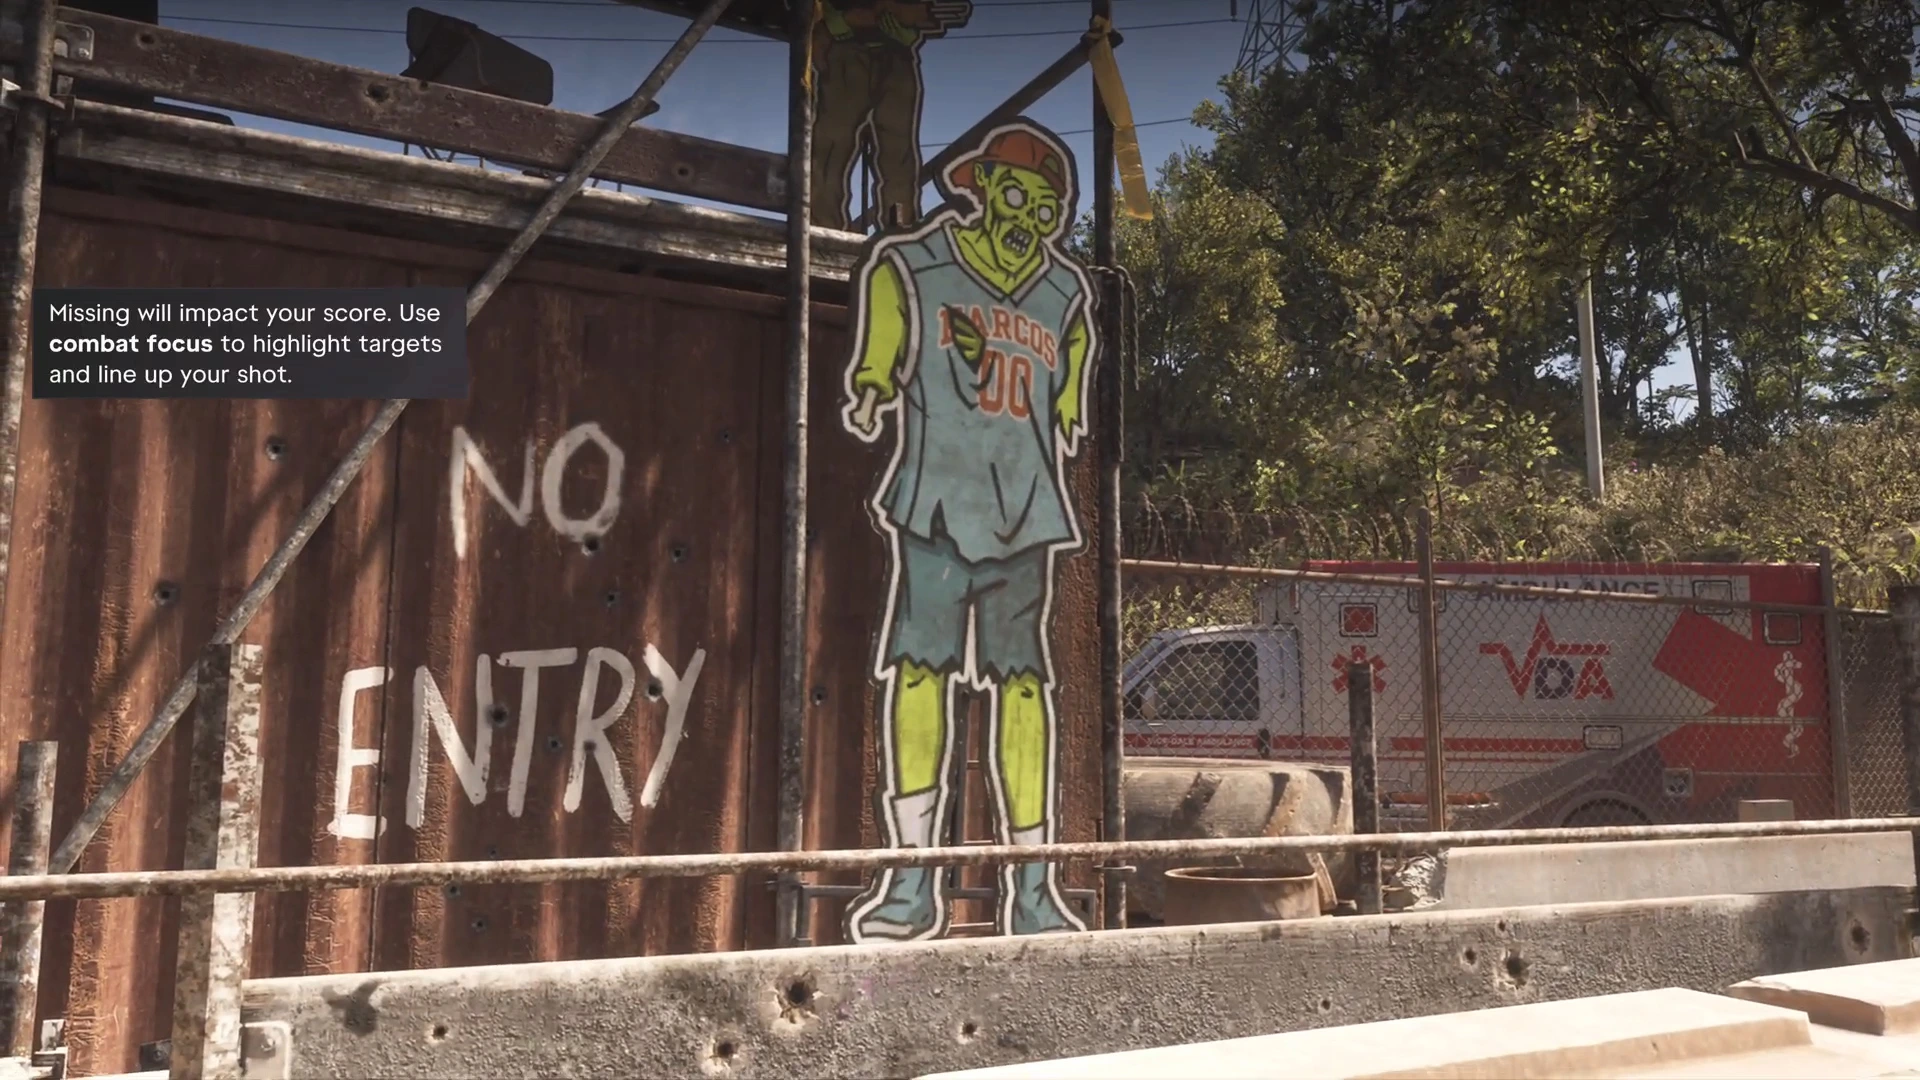
The purple bar under your health and stamina is focus. While you aim, combat focus slows time. The Rodgers Ranch range says it plainly: “Missing will impact your score. Use combat focus to highlight targets and line up your shot.”
Focus also does a few things in missions:
- It slows down flying targets, like the champagne bottles in Day Release.
- It shows vulnerable areas on vehicles, which is how you stop the SUVs in Discharge Time.
- Incapacitations refill the focus bar, depending on your criminal profile (Clear Skies).
- It levels up with use. Lucia’s focus reached level 2 of 4 during Discharge Time.
Healing, adrenaline and melee
Donnie hands you Zombix in Gone Fishing. It’s a healing item, so use it between waves instead of hiding until your health comes back. Adrenaline “overpowers” your health, stamina and focus for a short time (Unwanted Attention). Save it for the last wave or a bad moment.
Fistfights use their own prompts. In the Gear Up parking lot the hint reads: press Square to fight, hold Cross to block, press Cross to dodge. The bar fight in Coming Home is fists only, so don’t draw a gun there.
Your criminal profile
GTA 6 tracks how you handle fights, and a feed on the right side of the screen tags takedowns as you go. From the tips we’ve seen:
- Professional: clean jobs with limited aggression.
- Hardened: lethal force pushes you this way (Down to Earth), and so does disabling a pursuing cop car without casualties.
- Violent: “indiscriminate violence” counts here. The warning appears in Find Donnie’s Package if you throw the harmless fisherman into the water. In Hey Arnold! the feed tagged shooting Arnold as Violent, and in Girls’ Trip a takedown was tagged Lethal.
How much the profile changes later in the story isn’t clear yet. What we can confirm is that it affects how quickly incapacitations refill your focus. If you want a calm profile, use fists and non-lethal takedowns on people who aren’t a threat.
Heat after a fight
Gunfire in public brings the police. After the Gear Up parking lot fight, police dispatch called in an assault outside Chuck’s Tackle & Shot. Jason drove off quickly and got this message:
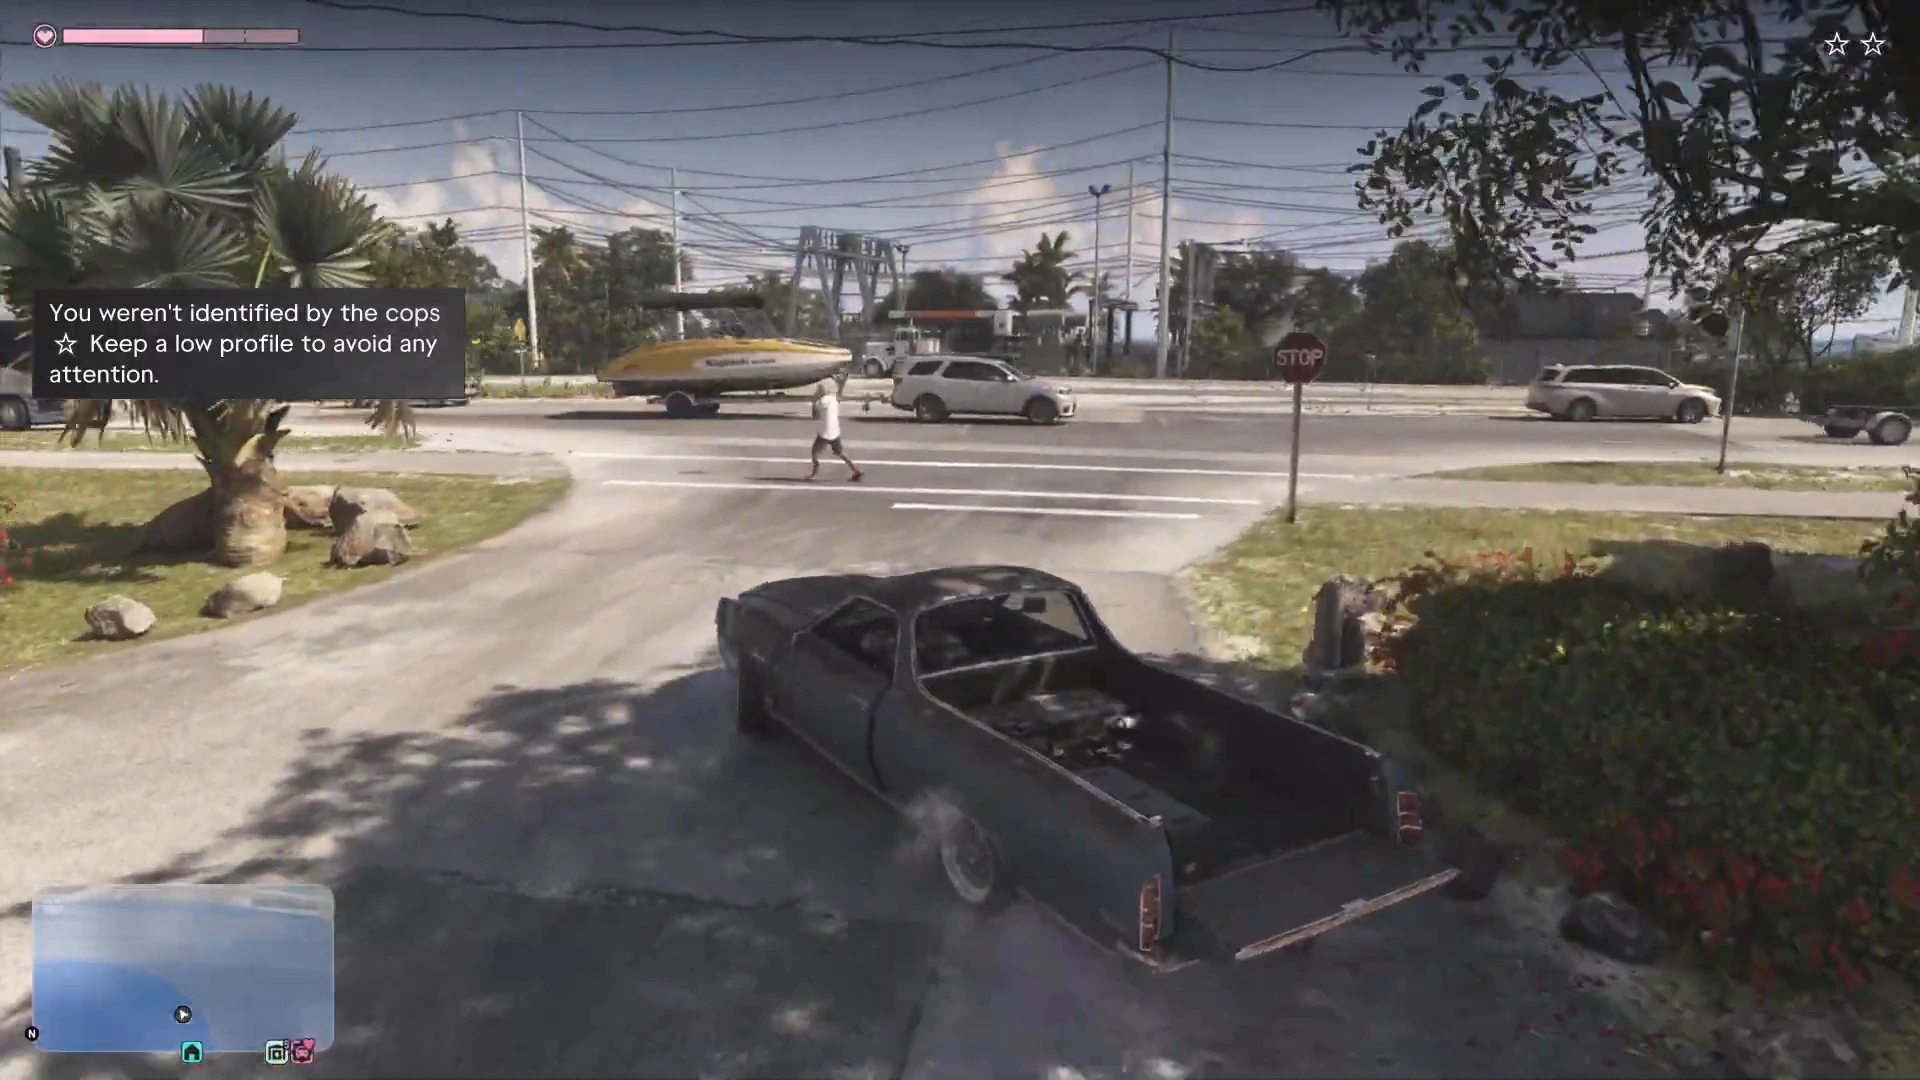
“You weren’t identified by the cops. Keep a low profile to avoid any attention.” If you are identified, the police remember your vehicle and outfit. Swap or respray the car and change clothes to clear that heat, and wait for Heat cleared before some missions will start. The beginner tips cover vehicle and outfit heat in more detail.
More GTA 6 guides
- How to heal in GTA 6
- Where to buy guns in GTA 6
- Best early weapons, ammo and body armor
- GTA 6 weapons list
- GTA 6 beginner tips
- Every GTA 6 mission walkthrough