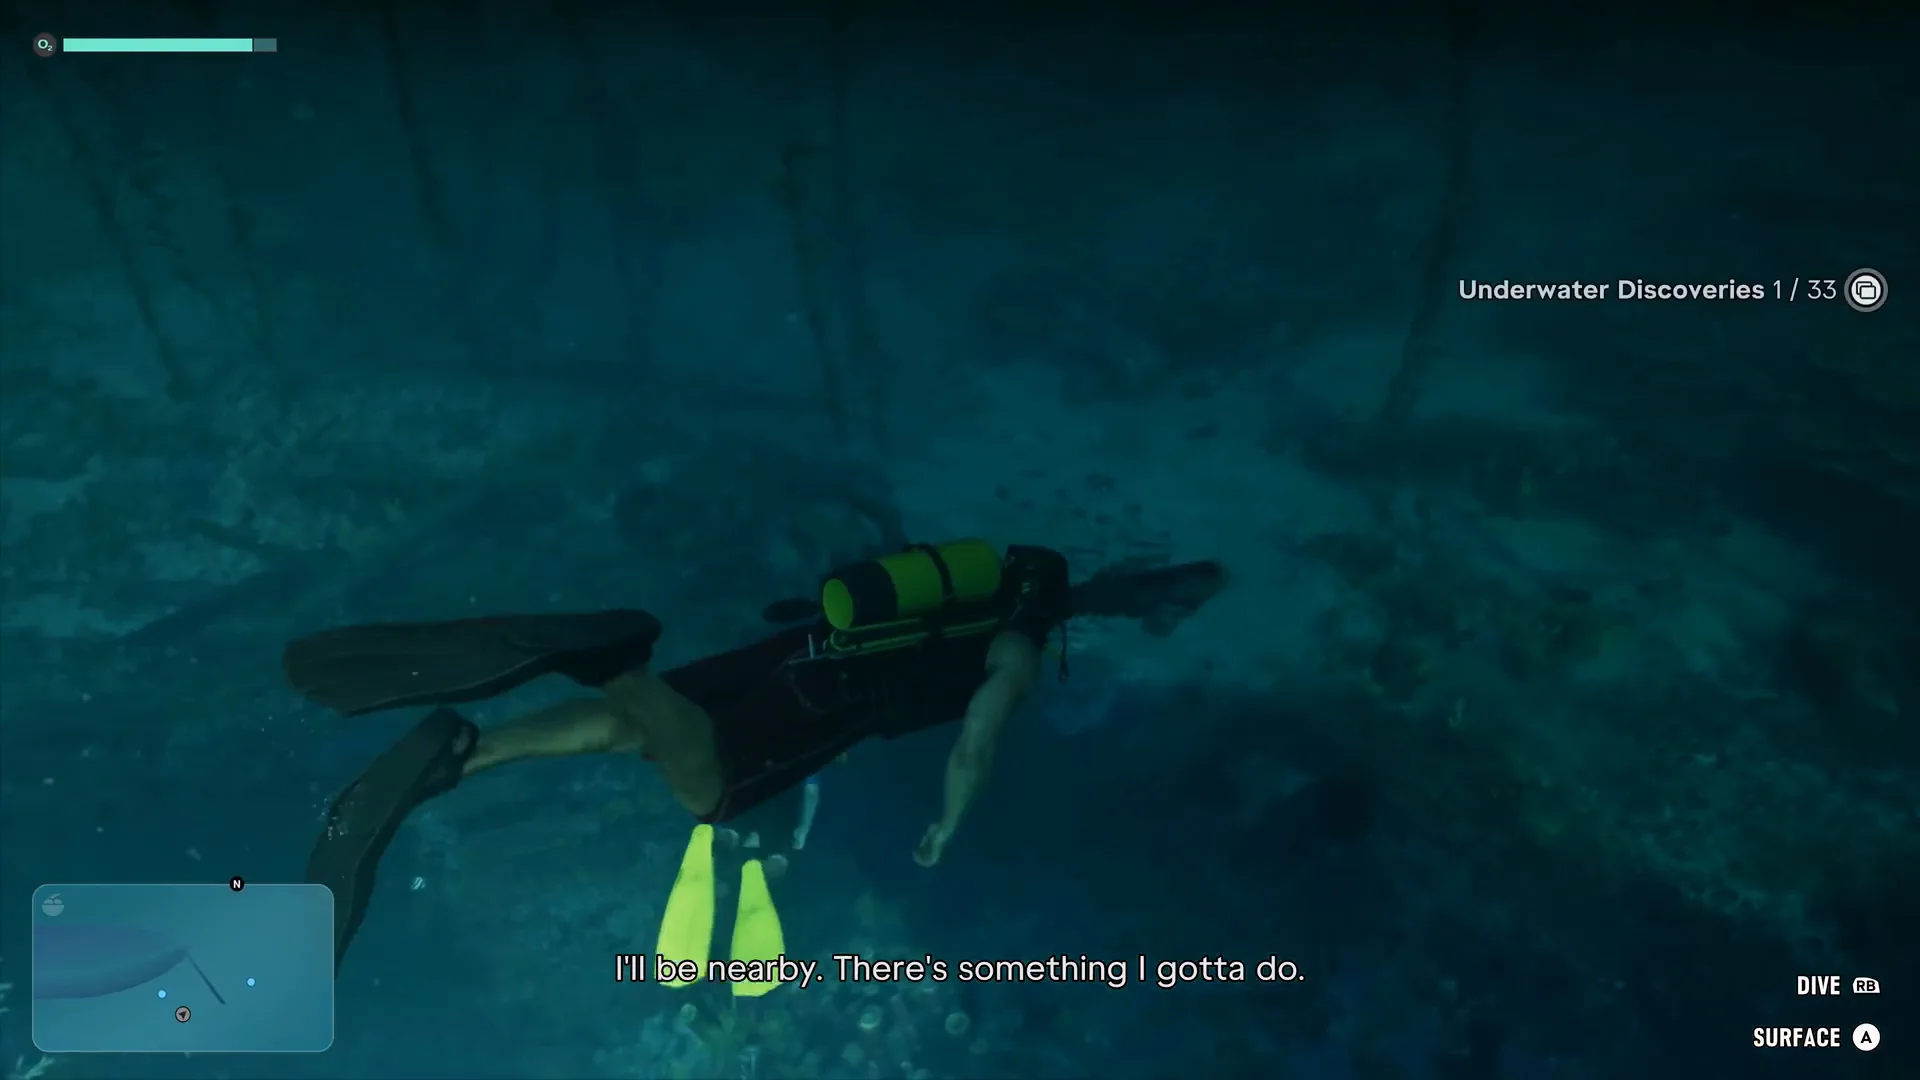
GTA 6 Scuba Diving and Treasure Hunting: Controls, Detector and Underwater Discoveries
How scuba diving and treasure hunting work in GTA 6: swim and dive controls, the oxygen bar, metal detector, Search prompt and 33 Underwater Discoveries.
Skip to the guideScuba diving is a full activity in GTA 6, with its own oxygen bar, swim controls, a metal detector for finding treasure and a running tally of Underwater Discoveries. The game introduces all of it in the story mission Island Dreams, and the HUD prompts it shows there are the best guide to how the system works. This page collects those controls and explains how to find treasure, using only what we have seen on screen.
Quick version: change into the scuba gear at the back of a dive boat · Dive on RB, Surface on A (Xbox prompts) · watch the O2 bar top left · equip the detector, aim until you get a signal and swim closer · press the Search button over the spot (Y on Xbox) · the game counts 33 Underwater Discoveries.
Getting into the water
Dives start from a boat. In Island Dreams Jason and Kenton’s bachelor party take a dive boat out to a reef wreck, and the first objective on arrival is to change into the scuba gear. Walk to the back of the boat, where tanks and fins are stacked, and the prompt appears. Once you are kitted out, step off the back of the boat. We have only seen this done during the mission, so we cannot say yet whether you can rent or buy gear for free diving outside it. Boats themselves are covered in the boats, planes and helicopters guide.
Swim and dive controls
When you enter the water, the game puts a tutorial box on screen. The prompts shown on Xbox read: press the left stick to swim faster and press again to speed up further, and hold LT to strafe in the water or swim backwards.
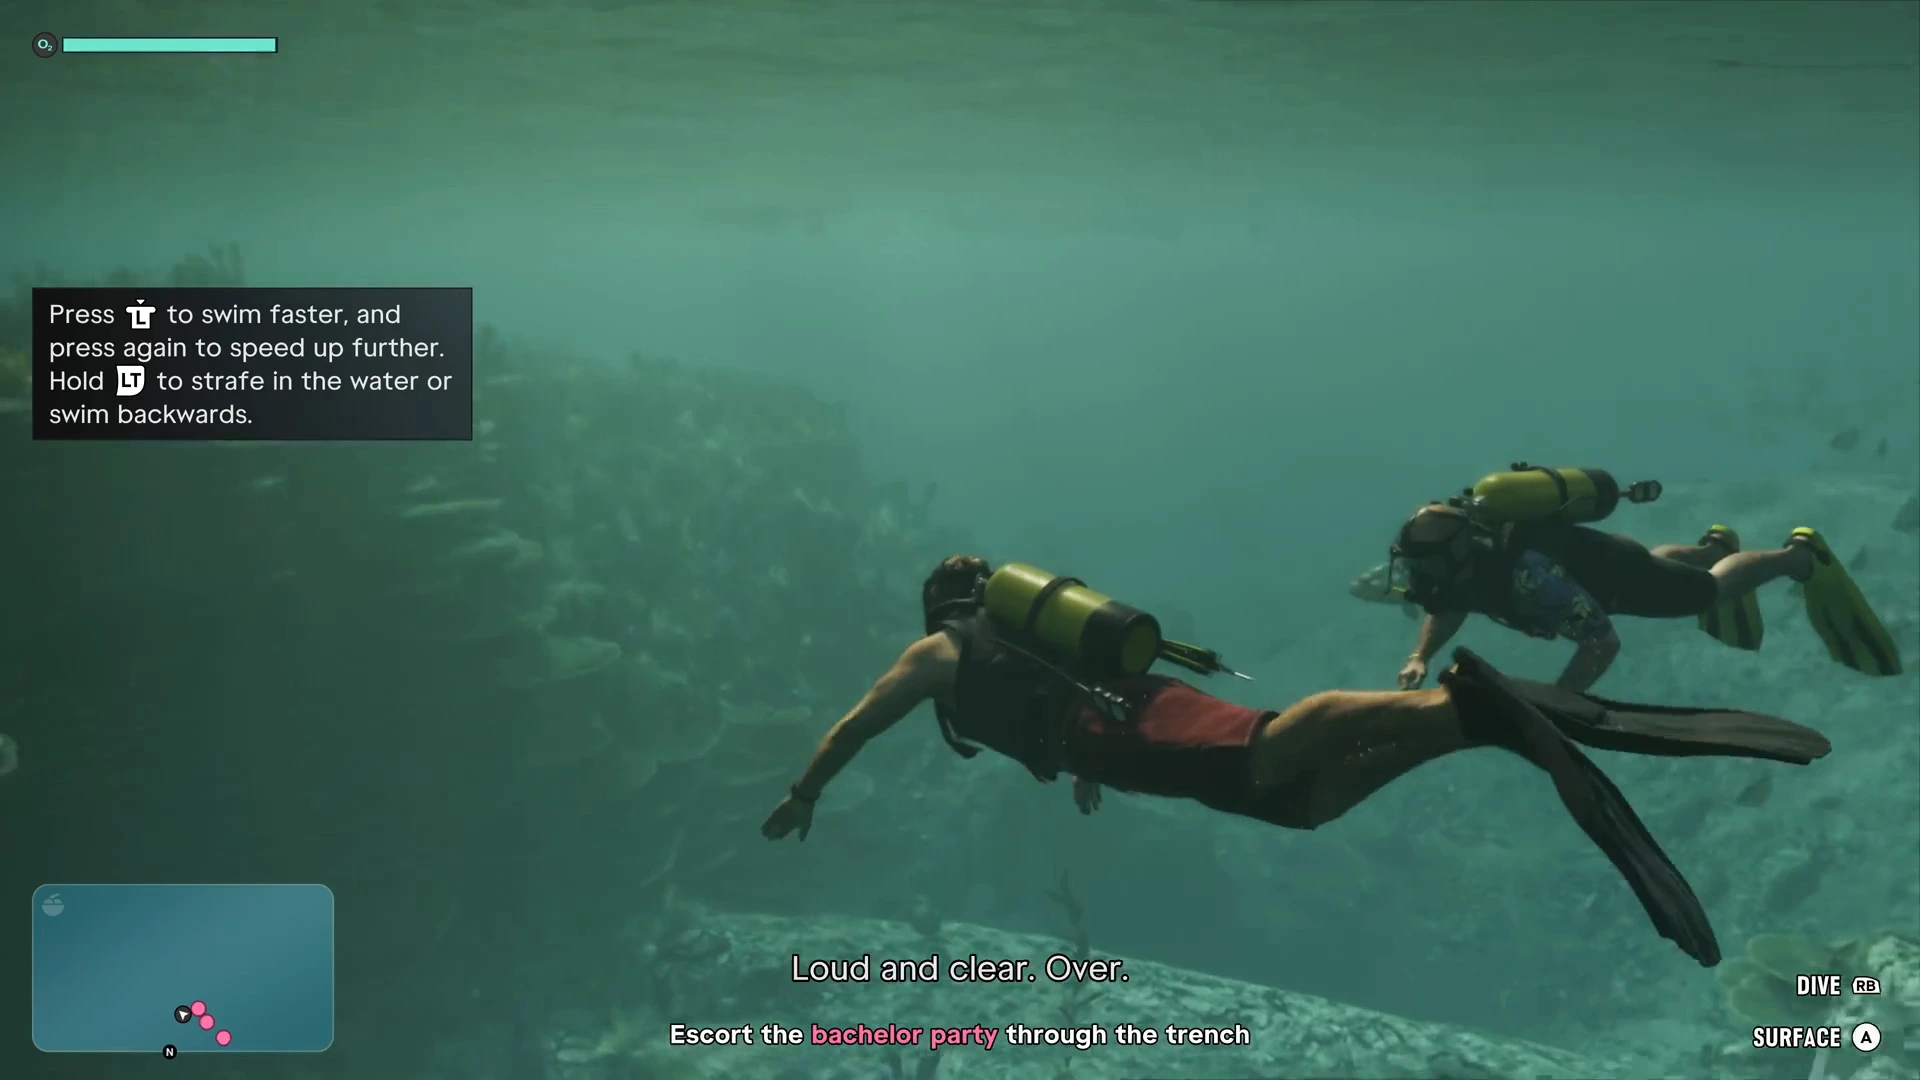
Two prompts stay in the bottom-right corner the whole time you are underwater:
- Dive on RB takes you deeper.
- Surface on A brings you back up.
PS5 equivalents were not on screen in the footage we reviewed, so we do not list them. Check the controls guide for what we have confirmed for each platform.
The oxygen bar
The top-left corner shows a bar with an O2 icon. It starts full and drains the longer you stay under. Across roughly seven minutes of footage it dropped from full to about half, and some of that time was spent standing still at the wreck, so treat it as a rough guide rather than a timer. We did not see what happens when it empties, so surface early. In a story mission the game may also hold you to where the group goes, so the bar is a good reason not to wander off.
Treasure hunting with the detector
Treasure uses a metal detector that Kenton hands Jason before the dive. Equip it from your loadout and an icon appears top right showing a detector with a signal meter. The sequence the game prompts is:
- Equip the detector.
- Hold the aim buttons and sweep around until you locate a signal.
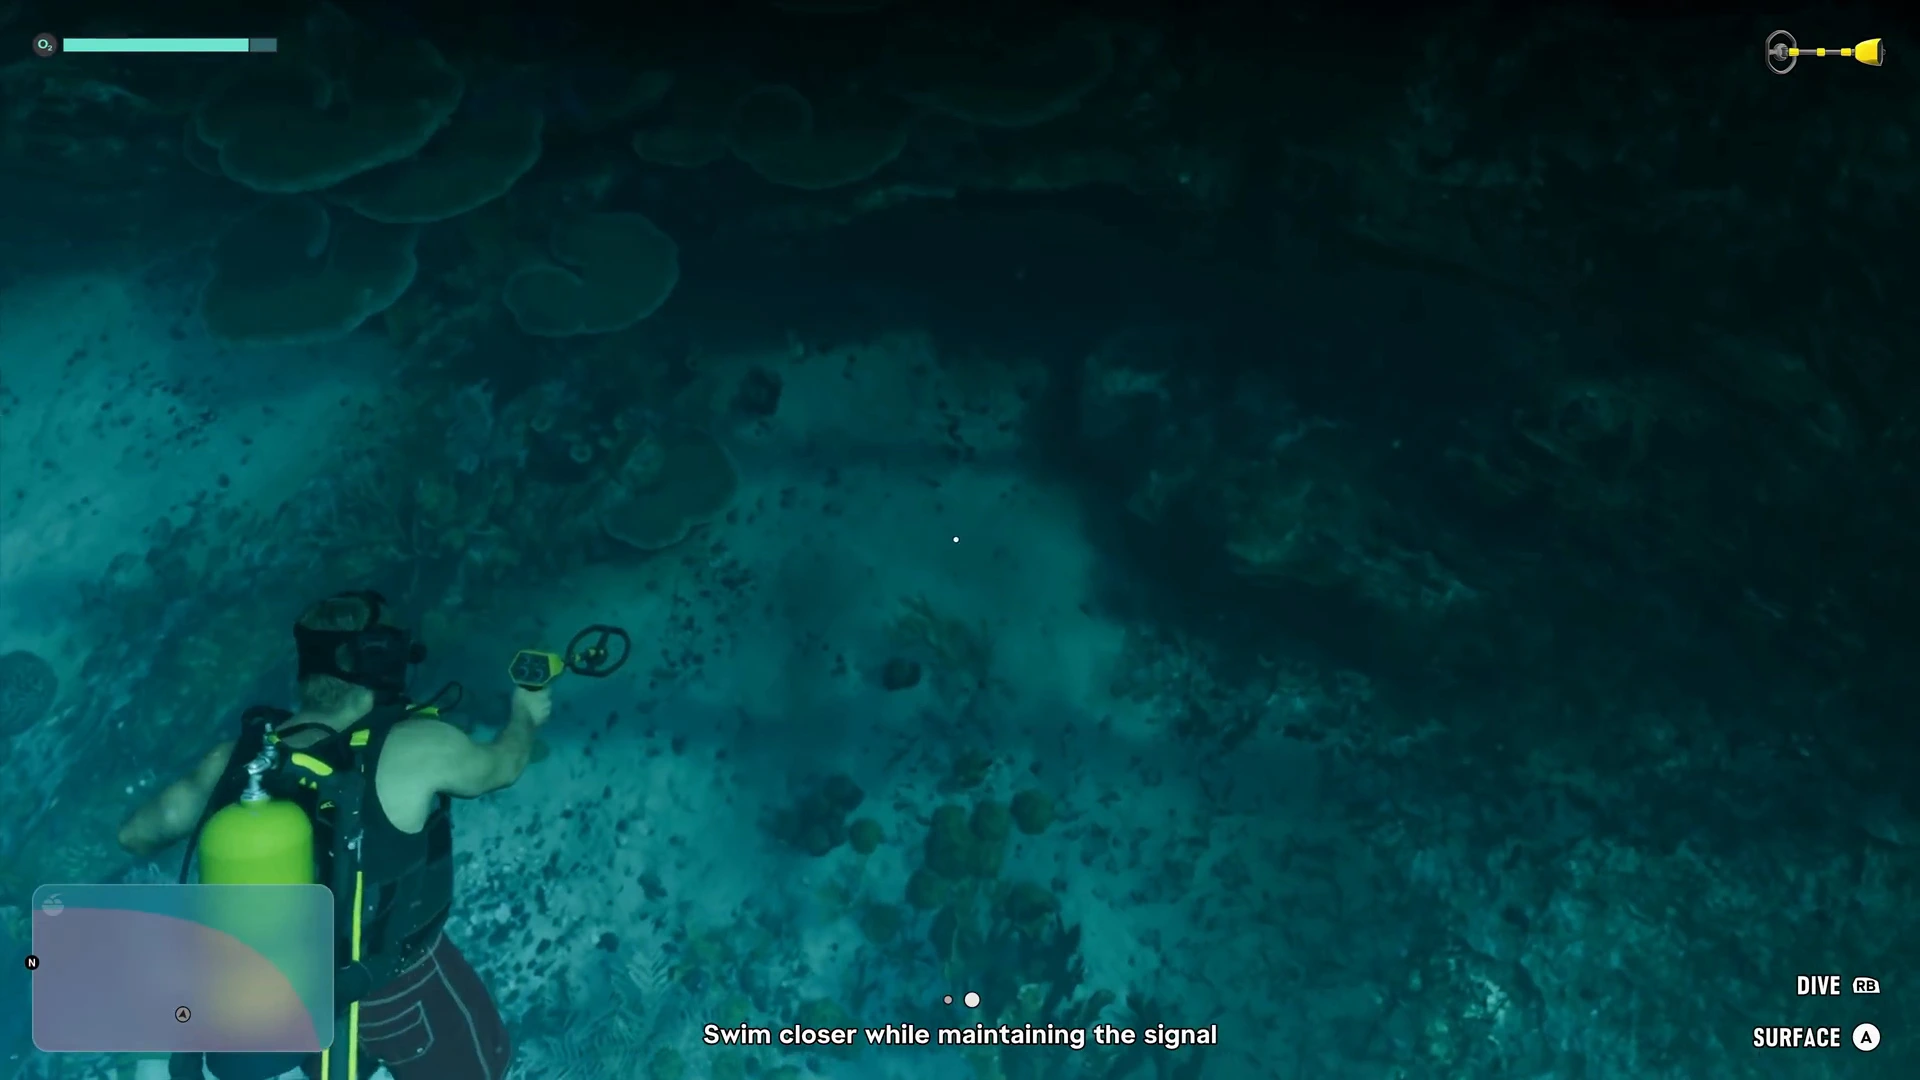
- Swim closer while maintaining the signal.
- When you are over the spot, a Search prompt appears and you press it.
The aim buttons are shown as the left trigger and the right one, as the Island Dreams prompt reads “hold L2 or R2” on PS5. You can see step three below, with Jason holding the detector out in front of him.
At the wreck itself the game shows a prompt with a Y button, a small chest icon and the word Search, right next to a heavily encrusted piece of wreckage. That is the moment you commit to digging.
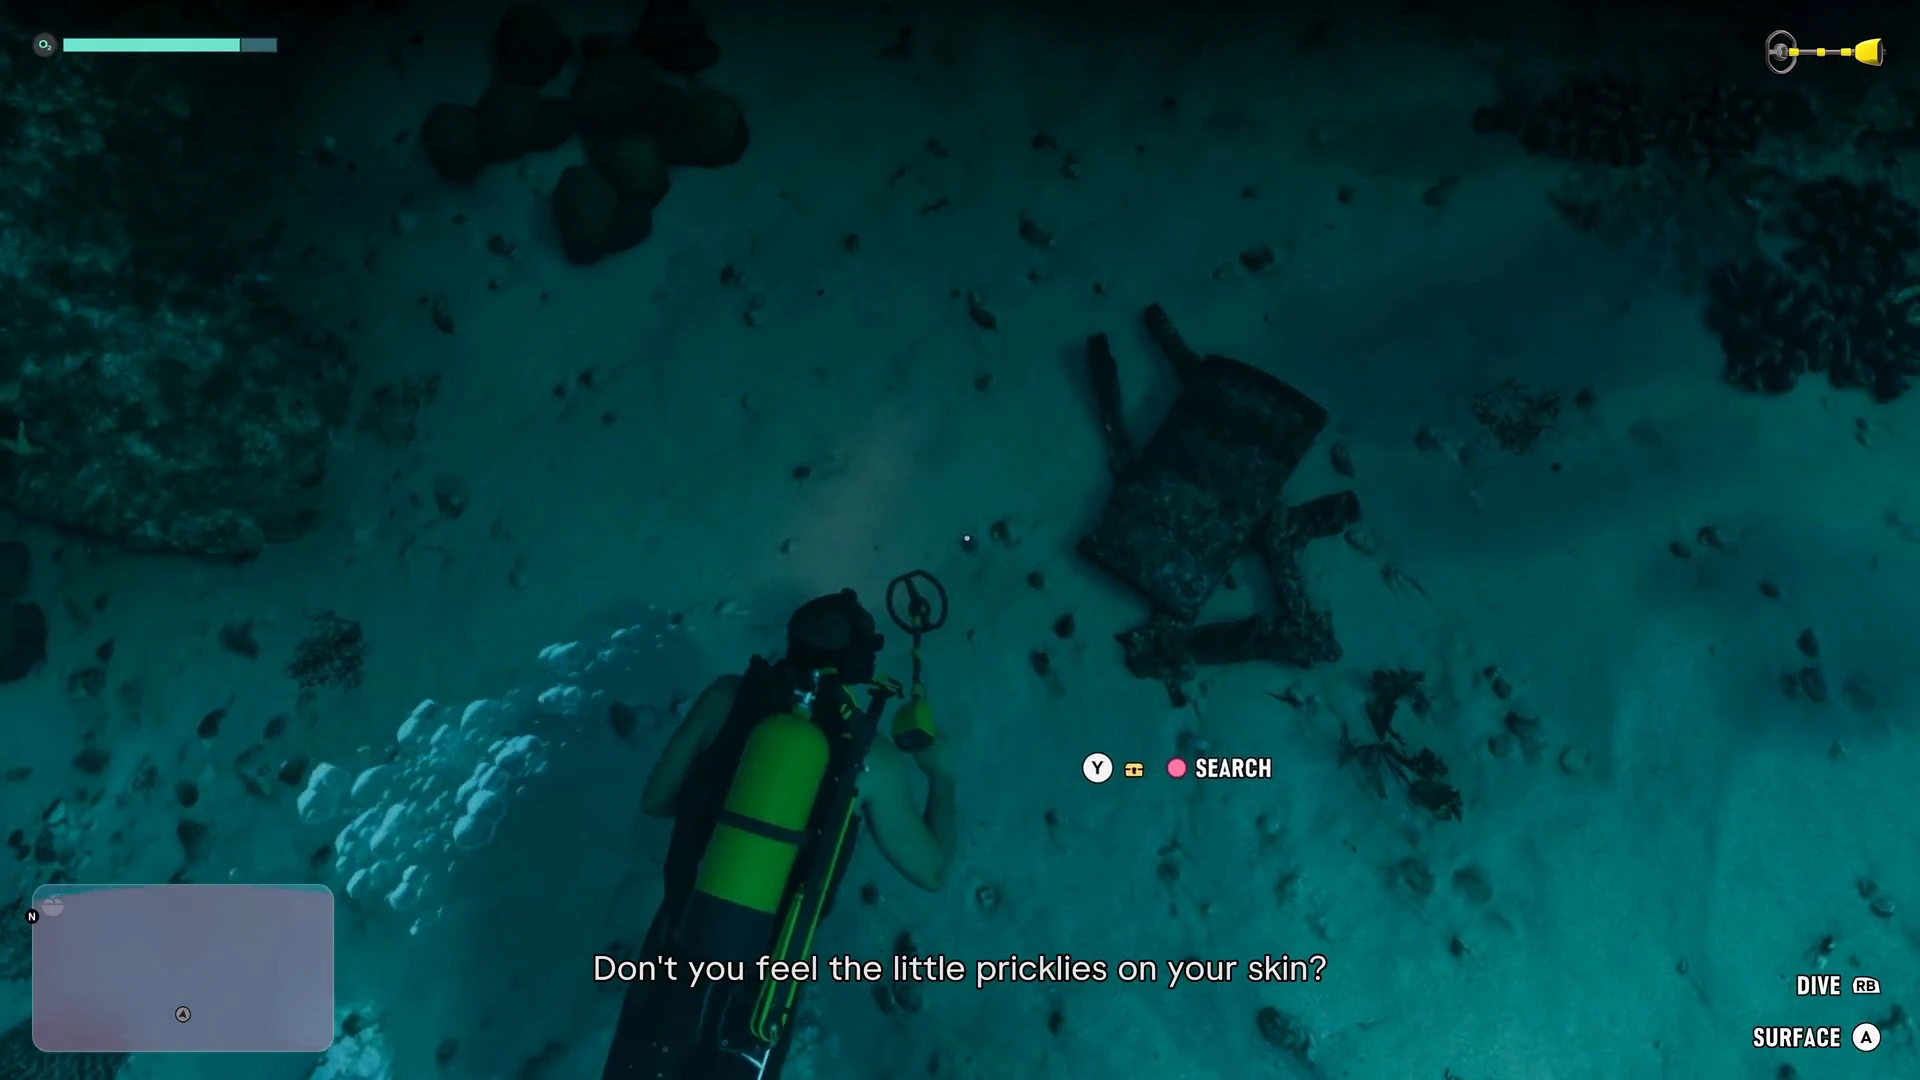
The wreck in Island Dreams has plenty of debris around it, so move slowly and re-check the signal. For the mission’s full objective list and the story beats, see the Island Dreams walkthrough.
Underwater Discoveries: 1 of 33
After Jason finds his first item, a tracker appears on the right of the screen reading Underwater Discoveries 1 / 33, with a small icon beside it.
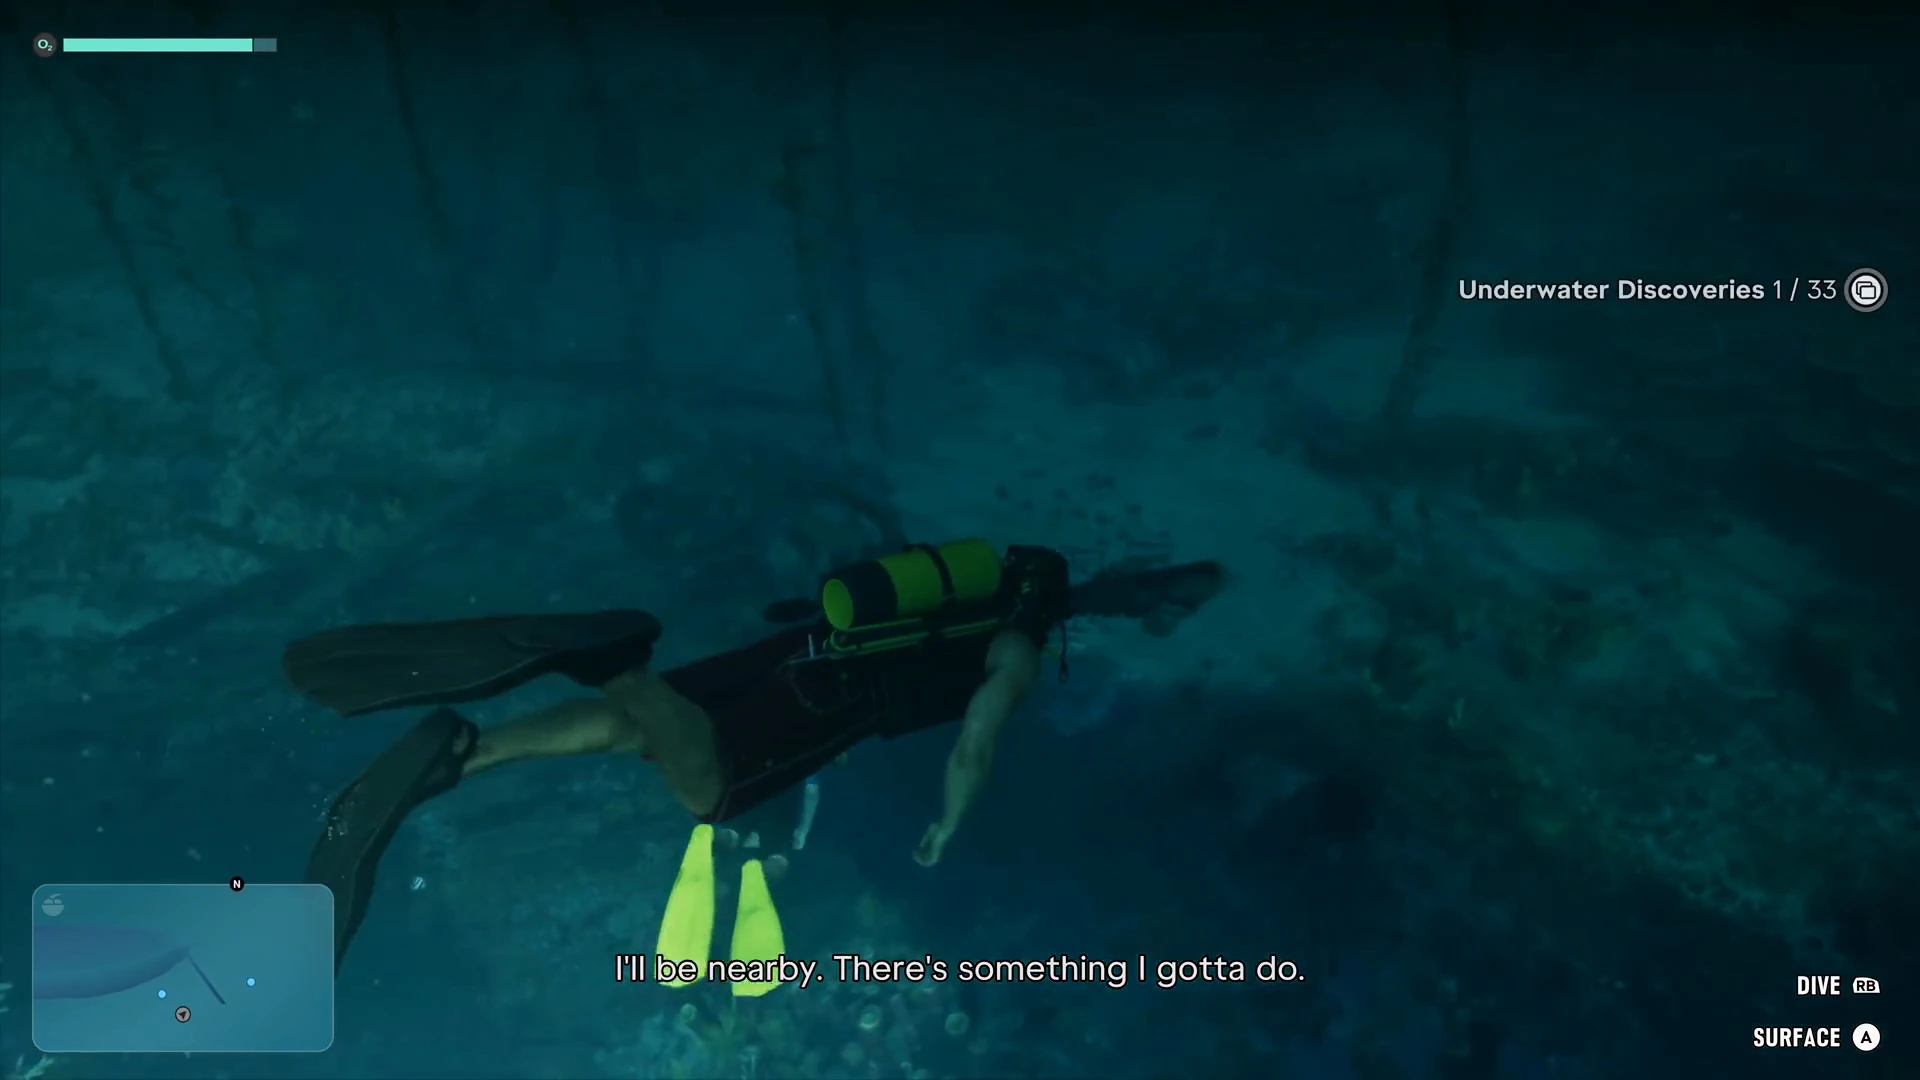
That tells us the game tracks 33 Underwater Discoveries in total. It is the same kind of counter you will recognise from collectible hunts in other open-world games, but we have not confirmed what counts as a discovery besides this first item, where the other 32 are, or whether completing the set gives a reward. If you are chasing completion, keep an eye on the trophies guide and the best side activities guide, where we will add anything we can confirm.
Sharks and the spear gun
Diving is not safe. In Island Dreams Kenton hands Jason a spear gun along with the detector, saying he should not need it, and a shark does show up on the way back. The HUD then shows the spear gun top right with an ammo count of 1 / 7.
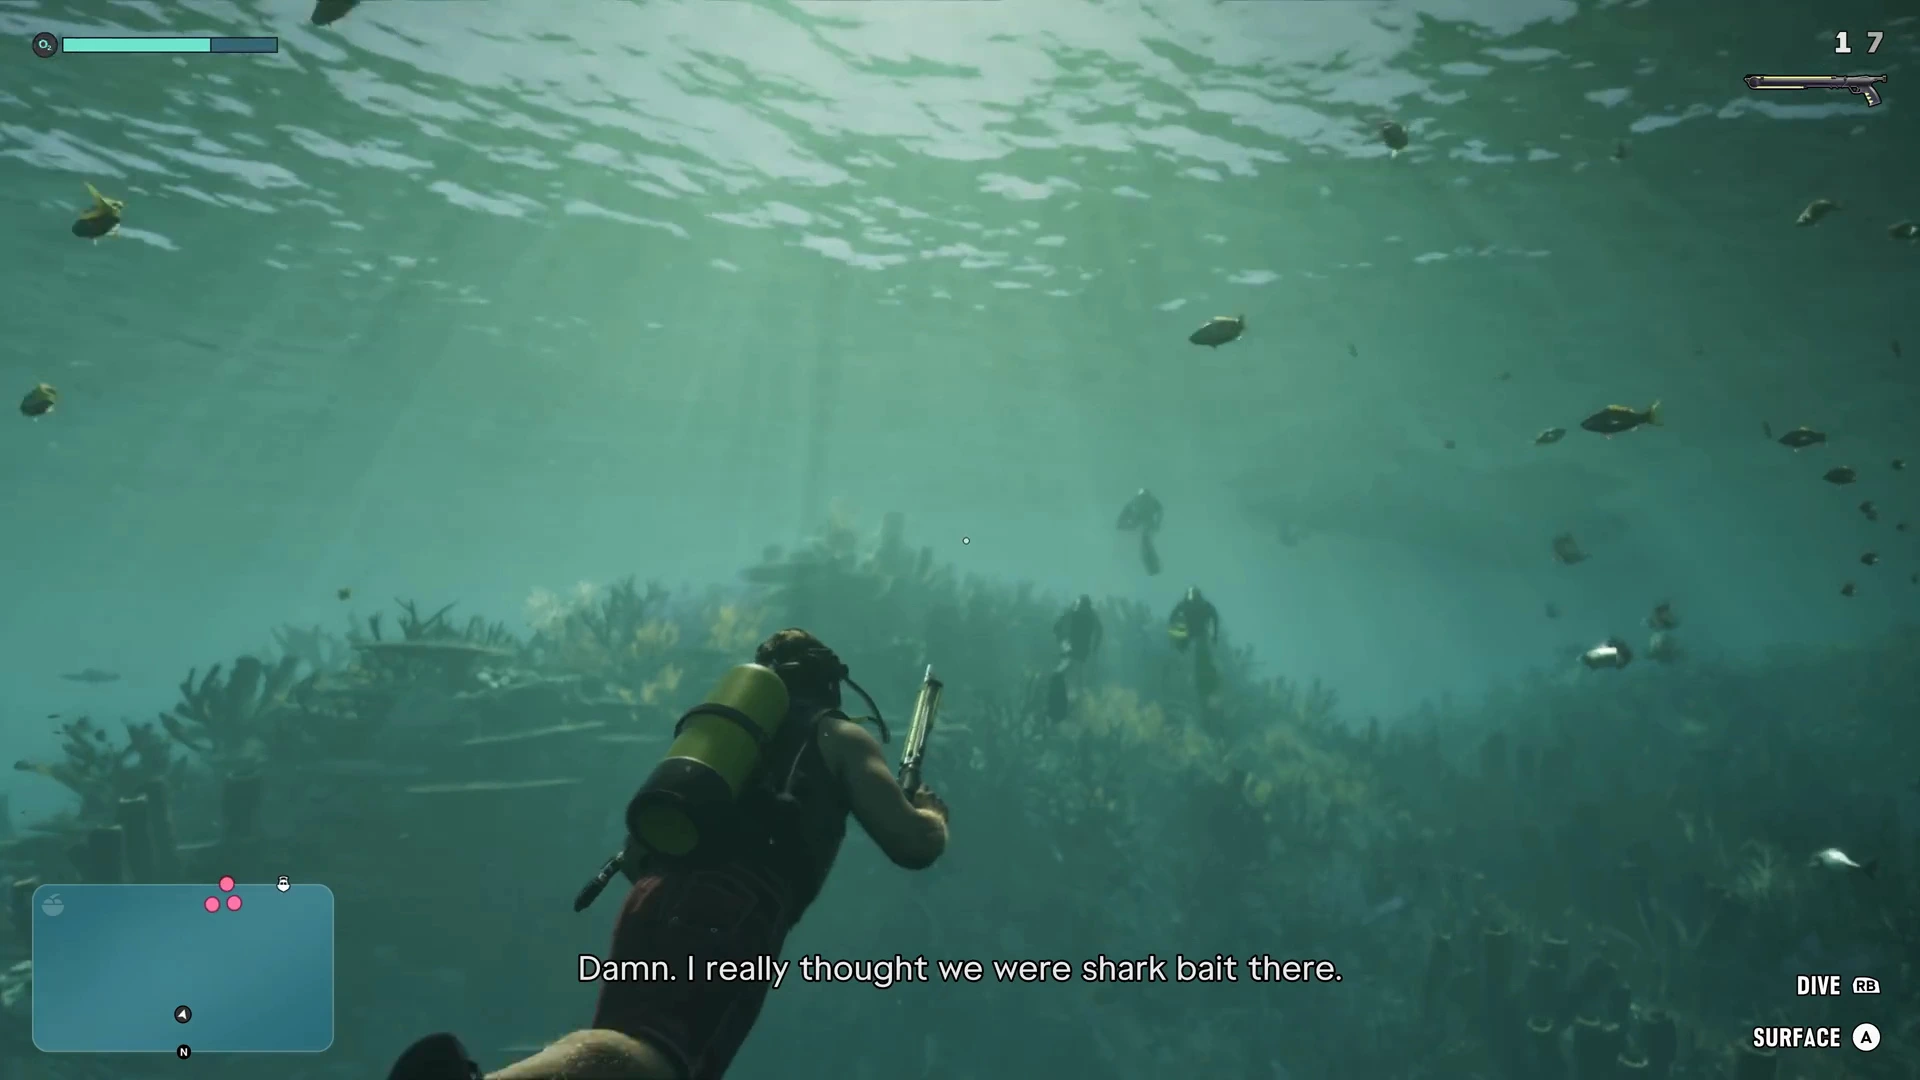
The practical lesson is to equip the spear gun before you leave the wreck rather than after the shark appears. We have not confirmed whether other weapons can be used in the water, and we have not seen a way to reload mid-dive.
What we haven’t confirmed
- PS5 button prompts for diving and surfacing.
- What happens when oxygen runs out.
- Whether you can dive freely with your own gear outside the mission.
- The locations and rewards of the other Underwater Discoveries.
- Whether other weapons work underwater.
More GTA 6 guides
- Island Dreams walkthrough
- GTA 6 jet ski dog
- GTA 6 fishing and animals
- GTA 6 best side activities
- GTA 6 how to get rich
- GTA 6 Vice City guide