GTA 6 Advanced Guide: Pro Tips, Min-Maxing & Mastery
Advanced GTA 6 tips: payout per minute, four-star escapes, best gear and car builds, Rodgers Ranch gold medals, cheat trade-offs, missables and the 100% path.
Skip to the guideWho this is for: experienced players in Chapter 3 or later, and anyone planning a 100% or Platinum run who wants to waste as little time as possible.
At this level the question isn’t how a system works but how to get the most out of it. The answers below are built from the payouts, stat cards and trophy conditions confirmed on our other pages, plus PowerPyx’s post-launch counts where we say so. Anything not yet confirmed is marked.
Quick version: make races your main income and rotate the layouts → bank through Moses and ATMs before you hit the caps → keep a plane or the coast in mind for four-star escapes → build toward the Nightmare KZ-59 by golding every Rodgers Ranch range → train strength, cardio and focus on a schedule → do the possible missables before Chapter 1 ends → leave cheats until every trophy is done.
Payout per minute
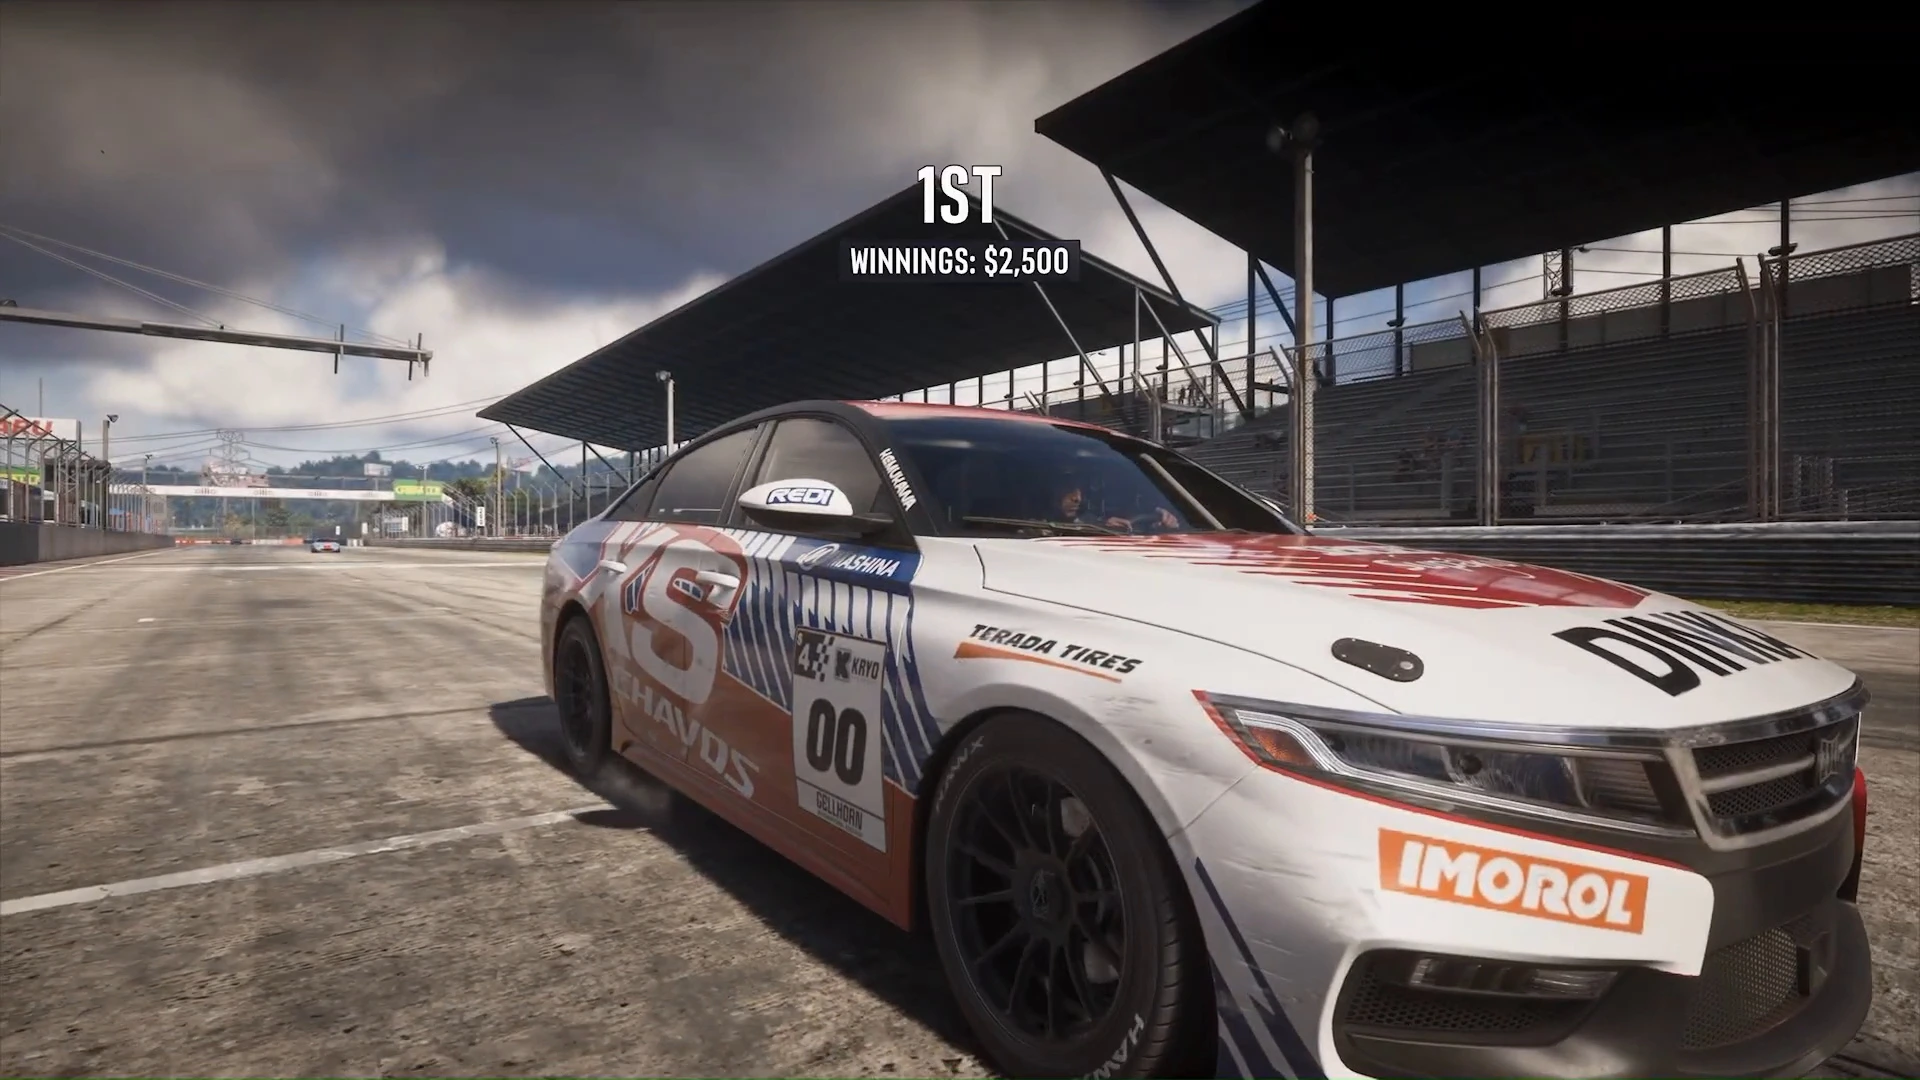
Repeatable sources beat one-off jobs, because you can keep running them. Based on the payouts we’ve seen so far, racing is the clear leader. A Short Loop win paid $2,500 for about two and a half minutes of racing. Take off a $400 to $500 rental and that’s still around $2,000 net. The Long Loop and Rallycross Loop pay up to $3,750, but they take longer, and rally rentals cost $525 to $675.
Ways to squeeze more out of it:
- Rotate the layouts. We’ve confirmed full payouts for first wins on each loop, but not whether repeat wins on the same loop pay the same. Work through all five before you grind one.
- Stop renting when you can. If your own car fits the 500 to 780 rating window, the fee disappears. The races guide has the rental prices.
- Stack errands on the way. Sell an untracked car to Moses as you drive between jobs. The money goes straight into BuckMe, so you skip the ATM.
- Don’t pay to skip short taxi rides. Skip Journey is $100 on top of the fare, which only makes sense on long trips.
The full method ranking is in how to get rich fast, and the race layouts and payouts are in the races guide.
High-star escapes
At one or two stars, hiding inside the search area works. At four stars the red circle can cover a whole district, so you need a bigger move. Three that have worked in footage:
- Get to open water. In Tourist Trap, reaching open water cleared a four-star wanted level.
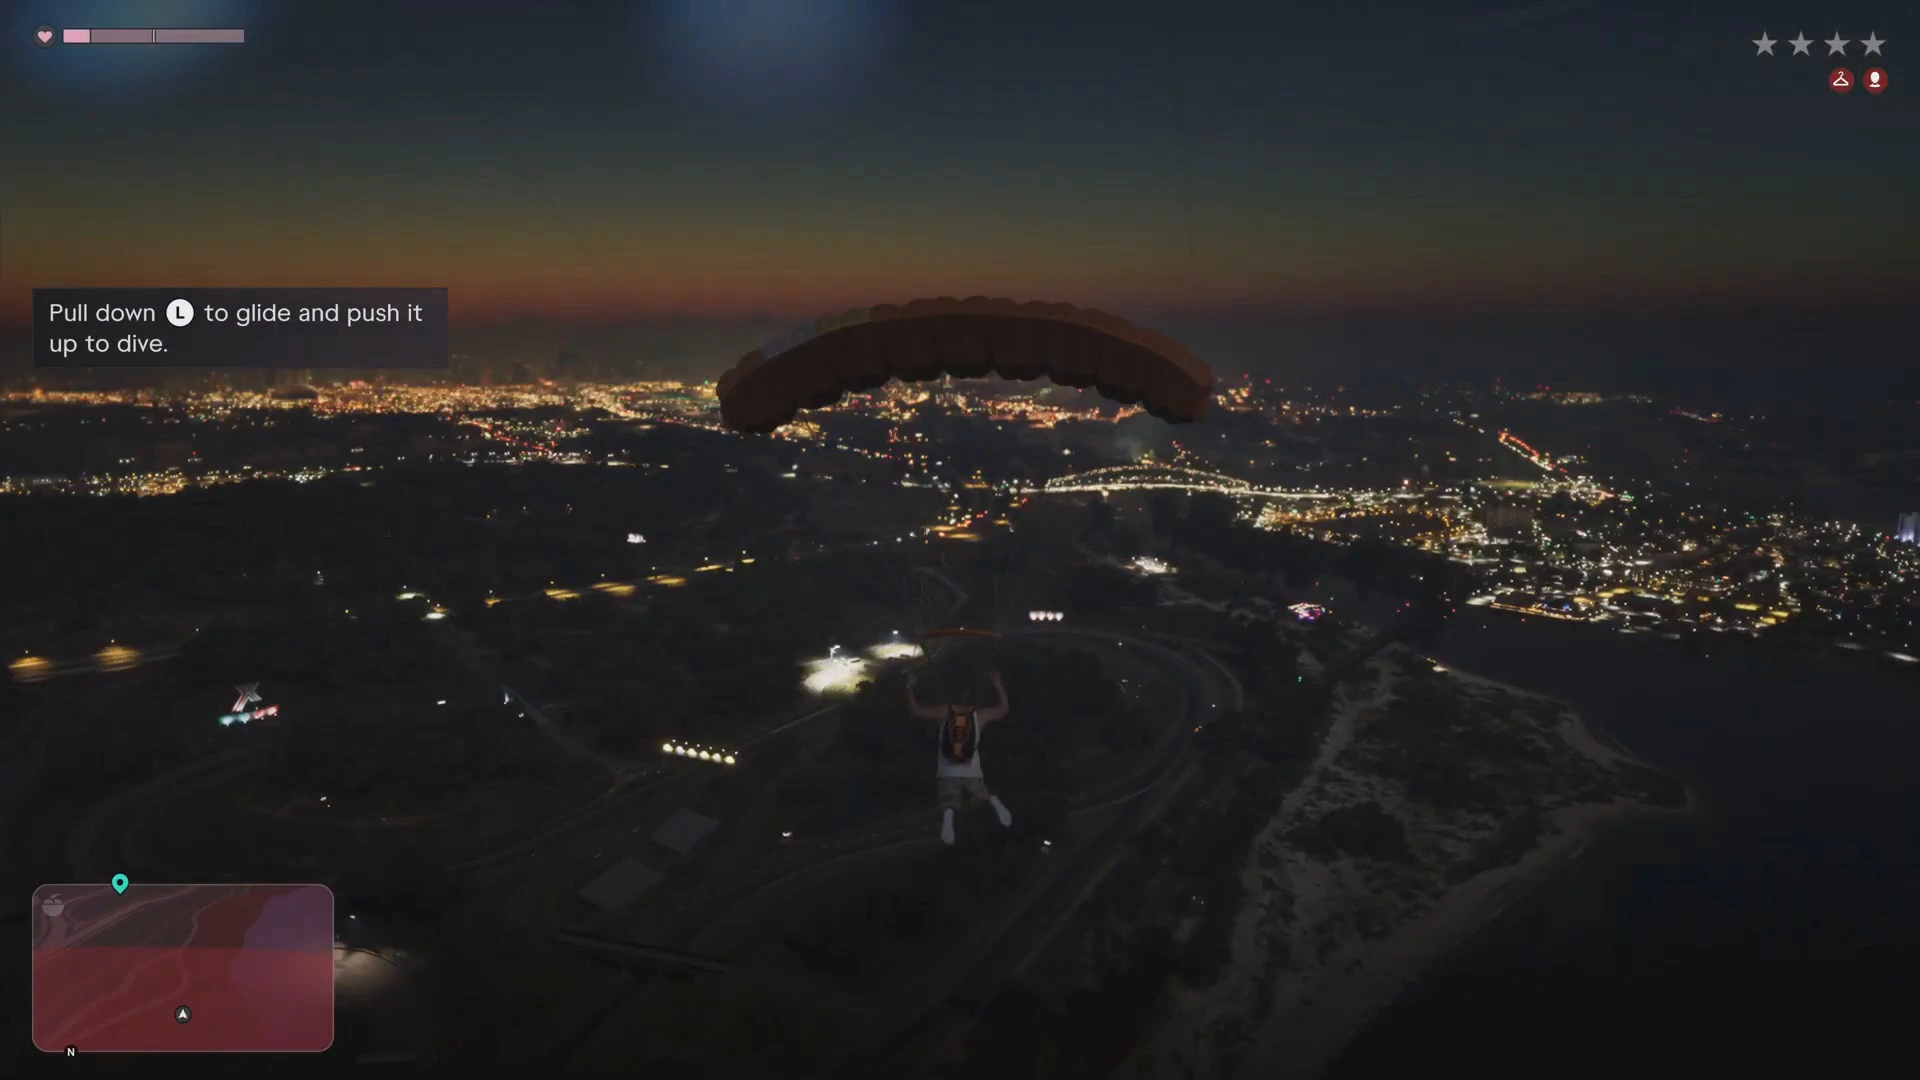
- Take to the air and bail out. In one escape Jason took off in a private jet at four stars, jumped with a parachute over the coast and landed at Gellhorn Raceway as the stars went grey. Steer with L2 and R2, and pull back on the left stick to glide.
- Split the pair. As Lucia, a tip in Hit Kingpin Bowling lets you ask Jason to distract the cops while you leave with the bag.
We haven’t confirmed that the plane escape works every time. Note that PowerPyx reports jets set off a four-star wanted level by themselves, and the cheat list confirms wanted levels go up to at least six stars. The Hot Together trophy asks you to lose four stars with your partner. Ground-level basics are in how to lose the cops.
The best gear and vehicle builds
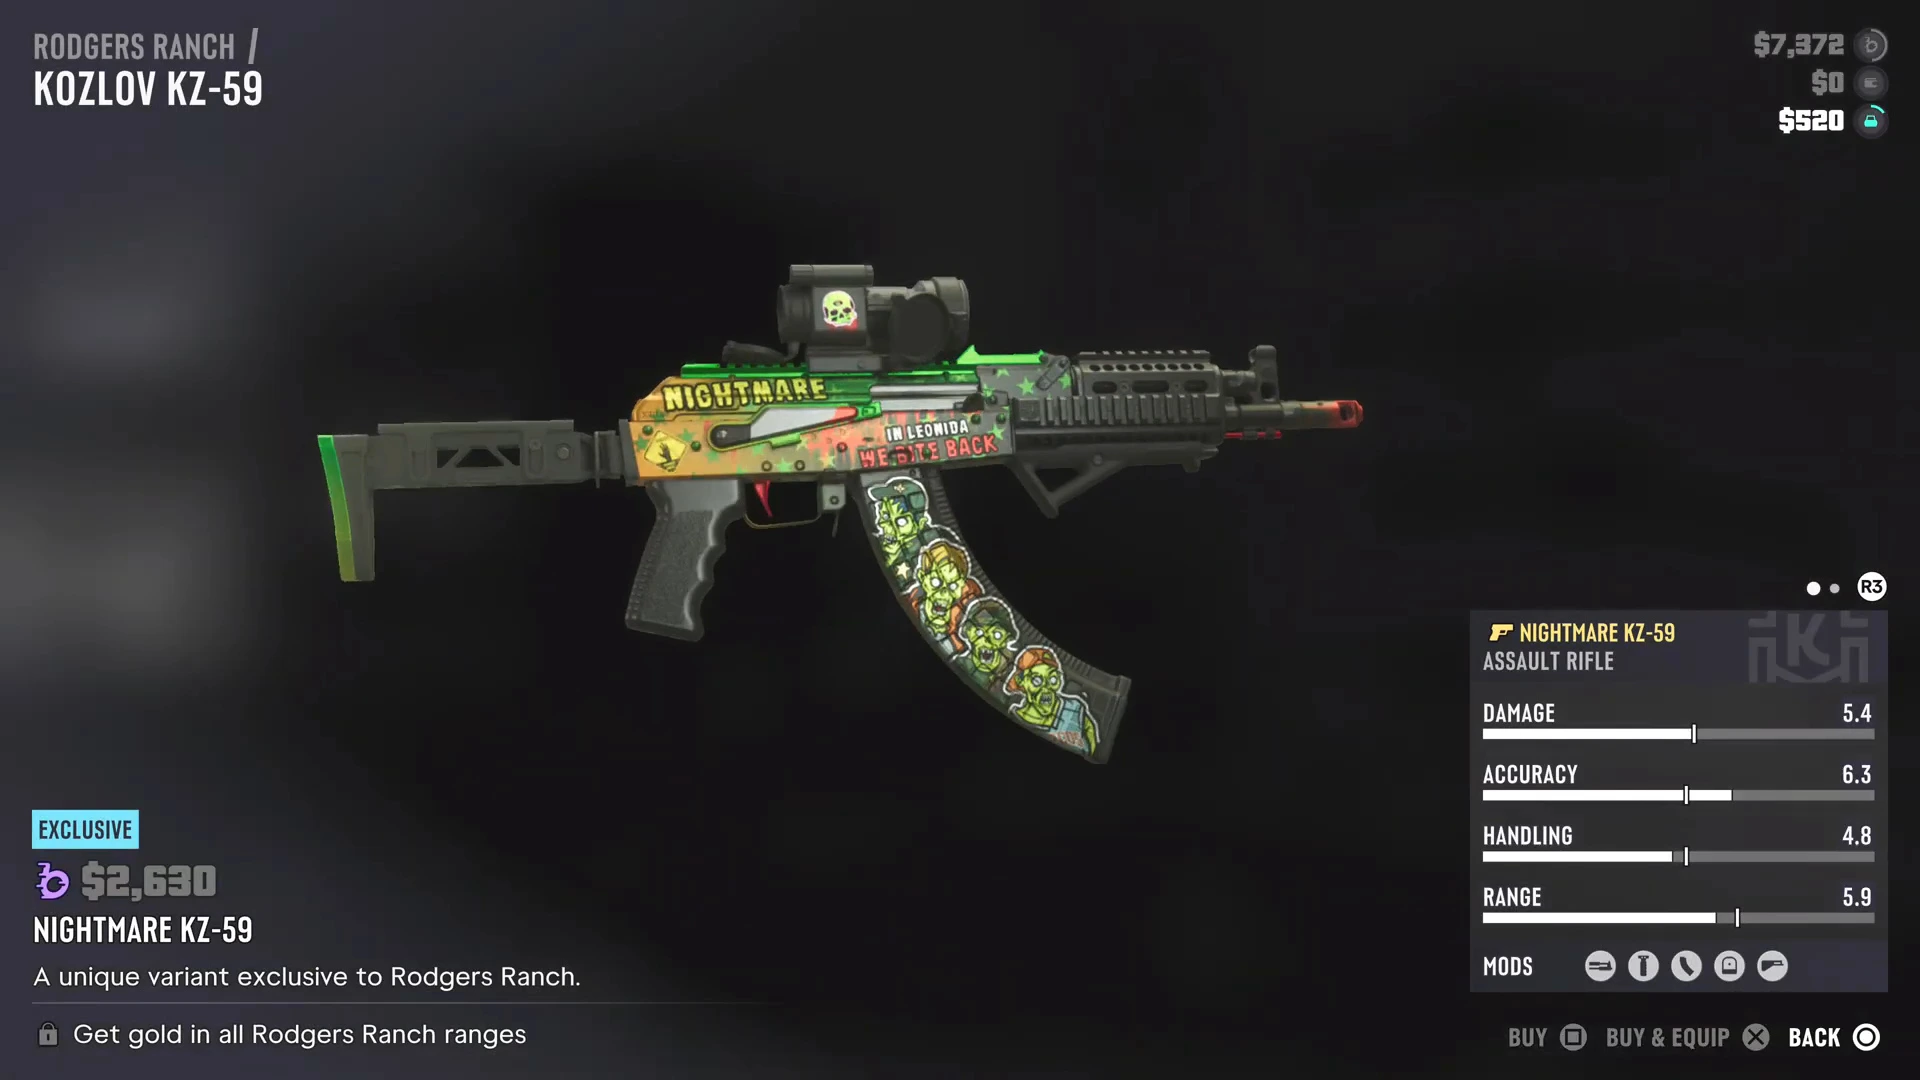
Weapons. From the stat cards we’ve seen, the top loadout is the Nightmare KZ-59 (5.4 damage, the highest automatic rifle, $2,630 from the bank) or the free Duke 556, the Laird 350 sniper (8.8 accuracy, 8.4 range, $950 cash), the Girardi ES9 pistol and Donnie’s .38 Revolver as a sidearm you can always recover. PowerPyx reports that the larger Expanded Ammu-Nation stores, mostly around Vice City, stock LMGs and launchers, and stock grows the more you buy. Wear body armor for long fights. See the best weapons ranking.
Vehicles. Rent the Bravado ’19 Buffalo (706 asphalt rating) for circuit races and the Dinka Sugoi (654 asphalt, 667 off-road) for rallycross. Keep the free Sanchez dirt bike from Twist Wrist, Smash, Grab for trails, since its 715 off-road rating is the best we’ve seen. For an owned build, Jason’s Ganado takes engine Stage 1 ($900) and Stage 2 ($1,800). Watch the stat panel before buying Pro Builds, because some trade off-road handling for asphalt handling. See the best cars and mod shops guides.
Rodgers Ranch gold medals
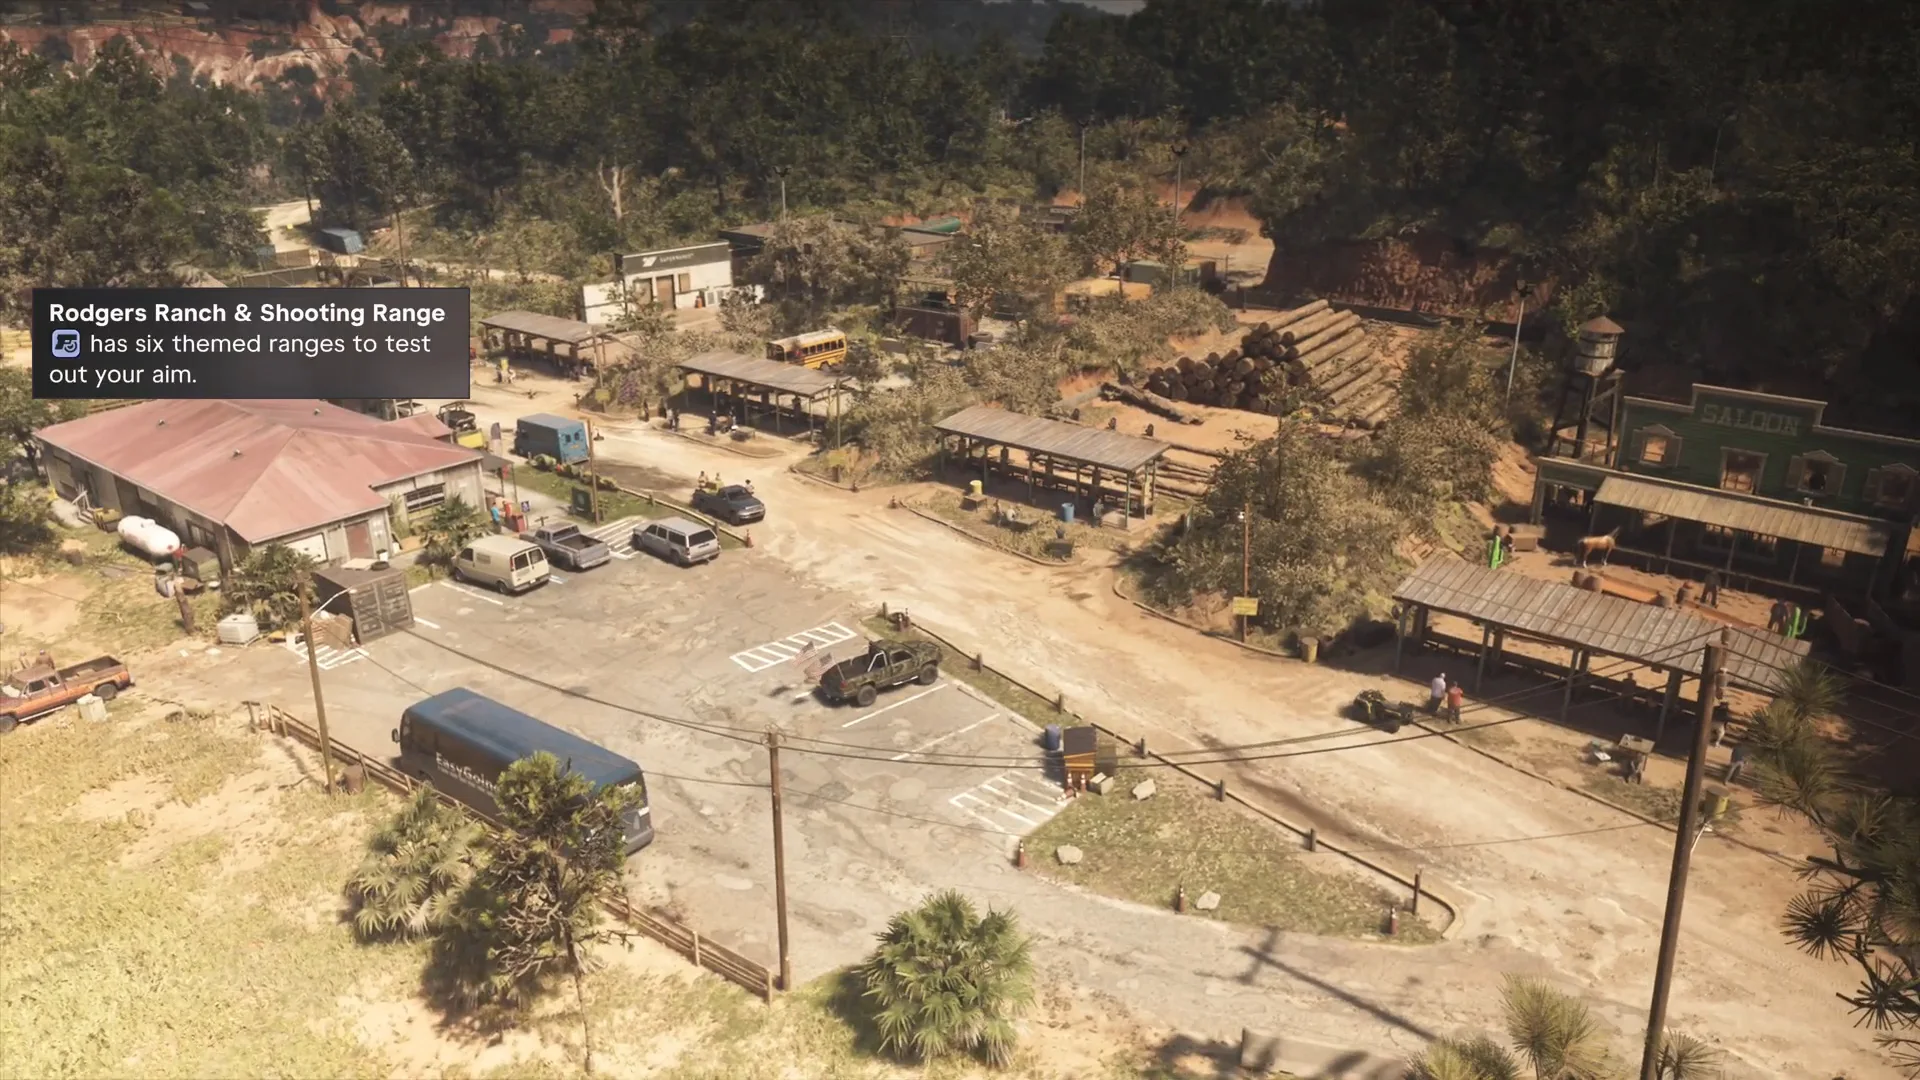
Rodgers Ranch & Shooting Range outside Port Gellhorn has six themed ranges. Buy the $5 waiver at the counter, then complete each range’s challenges for medals and rewards. You can rent a gun for a fee or use your own if it’s eligible for that range.
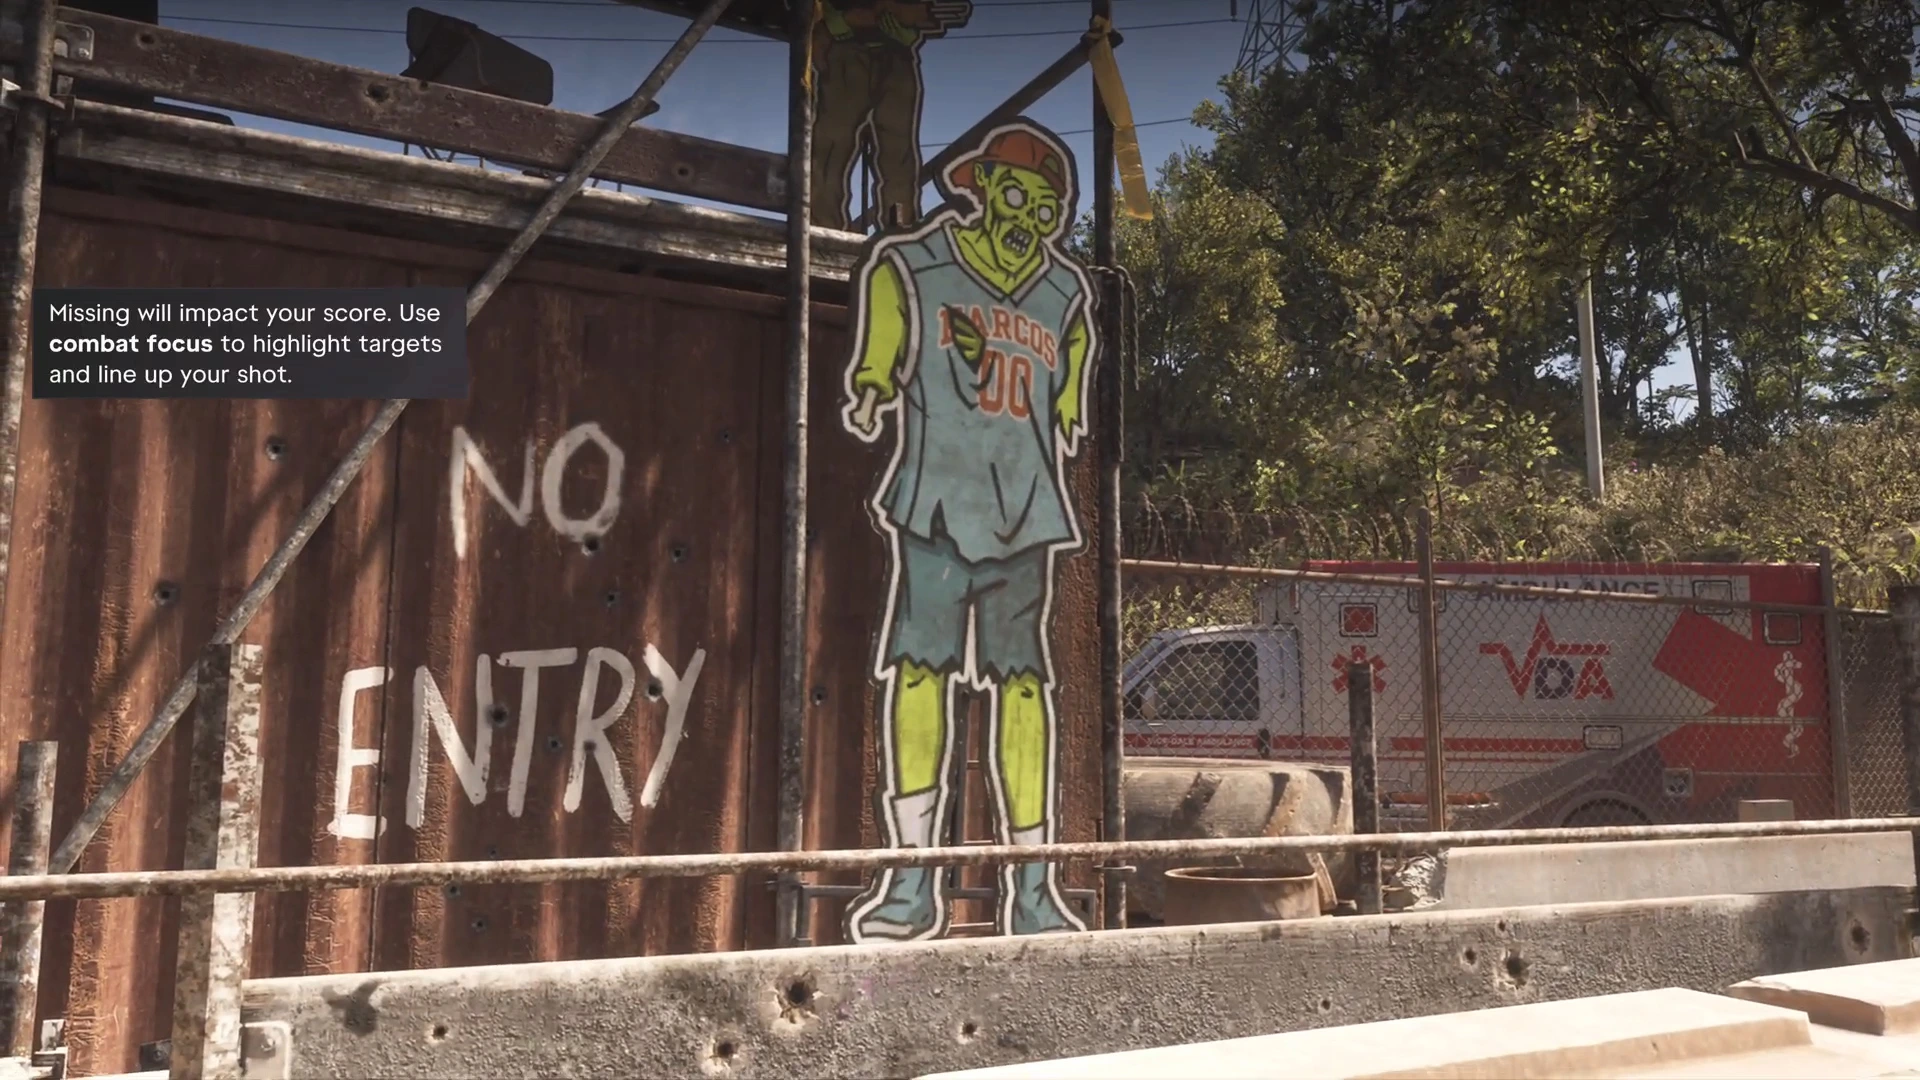
Gold here matters for three things at once:
- The Nightmare KZ-59 is locked until you get gold in all Rodgers Ranch ranges.
- The Shootist (Silver trophy) needs gold in every shooting range challenge. PowerPyx counts 42 gold medals across 12 ranges in total, so Rodgers Ranch is only part of it.
- The ammo cheats unlock at 25 bronze, 25 silver and 25 gold medals, according to GamesRadar+ (PC Gamer lists 20 for the bronze one).
The range itself tells you how to score: “Missing will impact your score. Use combat focus to highlight targets and line up your shot.” So make sure the focus bar is full before each attempt (throwing a fish back gives Focus +10%), and pick an accurate gun over a fast one. We haven’t confirmed the exact score each medal needs. Range details are in where to buy guns.
Cheats and their trade-offs
Cheats only appear in the pause menu’s Progress tab after you finish the story, and each one then needs its own challenge. Activating any cheat switches off trophies and achievements for that session, and you can’t save until you quit. That means the $250,000 cheat is gone when you close the game.
If you want to use them anyway:
- Finish every trophy you care about first.
- Make a manual save before you enter a code.
- Treat cheat sessions as play sessions and quit without saving.
The challenges count progress made during the story, so fishing, workouts and range medals earned early can unlock cheats the moment the menu appears. Every code reported so far is in the cheats guide.
The 100% and Platinum path
GTA 6 has 55 trophies, all single-player. PowerPyx puts the Platinum at about 200 hours, and the 100% checklist alone needs 100 optional quests. The efficient order:
The 100% and Platinum route
- During Chapter 1: play the story normally, meditate on Jason’s dock with Lucia after Down to Earth, and start Cal’s and Kenton’s strands as they appear.
- During Chapter 2: take all three valuables in Hit Kingpin Bowling for Let’s Go Bowling, and keep up with Billy’s and Andy’s strands as they appear.
- Through the story: register 10 cars (On the Spot), buy garages through the Vice City Real Estate app (Little Boxes, eight garages at about $160,000), and let spending add up toward Treat Yo Self ($100,000 across shops).
- After the credits: clean up 250 stunts (300 for 100%, out of 397), gold medals at all ranges, 20 race wins, the Top Fun drone races at all 14 locations, 100 WAiNK scans, three card sets and 100 discovered vehicles.
- Clear the map fog. A slow plane is easiest. PowerPyx says a crop duster takes about 2 to 3 hours.
- Then, and only then, try cheats.
The full table, with every trophy’s condition, is in the trophy list, and time estimates are in how long to beat.
Missables and one-way choices
There’s no mission replay, so keep a manual save at the start of each chapter. Things you can lose for good:
- The dock meditation spot. It’s possibly required for Positive Mental Attitude, and the house is gone after Home Sweet Home. It isn’t confirmed whether it counts, but it costs nothing.
- Jason’s floor stash. Bank or spend it before Home Sweet Home.
- Donnie’s stash bag. In Don Gone, choose Take stash bag ($1,200), not Stow bag.
- Loose cash in mission areas. Donnie mentions cash in a trailer in Gone Fishing. We skipped it, so we don’t know the amount.
- Let’s Go Bowling. It’s tied to a mission, so save before Hit Kingpin Bowling. We haven’t confirmed whether you can return for missed valuables.
Kenton’s strand pauses after Chapter 1 and returns later, so don’t worry if he goes quiet.
A stat and fitness routine
You have three core stats, each with four levels in the Fitness app: strength (maximum health), cardio (maximum stamina) and focus.
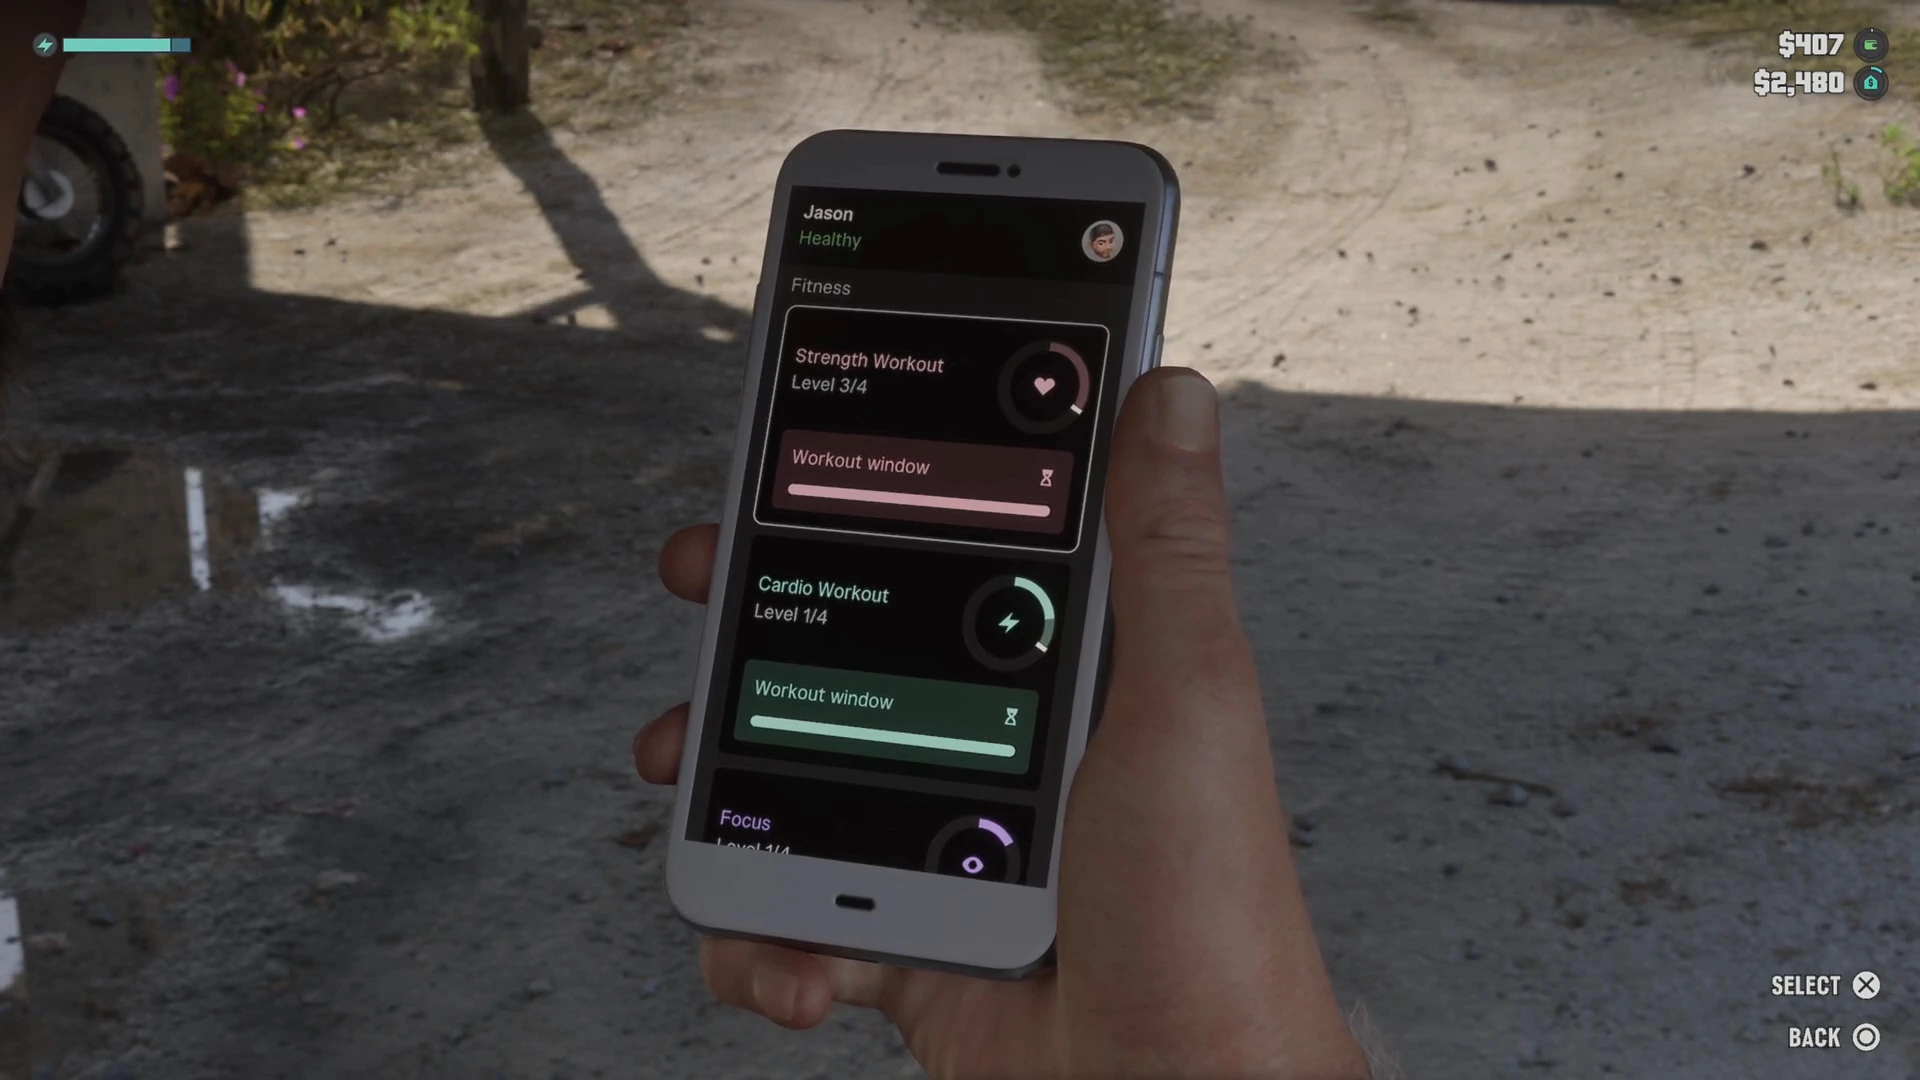
A routine that fits the confirmed rules:
Workout routine
- Rest first. The Help menu says being tired hurts stamina recovery. Sleep at a safehouse.
- Do the weights. Bench press, kettlebells, deadlift, squats and pull-ups, finishing each set.
- Hit the punching bag until it’s maxed. The game tells you when you’ve had all the gains for now.
- Eat protein afterwards. It cuts the recovery period by 50%.
- Finish with focus. Throw a fish back for Focus +10%, or run a range.
- Come back before the workout window runs out, or you risk dropping a level.
The extras: the Body Armor cheat is listed at 100 workouts, fitness challenges unlock two spawn cheats, and Personal Best needs Jason and Lucia to max strength by working out as a pair later in the story. See the gym guide and the fishing guide.
Efficient Chapter 3+ prep
- Save at the start of Chapter 3. It opens with Welcome to Vice City, which gives you a free apartment in Bayside.
- Expect your car to be impounded. In Dealer’s Choice a hint says Jason’s vehicle was recognized and impounded. The map shows where it is.
- Plan garage space. The registration menu counted stored vehicles, and garages come through the Vice City Real Estate app from $4,000 to $40,000. See safehouses.
- Follow the new strands. Tyrone’s final mission needs the kitty litter labs destroyed, and Here, Kitty Kitty is where that lead starts. Randy’s car deliveries come in Chapter 3 too.
- Stock up in Vice City. PowerPyx counts 14 of the 24 Ammu-Nations in Vice-Dale County.
Chapter 3 is the longest chapter in our index, so it pays to have your money engine running before it starts. The Chapter 3 hub lists every mission.
More GTA 6 guides
- GTA 6 tips nobody tells you
- Best side activities in GTA 6
- GTA 6 combat tips
- GTA 6 weapons list
- GTA 6 money guide
- Every GTA 6 mission walkthrough