GTA 6 Intermediate Guide: Tips Once You Know the Basics
GTA 6 tips for Chapters 2 and 3: money routes, the BuckMe deposit limit, fences, mod-shop priorities, loadouts, criminal profile, stealth and heat control.
Skip to the guideWho this is for: players in Chapter 2 or early Chapter 3 who know how the mailbox, BuckMe, heat and car registration work and now want to play more efficiently.
By Chapter 2 the game has handed you most of its systems. The jump from surviving to doing well comes from three habits: picking the jobs that pay best for the time, spending on the few upgrades that matter, and keeping your heat low so the police don’t eat your profits. This page gives you the order and the reasoning, with a link to the full guide for each topic.
Quick version: start racing at Gellhorn Raceway after Coffee Break → do the optional Chapter 2 robberies → sell untracked cars to Moses on your way to other jobs → bank after every job, but watch the deposit limit → buy engine Stage 1 before cosmetics → carry a Girardi ES9 plus one strong rifle → fight from cover with focus → change clothes and resprays before the stars come back.
Efficient money routes
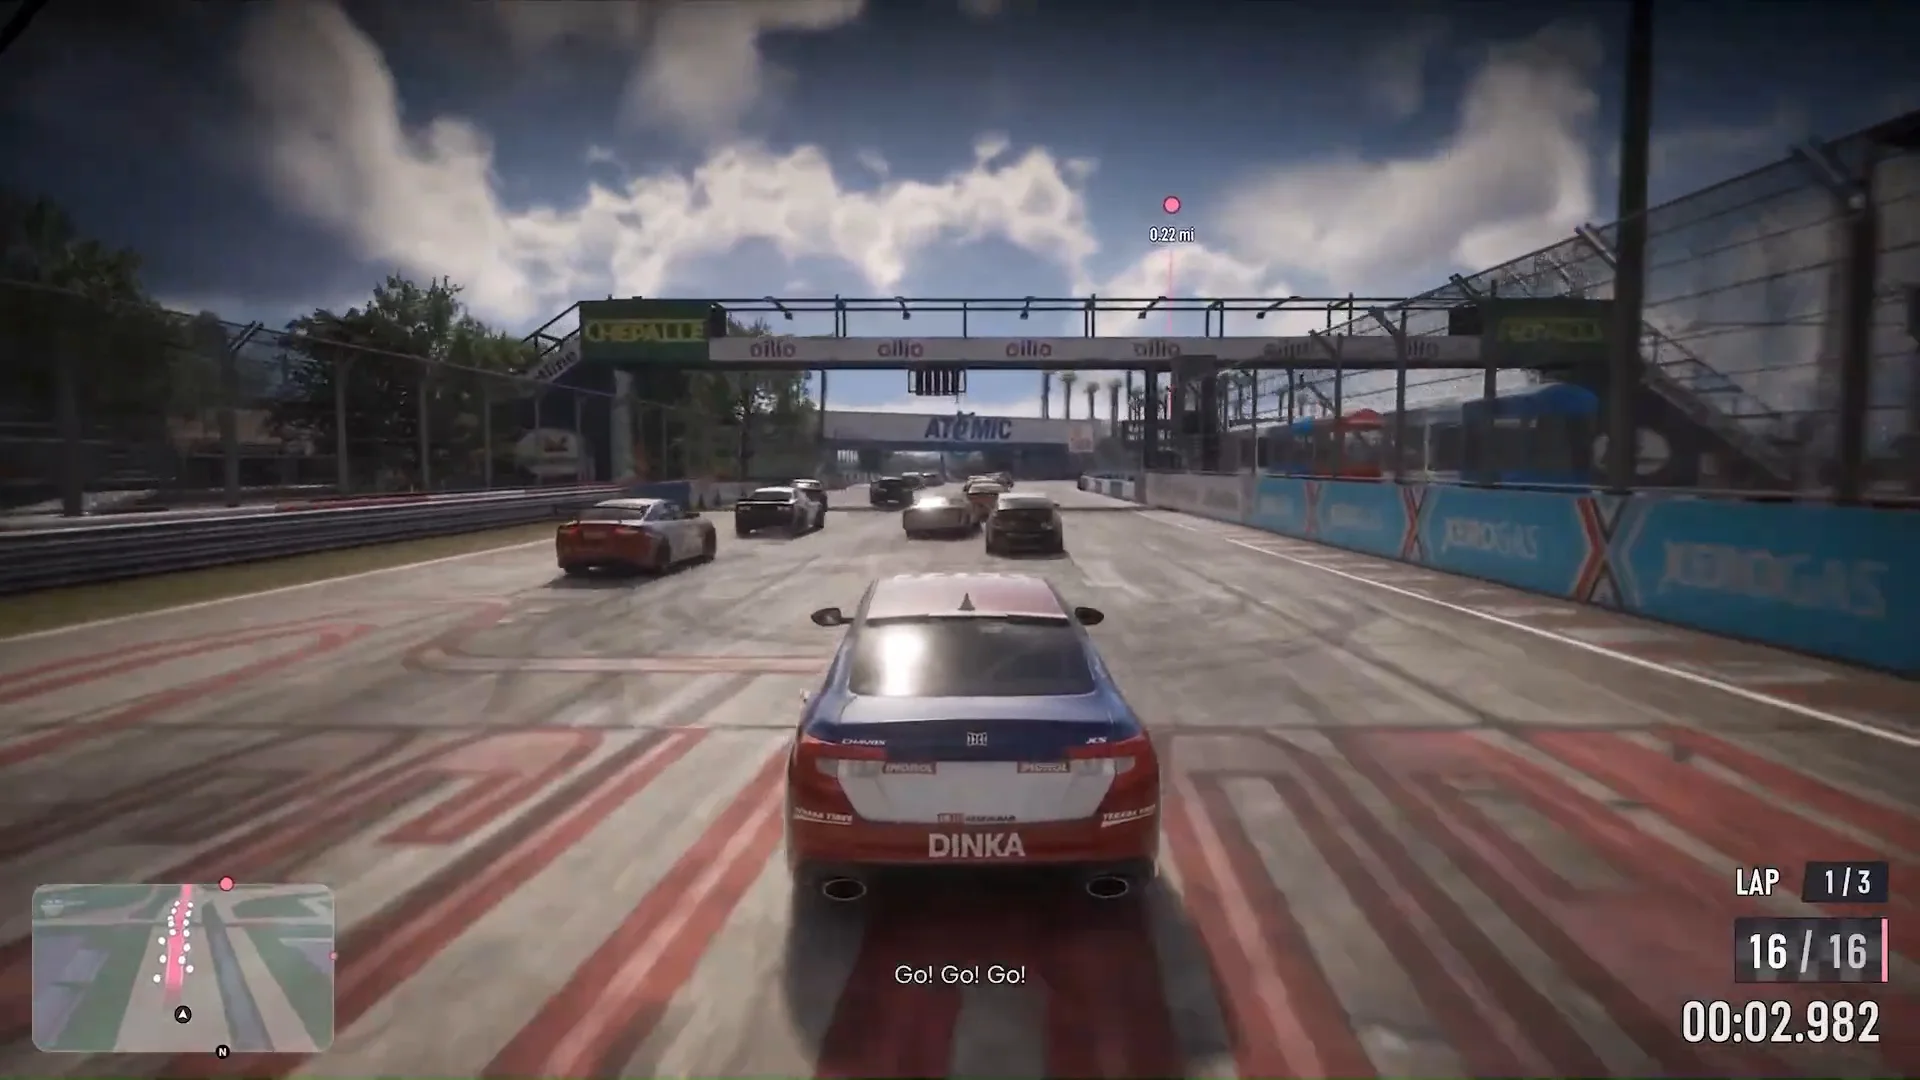
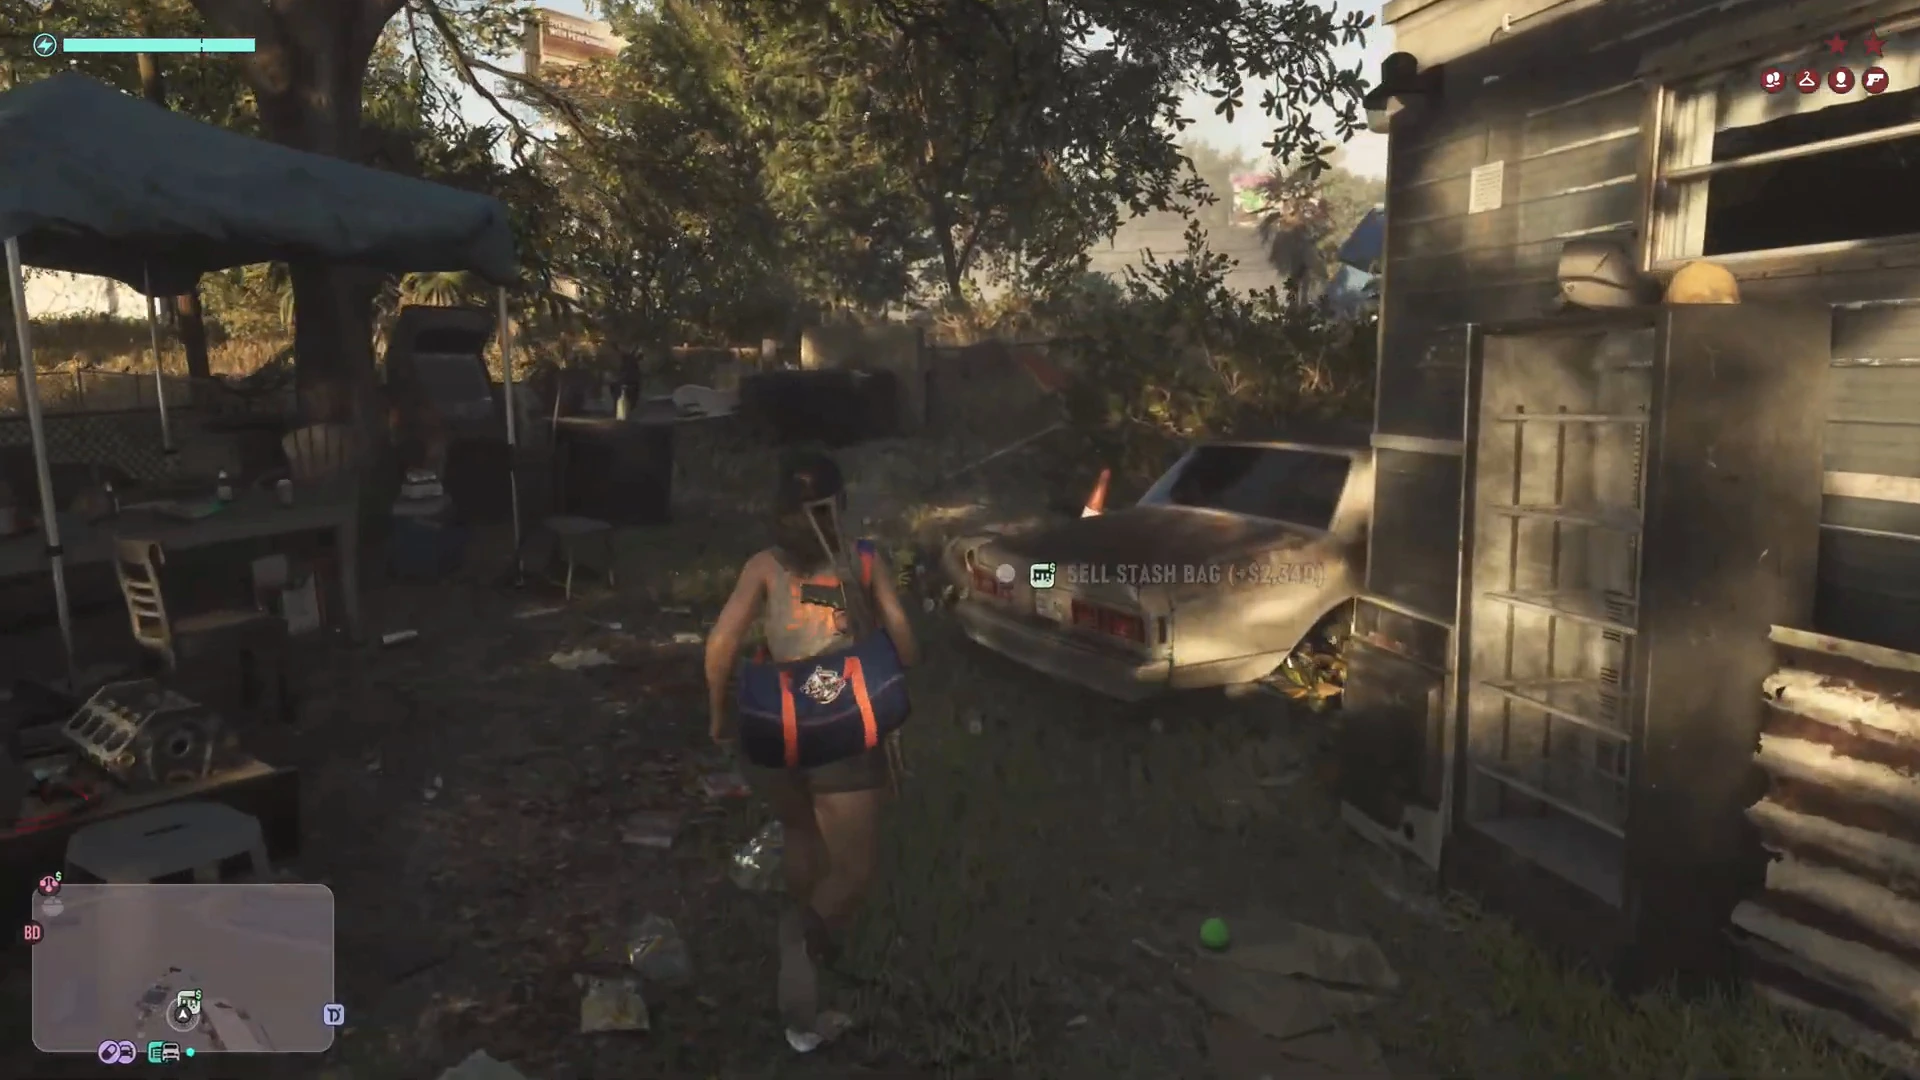
Based on the payouts we’ve seen so far, the best money per minute in Chapters 2 and 3 comes from Gellhorn Raceway, then the optional jobs. A Short Loop win paid $2,500 for about two and a half minutes of racing, even after a $400 to $500 car rental. The one-off jobs worth doing as soon as they open are Hit Kingpin Bowling (about $2,500 in cash plus $2,340 for the stash bag), Twist Wrist, Smash, Grab ($2,000 and a free Sanchez dirt bike) and the office safe in Afternoon Delight (code 2008).
A simple route: after Coffee Break, run a race or two, do Hit Kingpin Bowling, answer Billy’s text after Thrillbillies, and sell any untracked car you’re already driving to Moses on the way. The full ranking with timings is in how to get rich fast, and the step-by-step early money is in the money guide.
In Chapter 3, Dealer’s Choice offers a choice of product. The cut product carried a higher profitability rating than the pure one, and in our run the sale still went through. We haven’t confirmed what picking pure changes.
Building BuckMe savings (and the deposit limit)
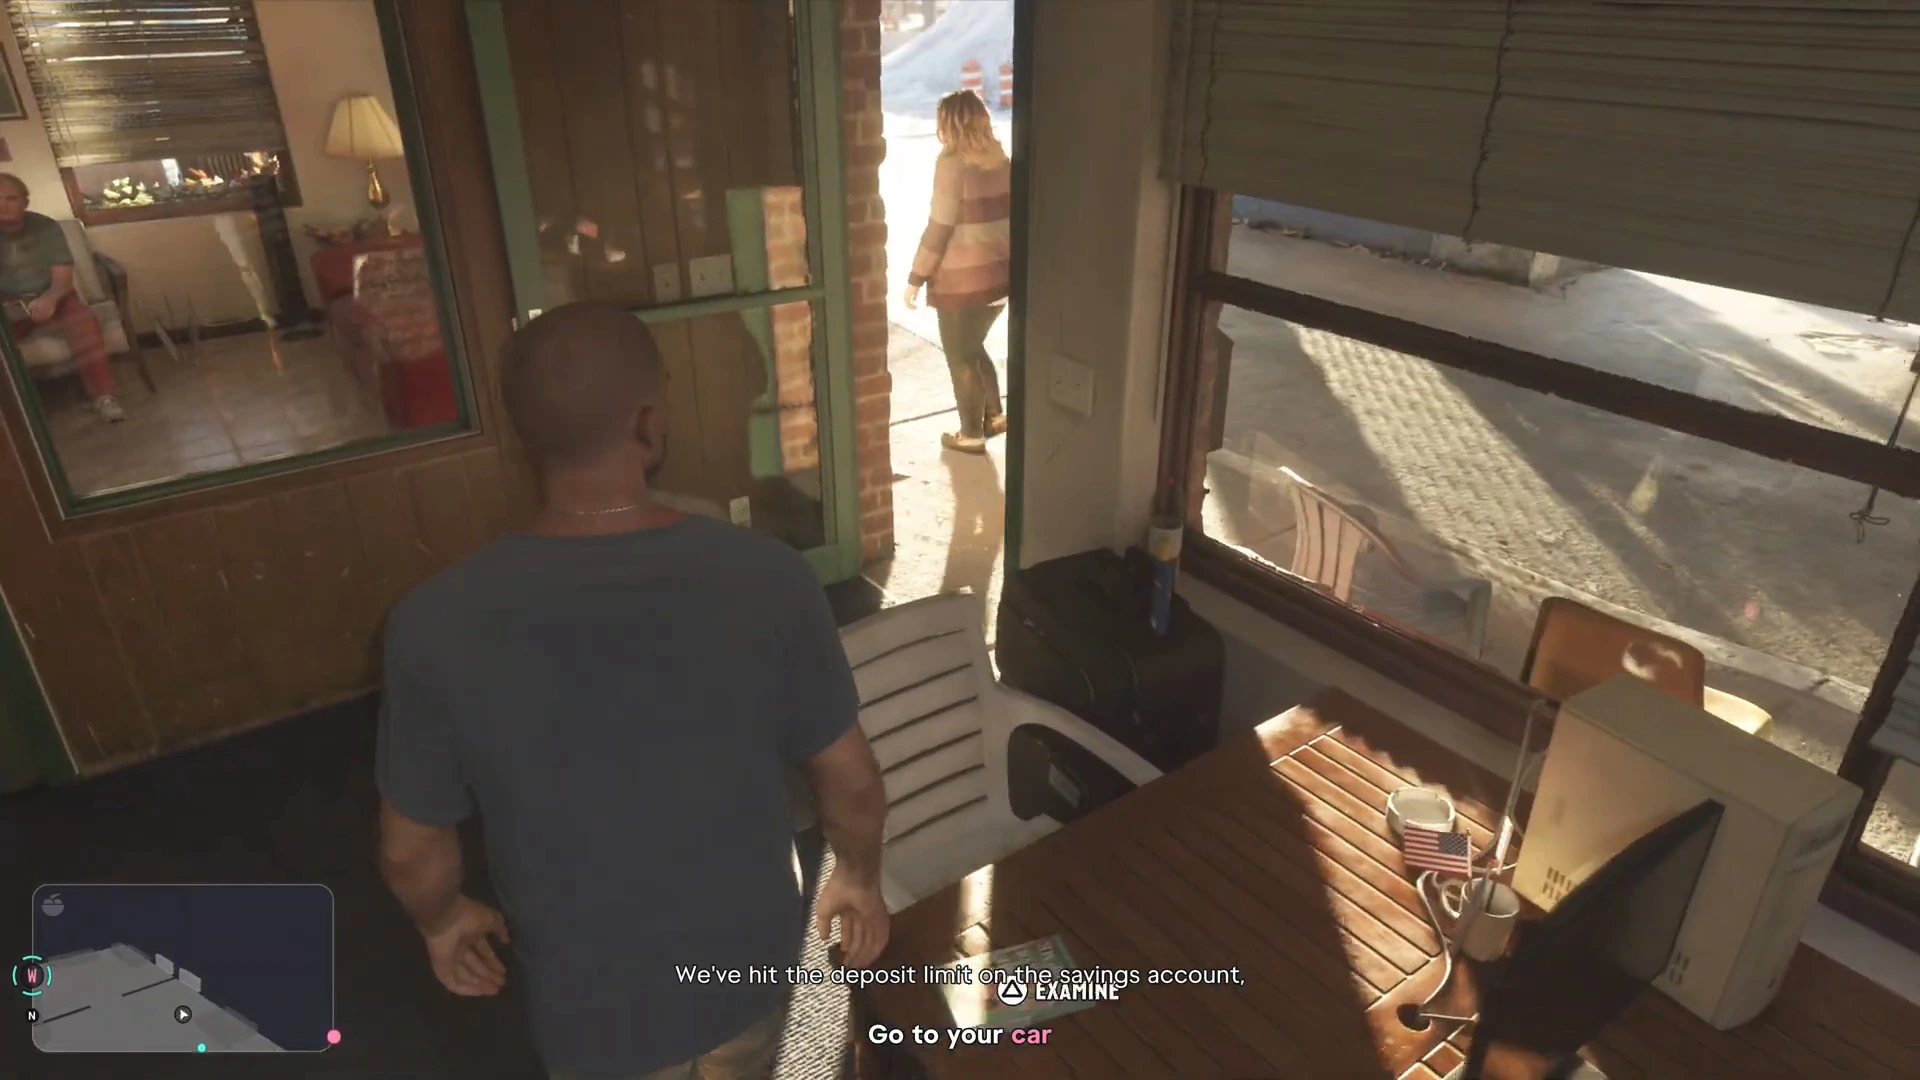
BuckMe has two pots. Checking holds up to $15,000. Family Savings earns interest and has goals: $5,000 first, then $100,000. Savings also has a deposit limit. In Coffee Break the couple hit it with $7,000 in savings, and the rest of the Breakfast Run cash went into checking instead, which rose from $6,217 to $8,429.
How to work with it:
- Bank straight after every robbery. Robbery cash starts in your pocket, and pocket money is what you lose.
- Let Moses pay you. Car sales go straight into BuckMe checking, so there’s no ATM stop.
- Spend near the cap. Once checking is close to $15,000 and savings is blocked, put the extra into guns, engine parts or race rentals instead of carrying it around.
- Keep some cash. Some things are cash-only, and the motel rent showed $800 at the start of Chapter 2.
See Save for the Future and how to deposit cash at an ATM. The money mistakes guide covers the common ways players lose cash.
Getting the most from fences and drop-offs
Each buyer takes something different. Moses at Watkins Auto Parts buys older, low-key cars with no tracker, and pays most for cars in top condition, so scan with WAiNK and drive gently. Brian’s lockup takes narcotics, jewelry and marked bills, and its map card shows how well it’s paying for each right now. Dunk buys stash bags from Lucia’s robberies at his trailer. Collectible cards sell at pawn shops.
Two rules help every sale. Lose the cops before you drive to a buyer, and check prices on the map before you go (hold the d-pad on the map to show nearby places). The full list is in fences and drop-offs, and how to steal cars explains trackers and key cloner locks.
Mod-shop priorities
Spend in this order:
Mod-shop spending order
- Repairs. A shop won’t modify a damaged car. One-Eyed Willie’s asked $350 for repairs. If you’re Jason in the Ganado, call Joey first for a free repair and delivery.
- Engine Stage 1 ($900, cash). The upgrade that changes how the car drives.
- Engine Stage 2 ($1,800, bank). Worth it on a car you’ll keep.
- Cosmetics last. Pro Builds look good but can trade stats. The Ganado’s $1,835 Retro Build raised asphalt handling and lowered off-road handling.
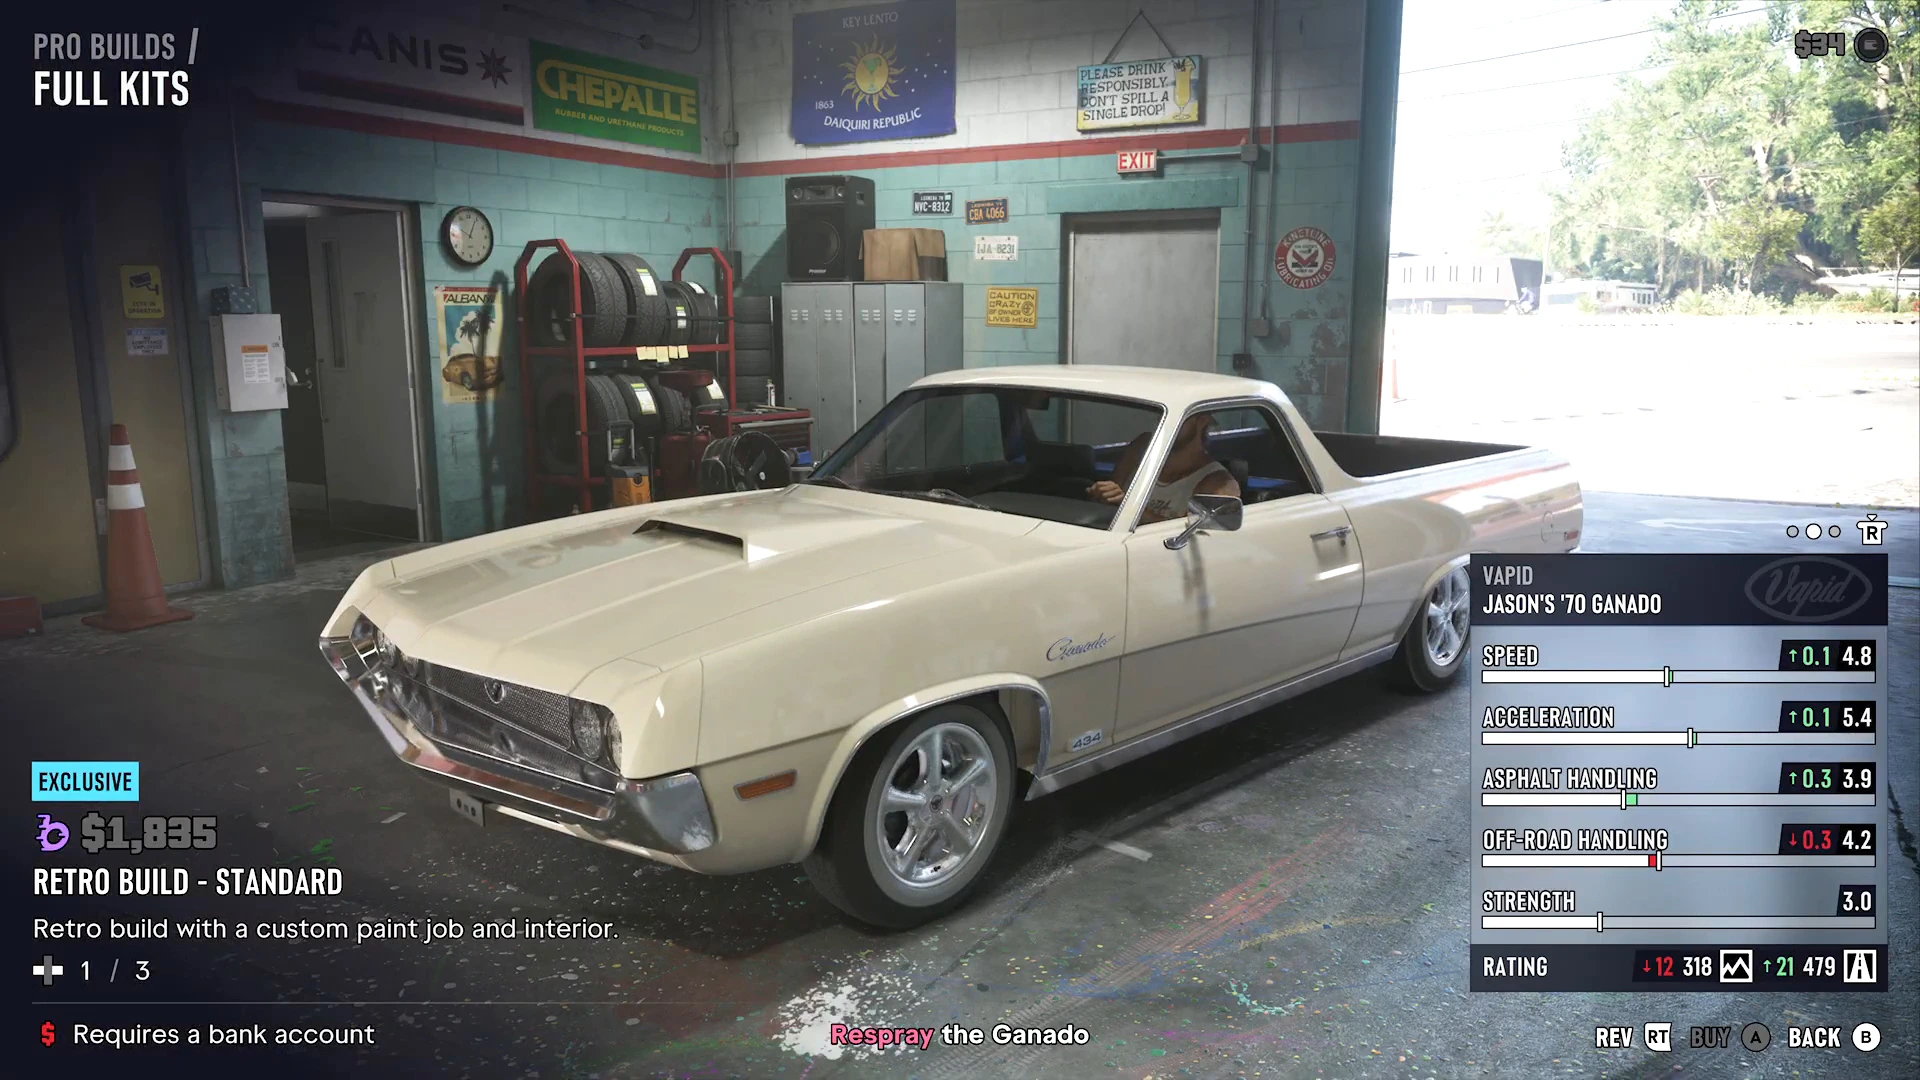
Races need a car rated 500 to 780. The restored Ganado was rated 492, just short, so upgrades may push it over, but we haven’t seen its rating after Stage 1 or 2. Until then, rent at the track. See mod shops and upgrades and the best cars so far.
Your weapon loadout
You carry two sidearms and two longarms. A strong setup from what we’ve seen: the Girardi ES9 ($700 cash, better than the Klose K17 almost everywhere), the free Duke 556 from Swamped, the Laird 350 sniper ($950 cash) for range or the Moreland 850 shotgun for close fights, and Donnie’s .38 Revolver as a backup you can’t lose for good. Looted guns aren’t owned, so they’re gone if you drop them. Bought guns can be recovered from any weapon locker.
The stat cards and the full tier list are in the best weapons ranking. Store locations and the bank-only prices are in where to buy guns, and every gun seen so far is in the weapons list.
Criminal profile choices
The game tags how you handle trouble. Professional means clean jobs with limited aggression. Hardened leans on lethal force. Violent comes from hurting people who aren’t a threat. A tip during a store robbery spells out an important detail: getting a wanted level doesn’t affect your profile, but how you deal with the cops does. What we can confirm is that your profile changes how fast incapacitations refill focus. Its long-term story effect isn’t confirmed yet, so pick a style and stick to it. Details are in the combat tips.
Conversations offer choices too, such as Help or Don’t Help in Afternoon Delight and a $20 bribe or intimidation in Here, Kitty Kitty. We haven’t seen either change the outcome.
Combat: cover, focus and armor
- Fight from cover and let enemies come to you. In the Checking Out motel fight, the office counter is the only solid cover and rushing the door gets you killed.
- Use combat focus for hard shots. It slows time while you aim and highlights vulnerable areas on vehicles. Focus levels up as you use it, up to level 4.
- Wear body armor before long fights. It’s on the wall at Chuck’s Tackle & Shot and on a rack at Rodgers Ranch. We haven’t seen the price confirmed.
- Heal between waves, not during them. Save adrenaline for the last wave.
- Loot every body. Enemies drop ammo, cash and healing items.
The combat tips cover the weapon wheel and melee, and best early weapons covers ammo and armor.
Stealth
Stealth works when you stay unseen from the start. In Gone Fishing a hint tells you to crouch and move quietly, and taking guards down from behind keeps the camp calm. In Unwanted Attention your status reads Undetected in the corner while nobody has seen you. Use the Slim Jim on alarmed cars so the alarm doesn’t give you away, put on a bandana from the item wheel before a robbery, and keep your rifle in the trunk. If a keypad stops you, a hint says staff may know the code, and focus shows which person to ask.
Stars and heat management
Treat every crime as two jobs. First the stars: get out of the red search area, or hide inside it behind tall cover until the radio goes quiet and the stars turn grey. Then the heat. The three icons under your stars track your clothing, appearance and vehicle, and each one clears separately. Keep a spare outfit in your car’s trunk, swap a hat or glasses, and respray at a Pay ‘n’ Spray or at Moses.
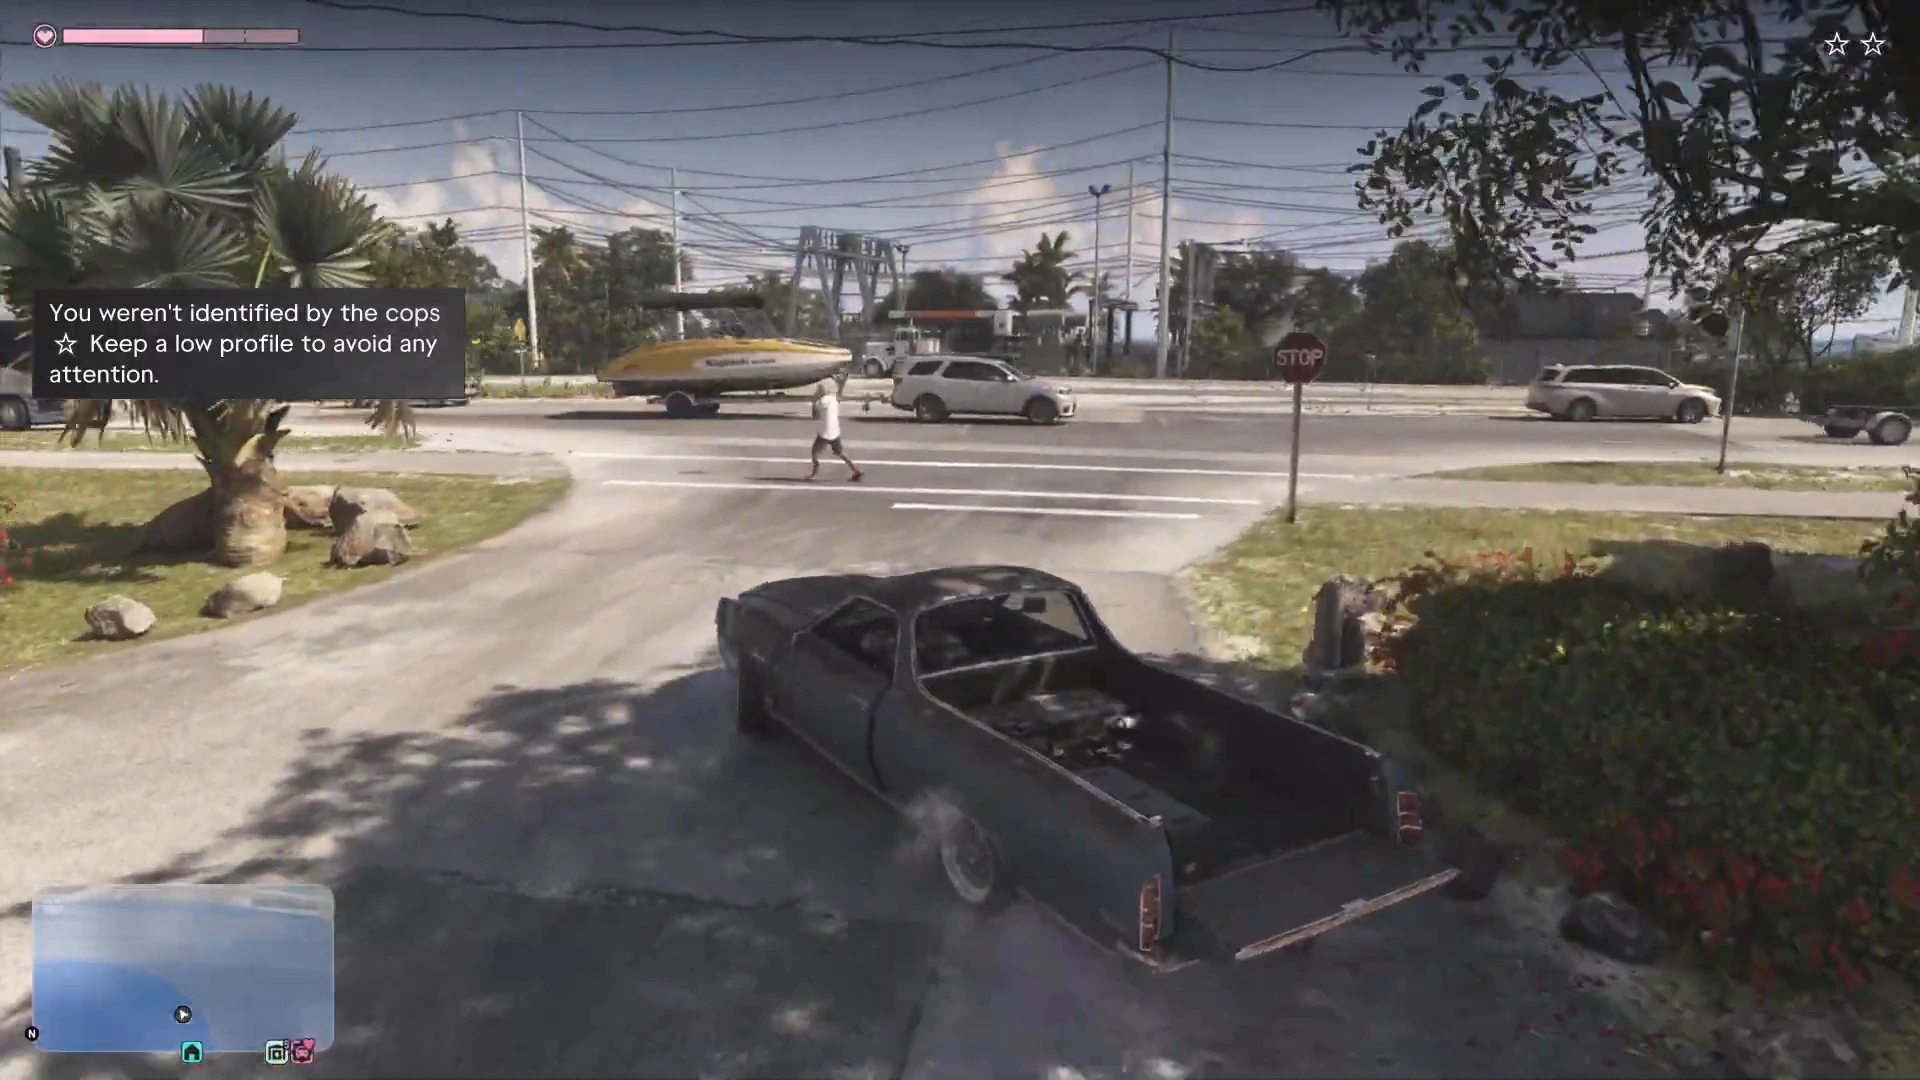
As a pair, you can split up: in Hit Kingpin Bowling a tip lets Lucia ask Jason to distract the cops while she escapes with the bag. Never start a robbery while you’re already wanted. See how to lose the cops and how to switch characters.
Side activities worth doing early
- Racing at Gellhorn Raceway. Do the supervised lap with Beau, then pick a loop from Wade Howard. Wins paid $2,500 to $3,750 in our runs. See the races guide.
- The gym. Strength raises maximum health and cardio raises maximum stamina. Start early so the levels build, and don’t miss your workout windows. See the gym guide.
- Rodgers Ranch. Six themed shooting ranges outside Port Gellhorn, a $5 waiver and guns to rent. Good focus practice.
- Fishing. Throwing a catch back gives Focus +10%. See the fishing guide.
The best side activities guide ranks the rest.
Optional jobs to pick up
- Donnie’s Lost Drugs (Chapter 1): a short dive off Corsair Key worth $1,200 at Brian’s lockup. Do it before you leave the Keys.
- Hit Avery Pawn (Chapter 2): Lucia’s jewelry-case job in Port Gellhorn. We haven’t confirmed its payout.
- Join Billy on a Job (after Thrillbillies): leads to Twist Wrist, Smash, Grab.
- Strangers’ strands: Cal’s fishing challenges, Kenton’s shipwreck hunt from Island Dreams, Andy’s quests for Lucia and Billy’s rides each end in a trophy. See the trophy list.
- Early Chapter 3 tasks: the map lists optional jobs such as Get Your Wheels and Collect Chemicals for Kyle. We haven’t covered them from footage yet.
Ready for more? The advanced guide covers payout-per-minute planning, high-star escapes, Rodgers Ranch gold medals and the 100% path. The Chapter 2 and Chapter 3 hubs list every mission in order.
More GTA 6 guides
- GTA 6 tips nobody tells you
- What to buy first in GTA 6
- How to rob stores in GTA 6
- How to register a car
- Best missions in GTA 6 so far
- Every GTA 6 mission walkthrough