How to Use the Map, Index, Waypoints and GPS in GTA 6
How the GTA 6 map works: set a destination or marker, follow the GPS route, use the index to find tasks and shops, read the police search area and fast travel.
Skip to the guideView these places on the GTA 6 interactive map →
GTA 6’s map does more than show where you are. It’s where you pick your next mission, find shops, check what a fence will pay and see where the police are searching. The game explains most of this in quick pop-ups during Chapter 1, and they’re easy to miss.
This guide covers every part of the pause map shown in footage of the first two chapters on PS5: the controls, the index, destinations and markers, the GPS route, location tooltips and the police search area. Xbox buttons are given in brackets.
Quick version: pause › Map → move the cursor → X (A) Set Destination → follow the colored line on the minimap. Press the d-pad to open the index and pick a task or location from the list instead.
Opening the map and its controls
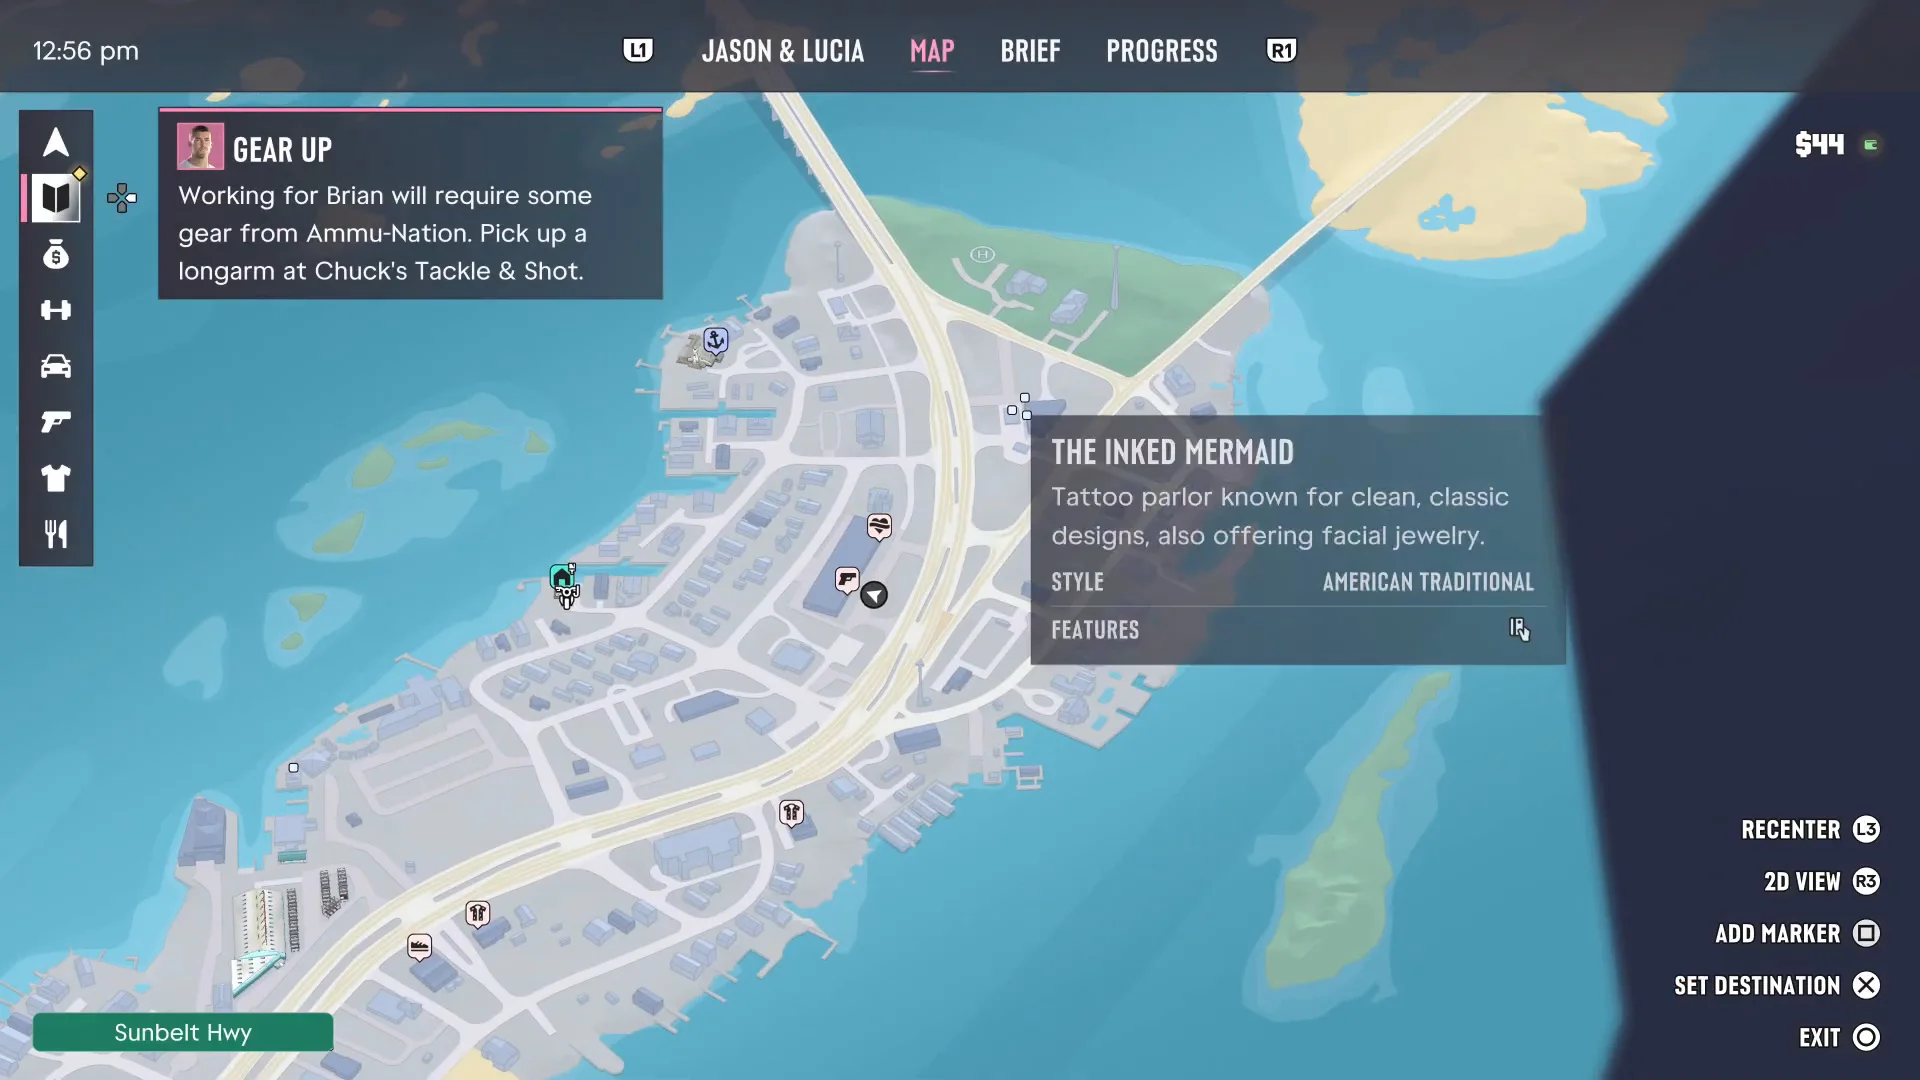
Open the pause menu (the touchpad on PS5) and move to the Map tab. The top bar has four tabs: Jason & Lucia, Map, Brief and Progress, and L1/R1 (LB/RB) switches between them. The time of day is in the top-left, and your cash and bank balances are in the top-right.
The controls are listed in the bottom-right corner:
| Button (PS5) | Xbox | What it does |
|---|---|---|
| L3 | Left stick click | Recenter on your position |
| R3 | Right stick click | Switch between the 3D map and a flat 2D View |
| Square | X | Add Marker at the cursor |
| X | A | Set Destination (or Remove Destination if one is set) |
| Circle | B | Exit the map, or Close Menu when the index is open |
Move the cursor with the left stick. A street name appears in a green bar in the bottom-left as you hover over roads, which helps when a mission tells you to go to a particular street.
Destination vs marker
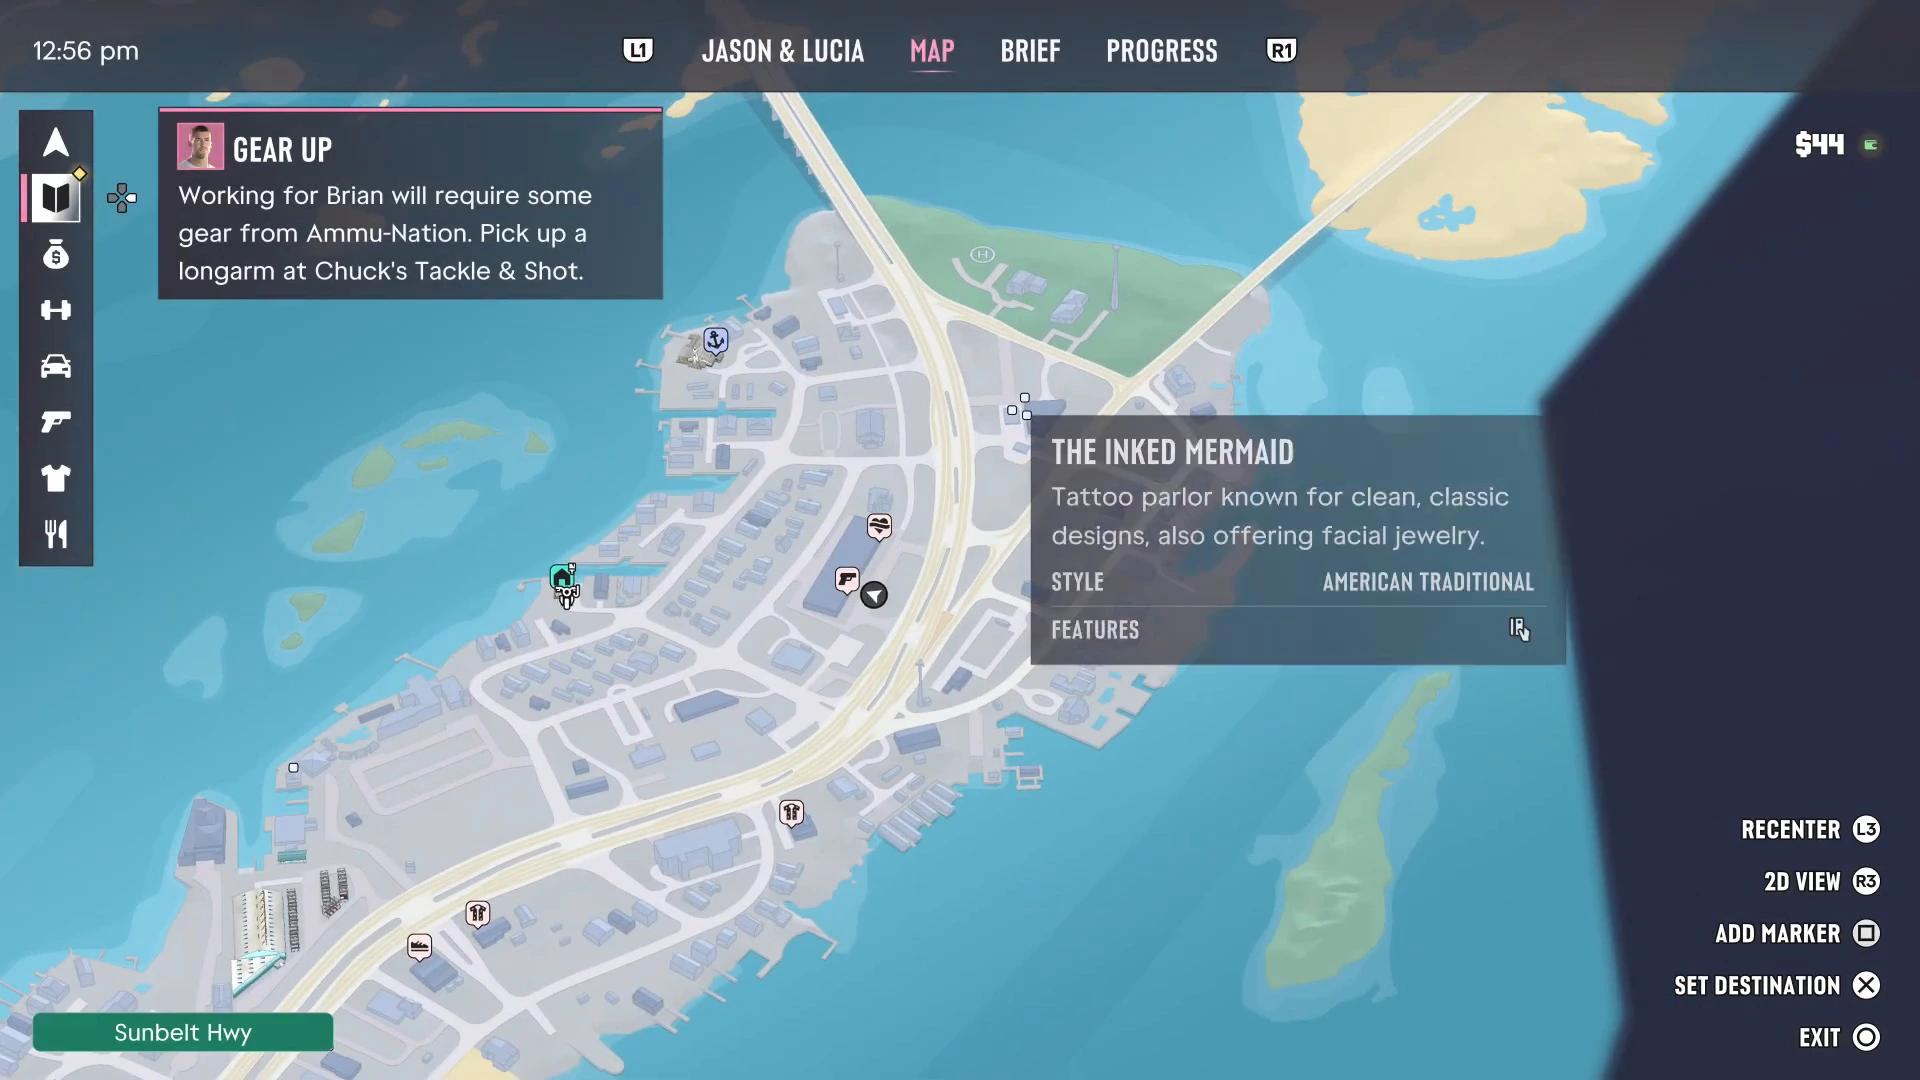
Set Destination is the waypoint. It plots a GPS route from where you are and draws it as a colored line on both the map and the minimap. Once a destination is set, the same button changes to Remove Destination, so you can clear it from anywhere on the map.
Add Marker drops a pin without changing your route. Use it to remember a shop or a spot you want to come back to while you’re following a mission’s route somewhere else.
Selecting a mission or task marker and setting it as your destination works the same way. In the footage, choosing the Gear Up task plotted a route along the Sunbelt Highway straight to Chuck’s Tackle & Shot.
Following the GPS
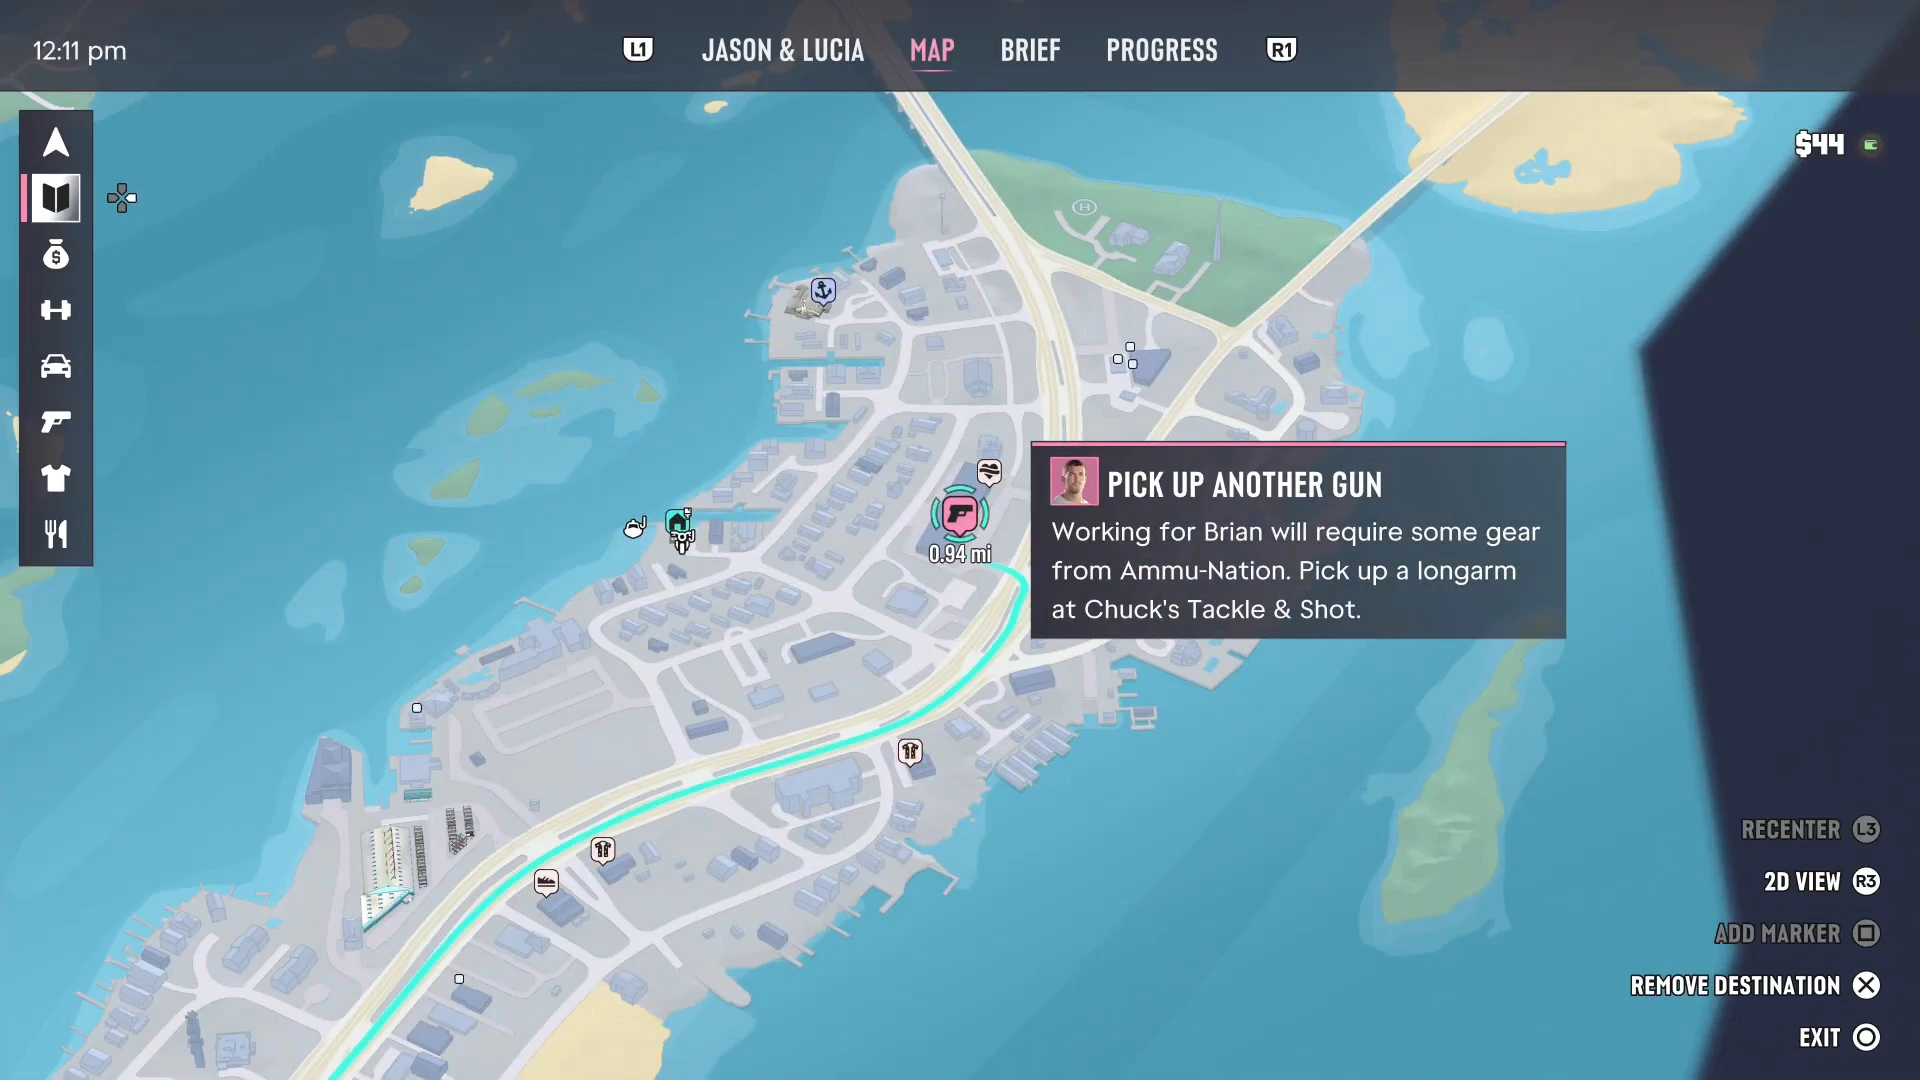
While driving, the minimap in the bottom-left shows the route as a teal line and a turn panel above it, such as Turn Left 96 ft with an arrow. The distance counts down to each junction, so you rarely need to watch the line itself. Mission objectives use the same system: when an objective says to drive somewhere, the route is set for you.
Some on-screen apps can set the GPS too. The BuckMe app’s ATM Finder has a Set Destination button that routes you to the nearest ATM, as covered in how to deposit cash.
The index
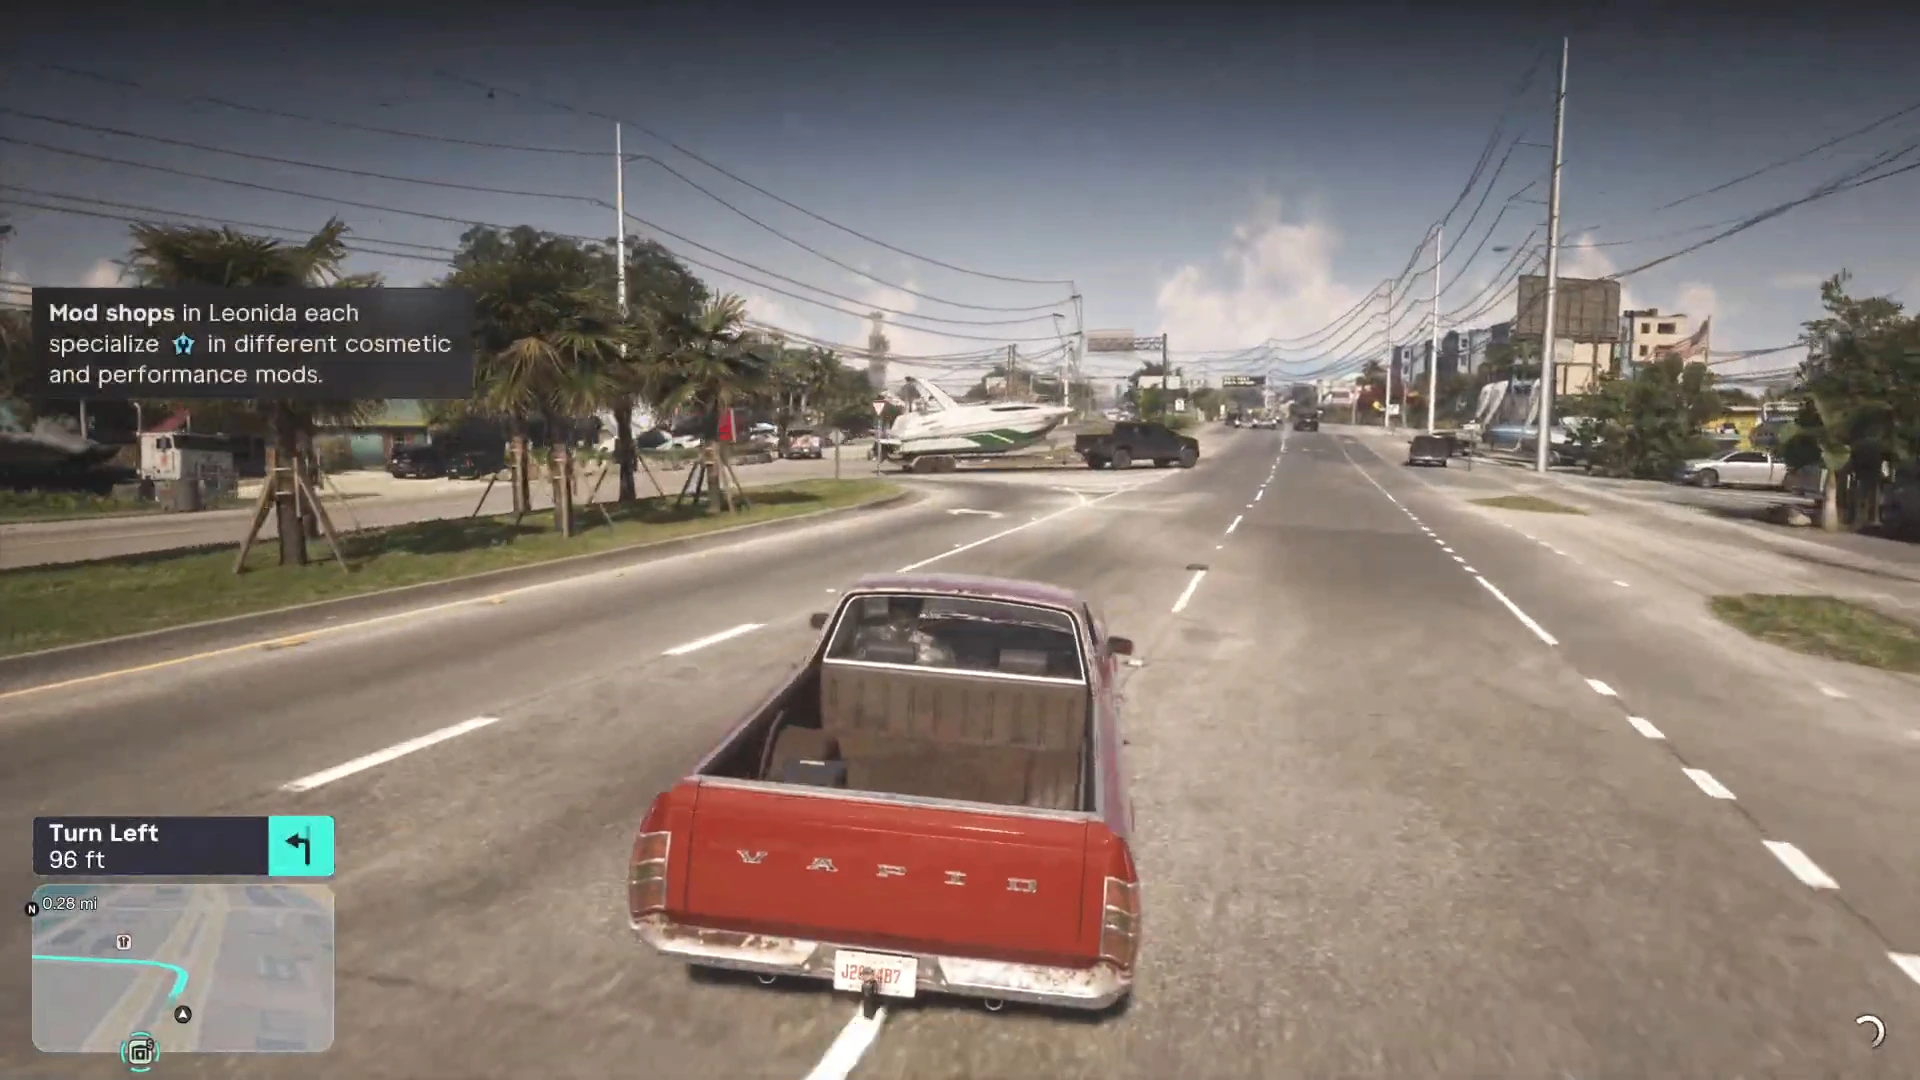
Press the d-pad while the map is open and the index slides out on the left. The game prompts you with “Press to open the index” the first time you open the map. Down the left edge is a column of category icons, and selecting one lists everything in it. Pick an entry and the map jumps to it, with its description in a panel.
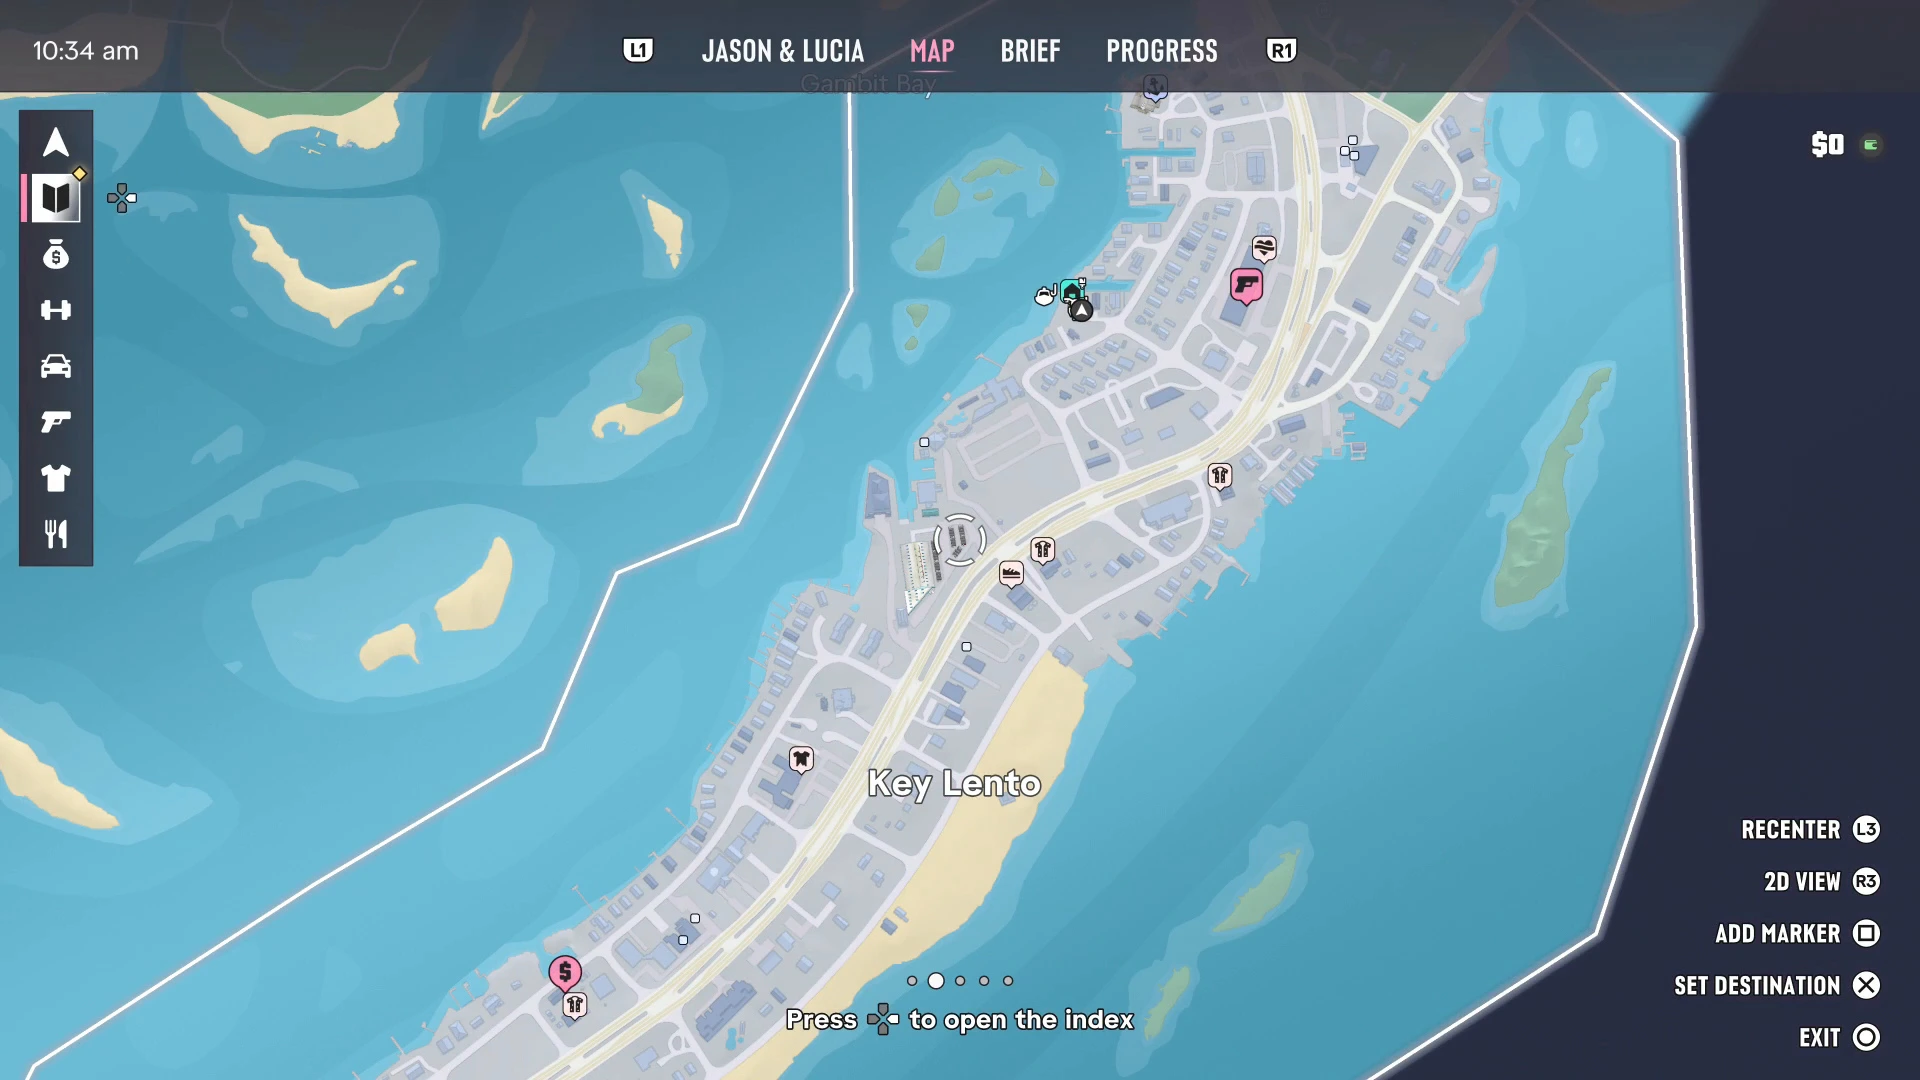
The categories seen so far:
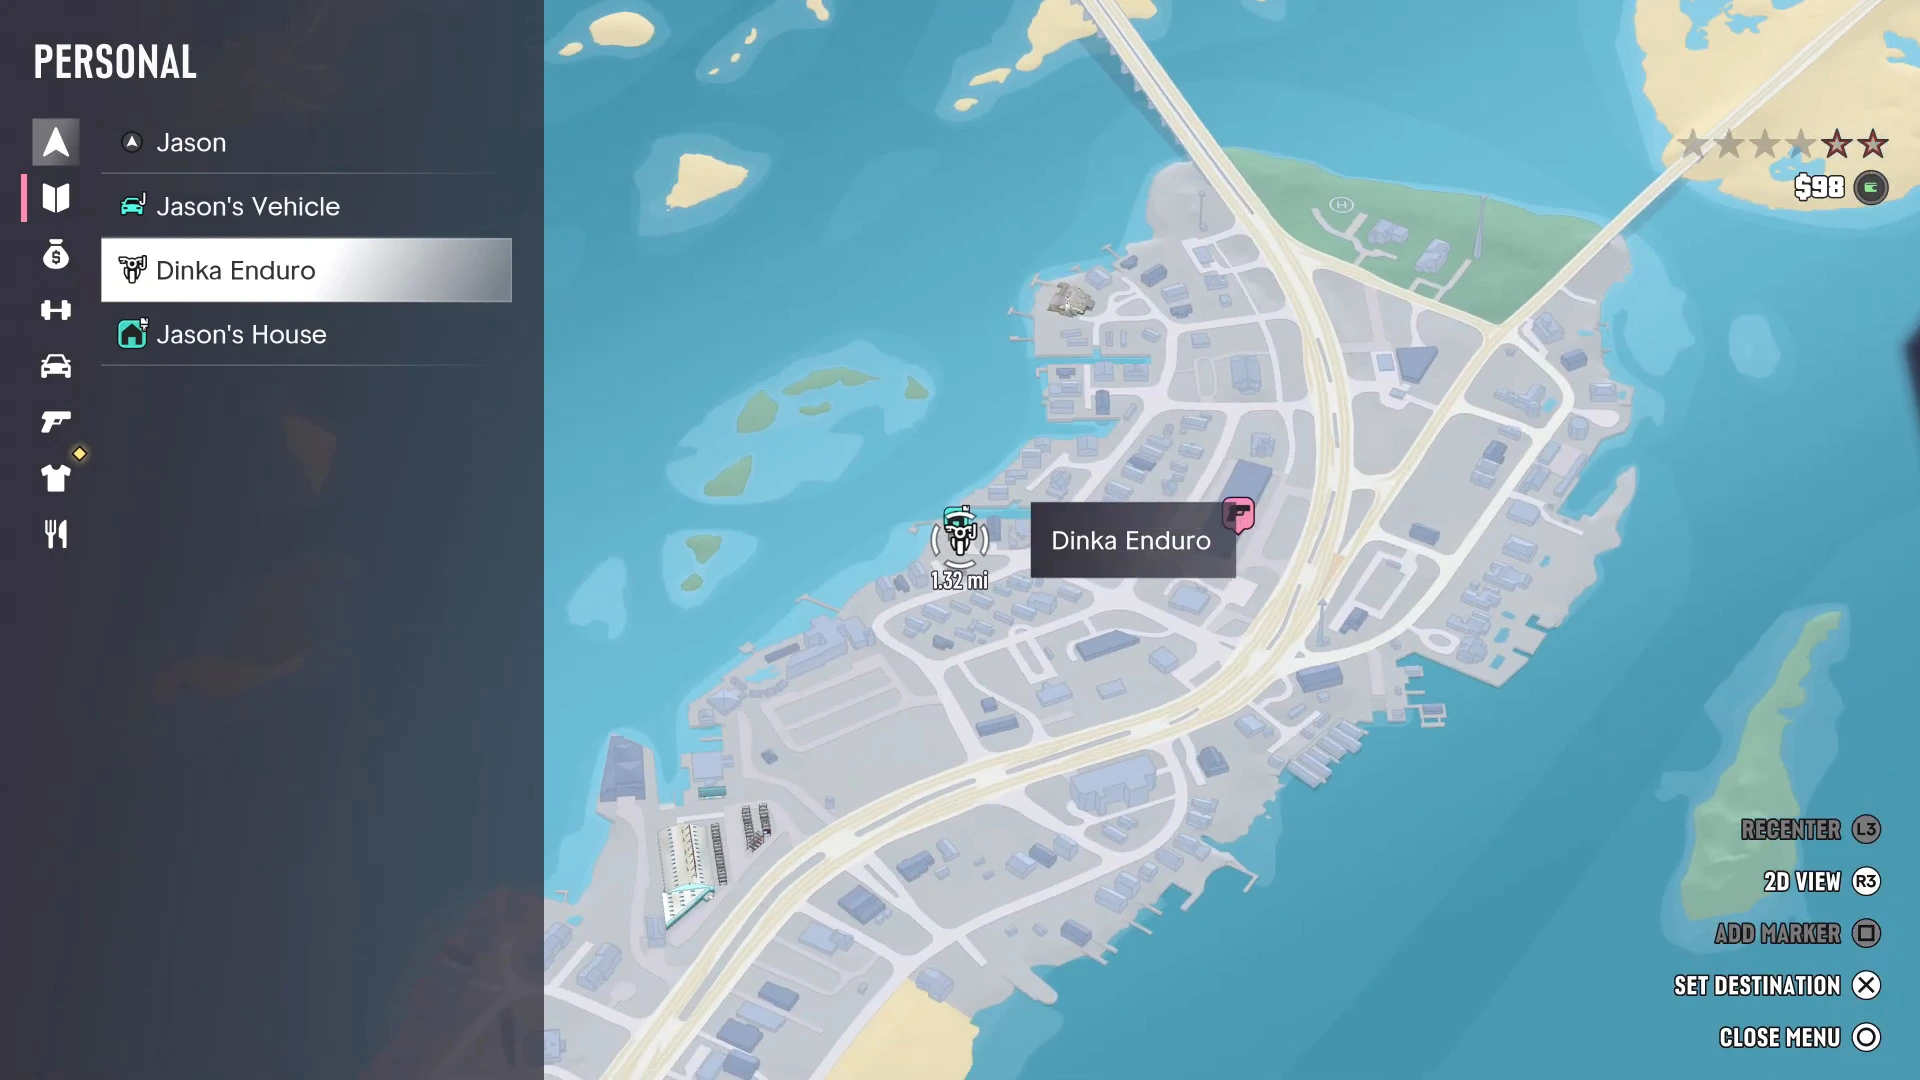
- Personal (arrow icon): your character, your personal vehicles and your home. Early in Chapter 1 it listed Jason, Jason’s Vehicle, a Dinka Enduro bike and Jason’s House. Use it to find where you left your car.
- Story (book icon): your current story missions, with any Optional tasks underneath. This is the list to check when you’re not sure what to do next.
- Robberies (money bag icon): Targets such as gang-run Illegal Operations, and Drop-offs for selling stolen goods, such as Brian’s Lockup.
- Further icons cover activities, vehicles, weapons, style and food. PowerPyx’s location guides use them to filter the map: Vehicles lists mod shops, the gun icon lists Ammu-Nations and Style (the T-shirt) lists clothing stores and Hair & Beauty salons, each with a counter for how many you’ve found.
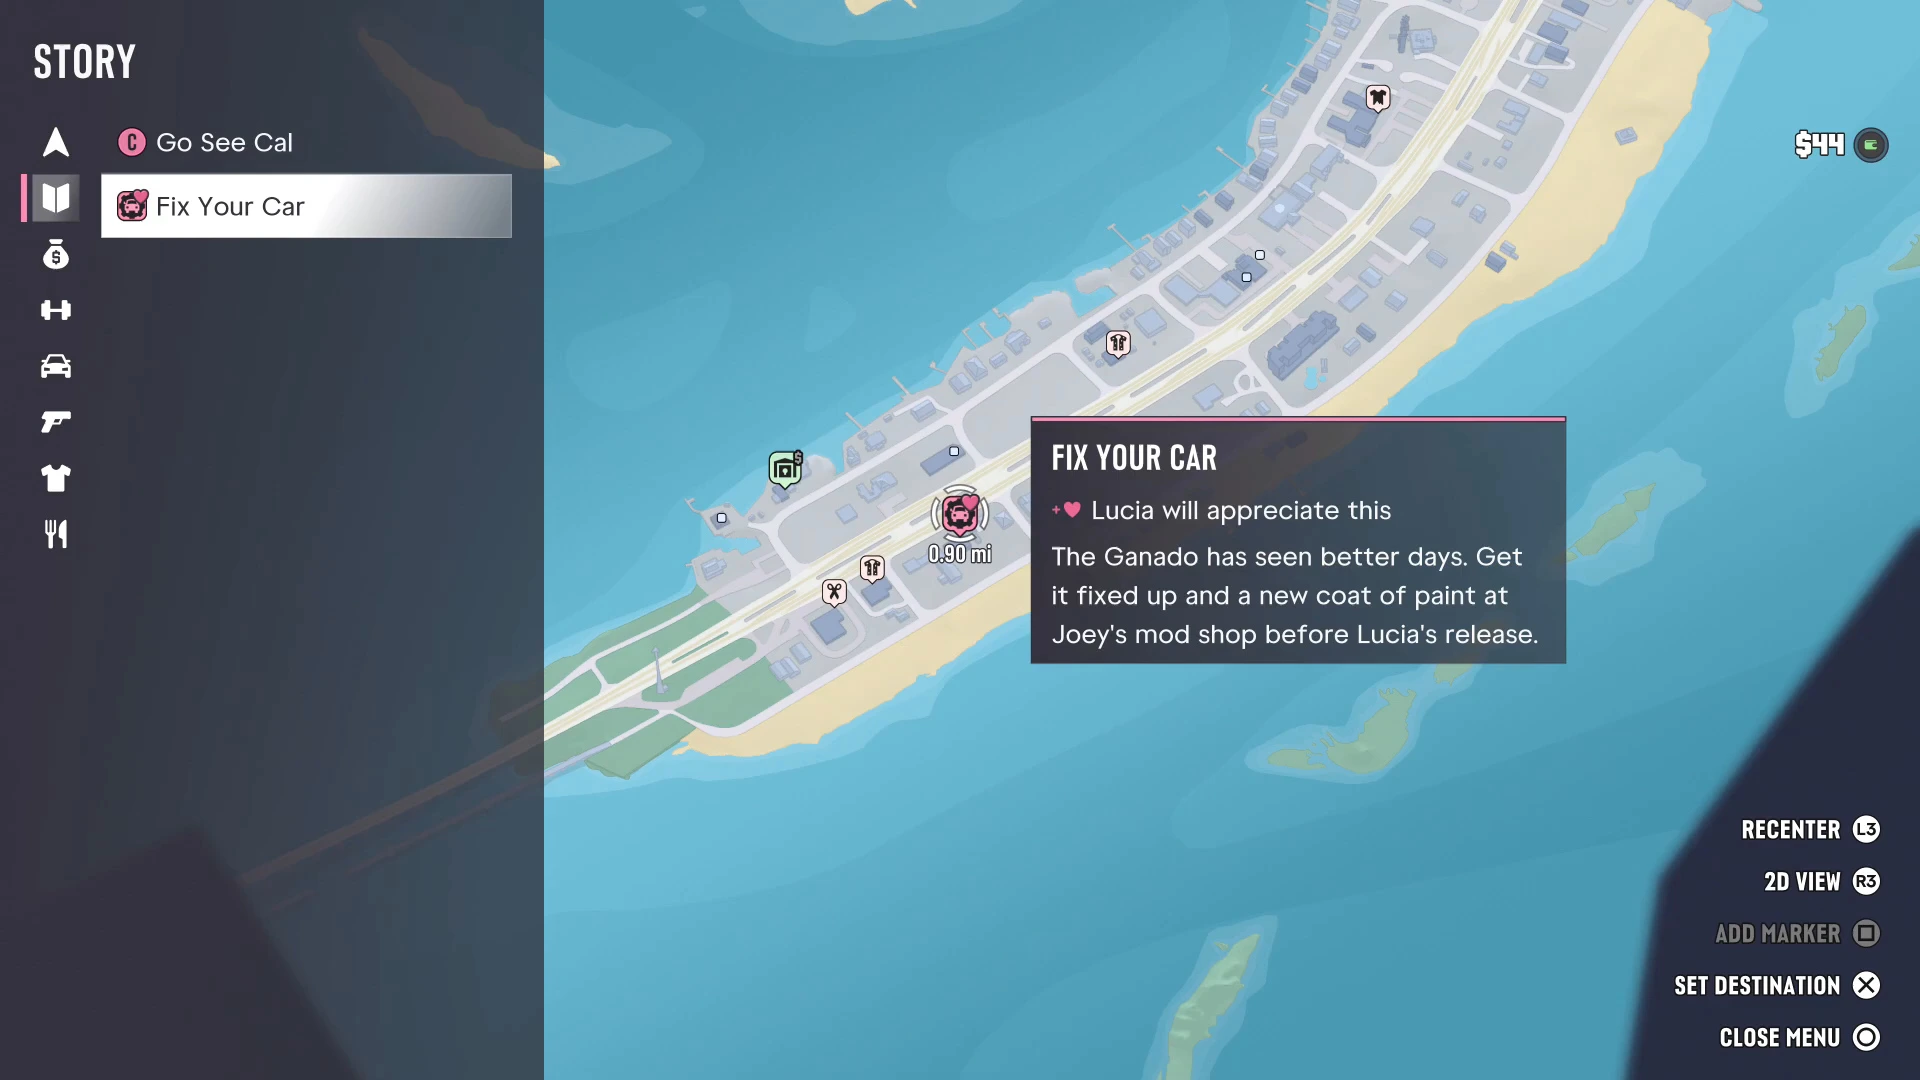
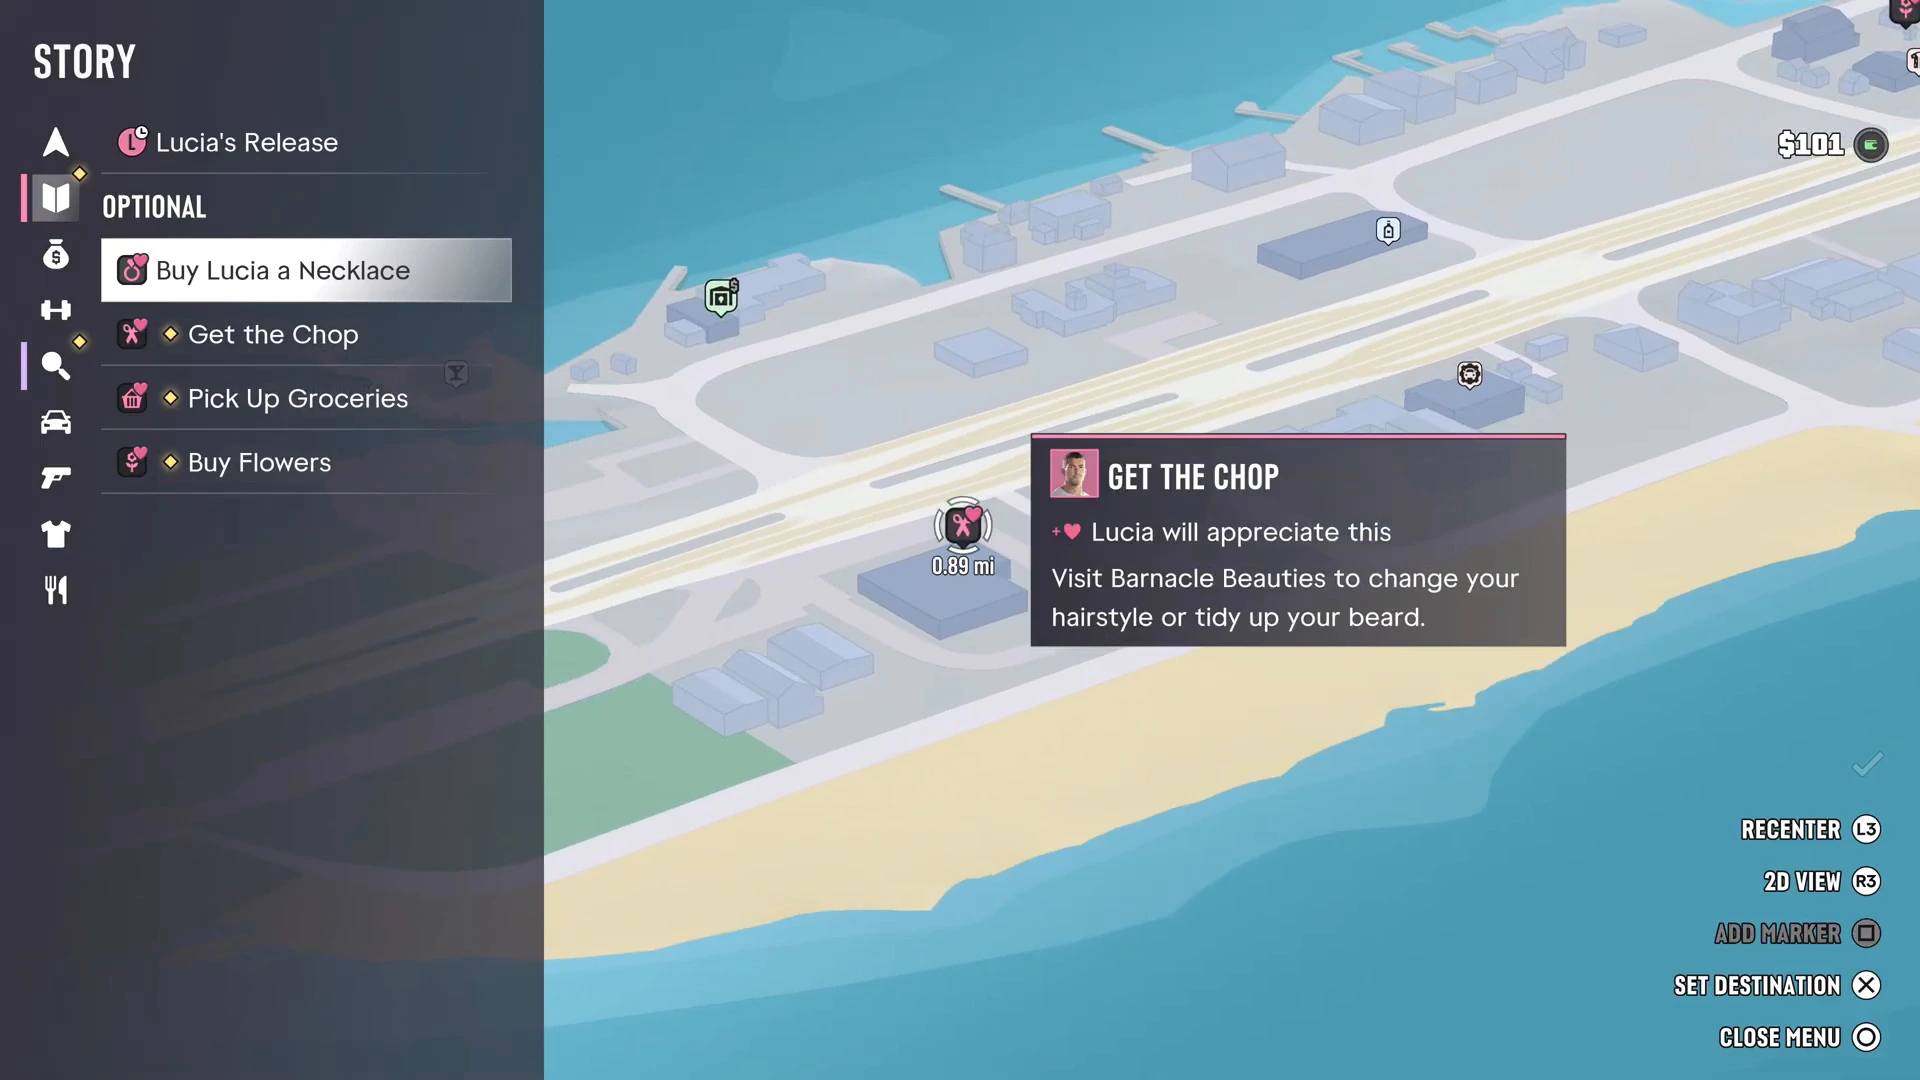
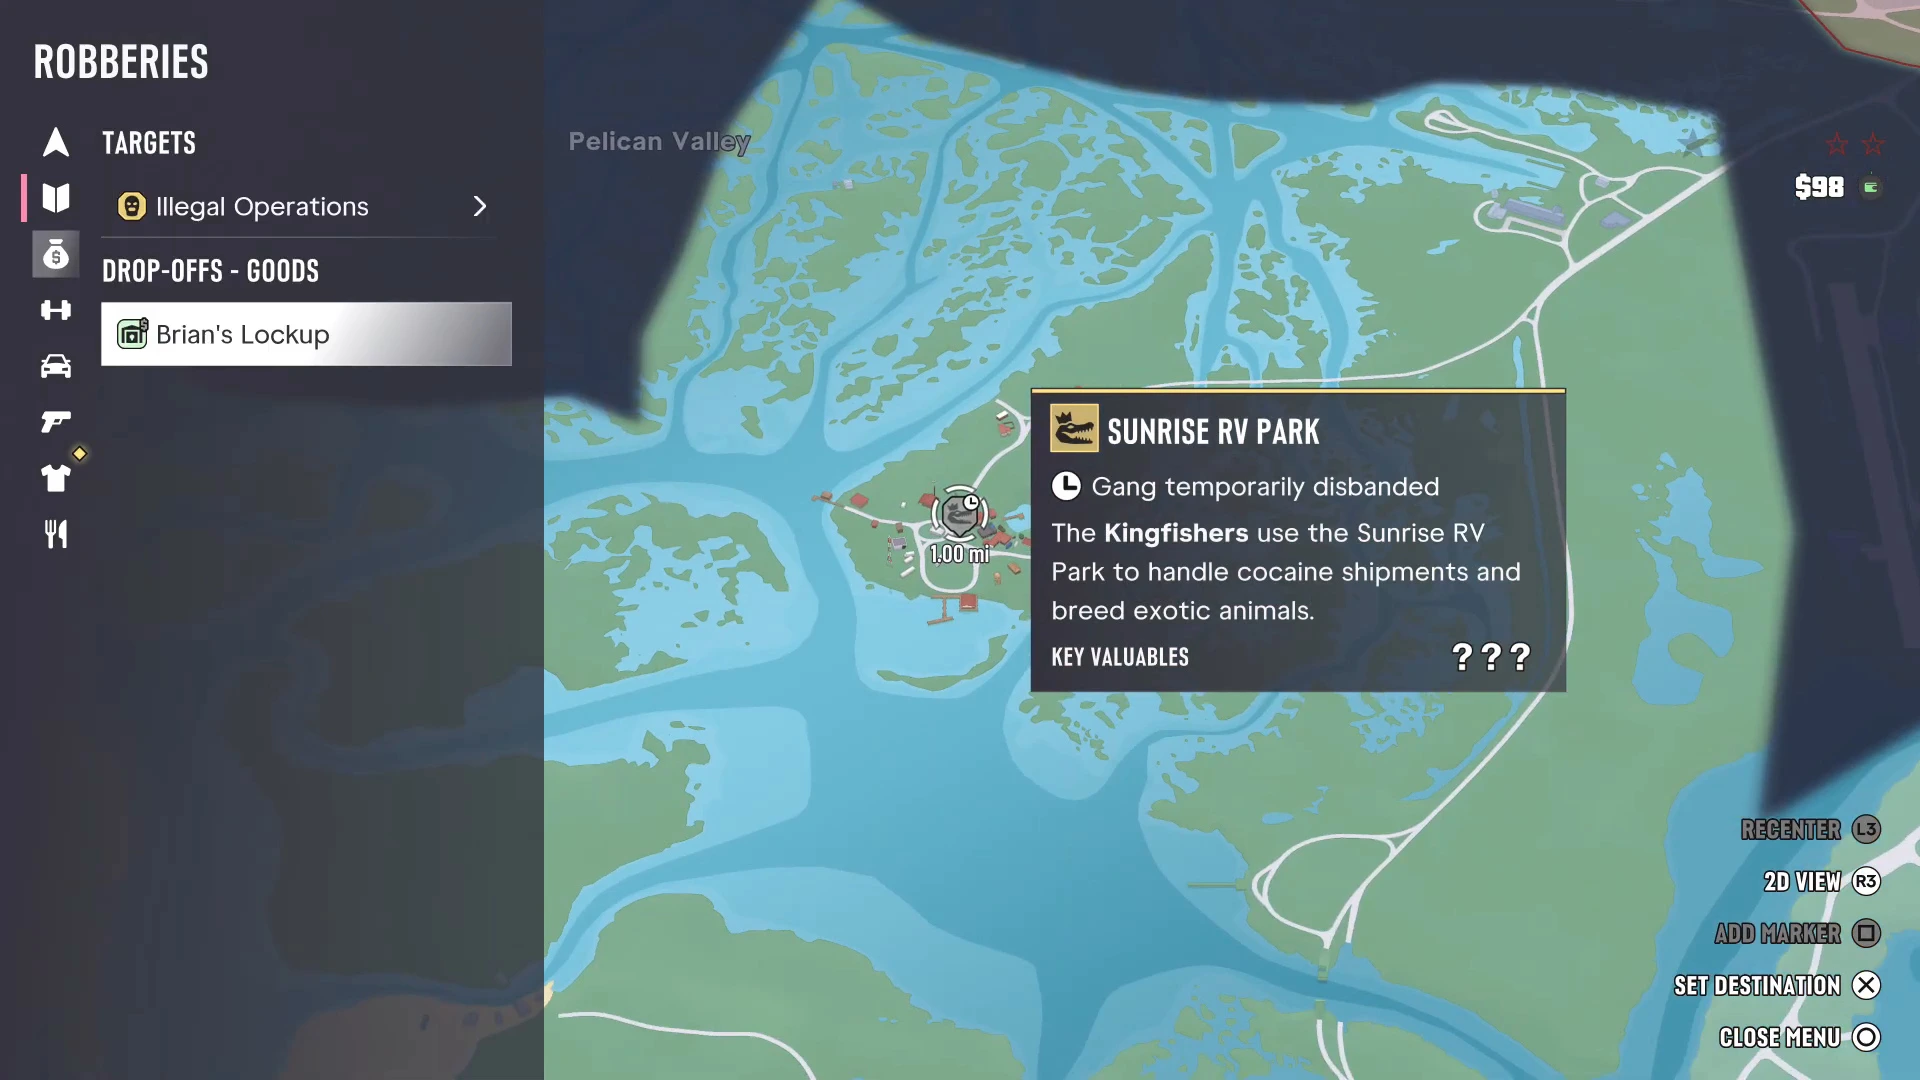
Tasks that come from the index don’t always look like missions. The BuckMe goals after Buck Me and Lucia’s release errands after Feng Shui only appear here, and finishing them is optional.
Viewing nearby locations
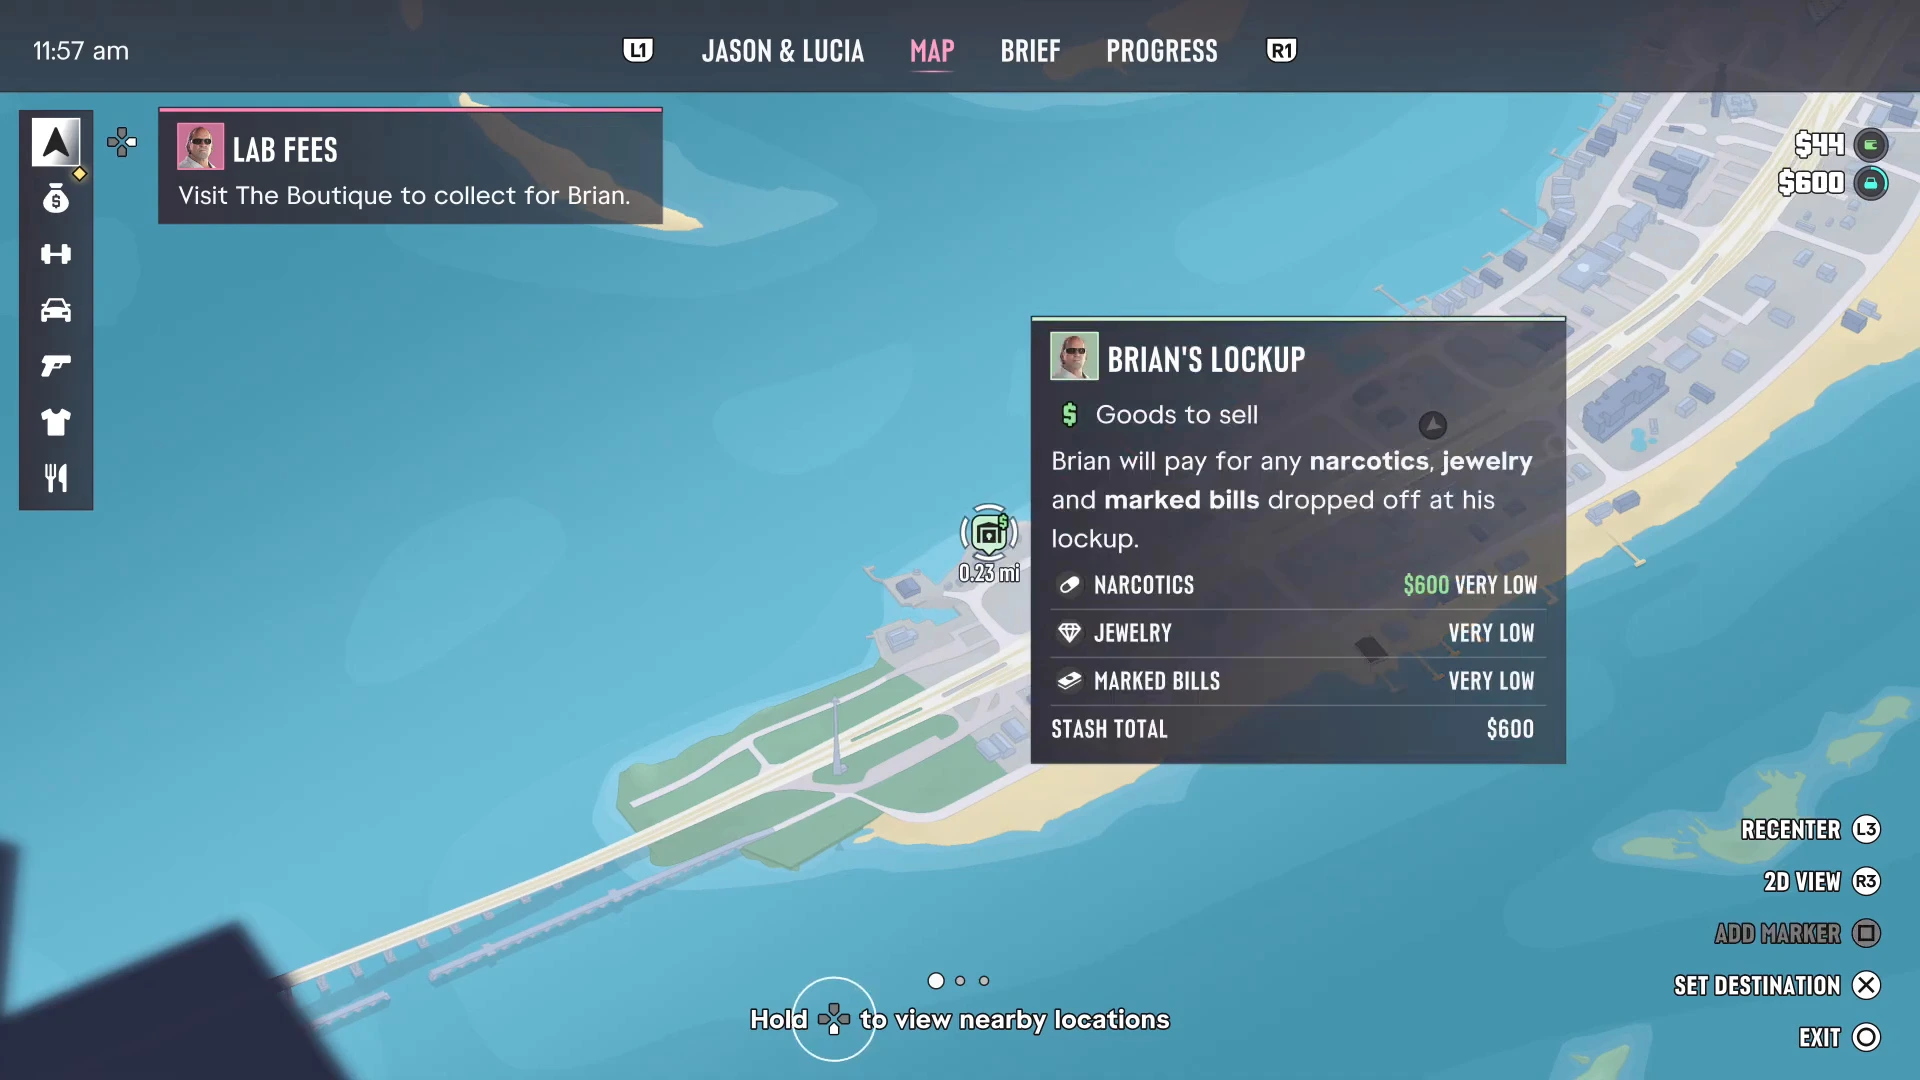
On the map, hold the d-pad to view nearby locations. The game marks the places of interest around the cursor, which is quicker than scrolling the index when you just want the closest shop or fence. Hovering over a fence like Brian’s Lockup shows what it buys (narcotics, jewelry and marked bills) and how much it’s currently paying for each.
Location tooltips
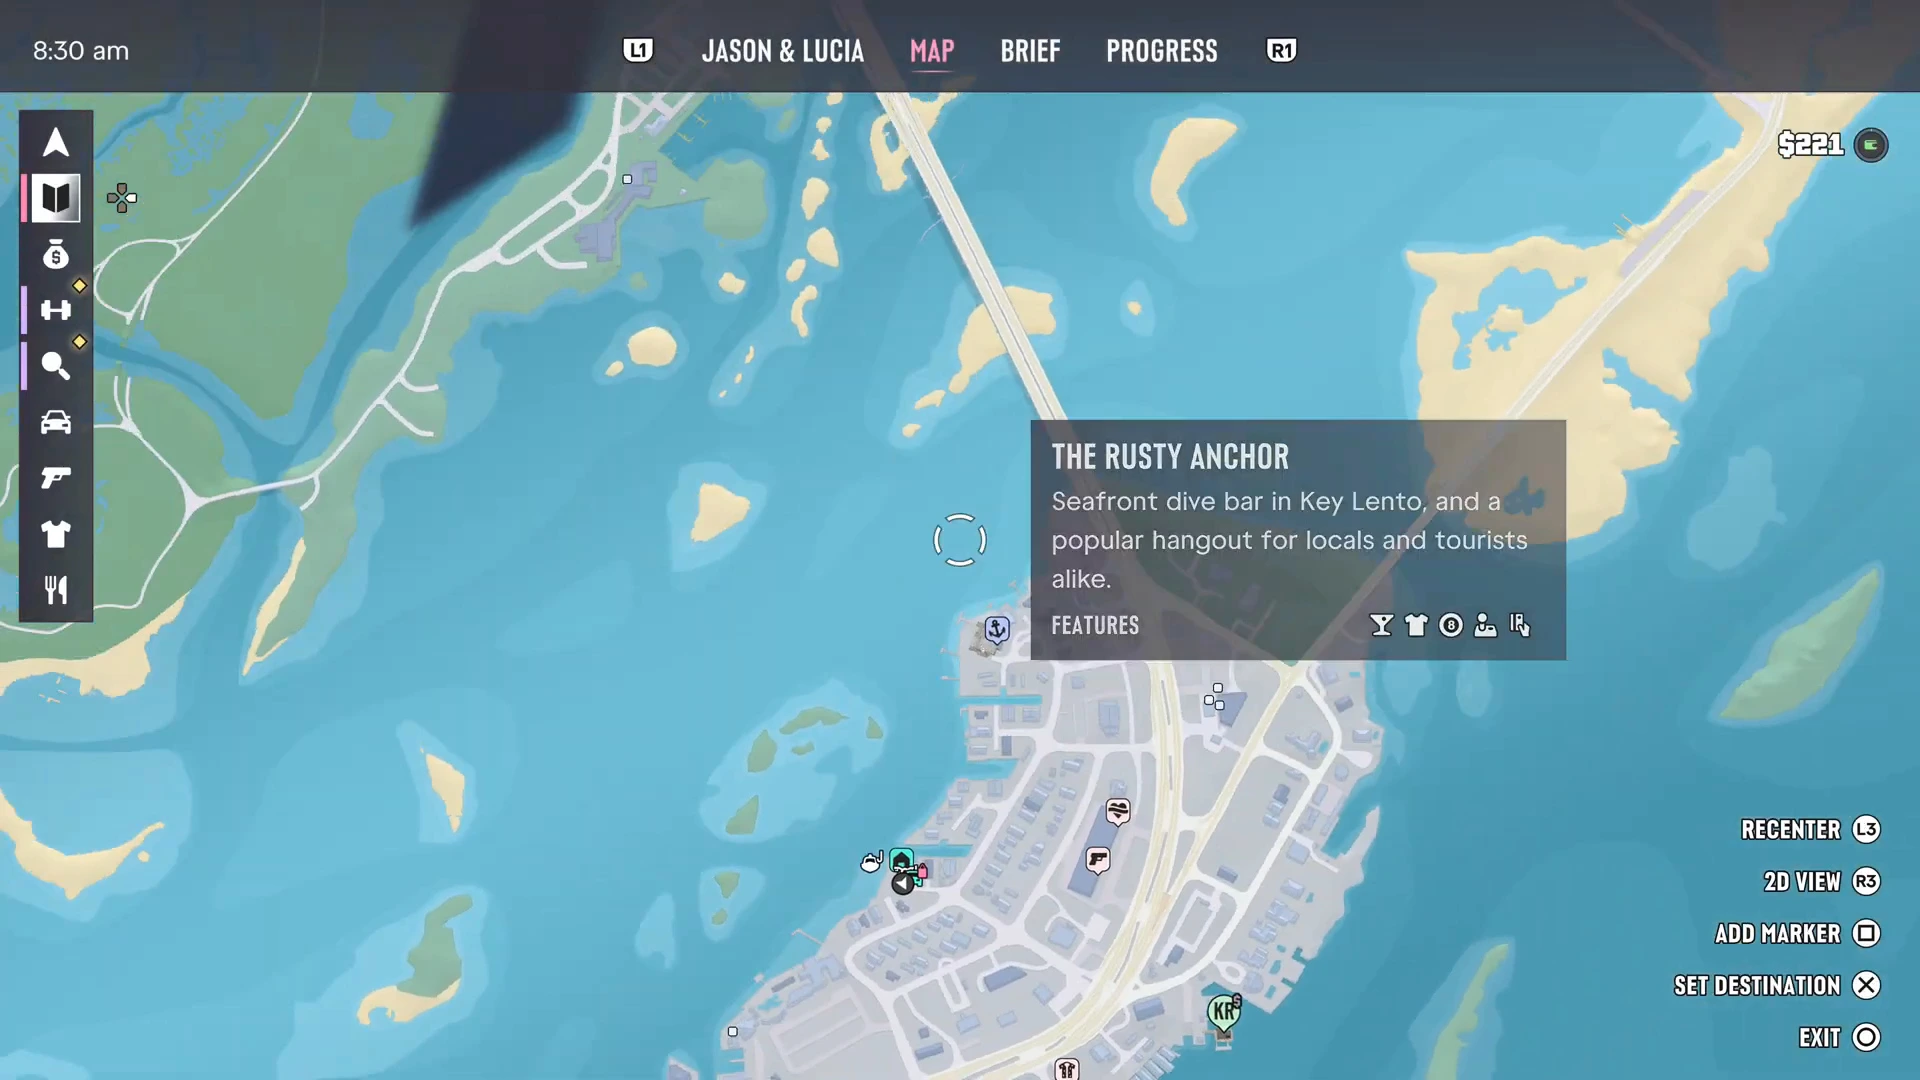
Every shop, bar and service has a tooltip. Hover over one and you get its name, a short description and a row of Features icons. The Rusty Anchor in Key Lento, for example, is a “seafront dive bar … and a popular hangout for locals and tourists alike”, and its icons show what you can do there. Tattoo parlors list their style, such as American Traditional at The Inked Mermaid. Your home shows its repair tasks and how much is in your stash.
Wanted level and the search area
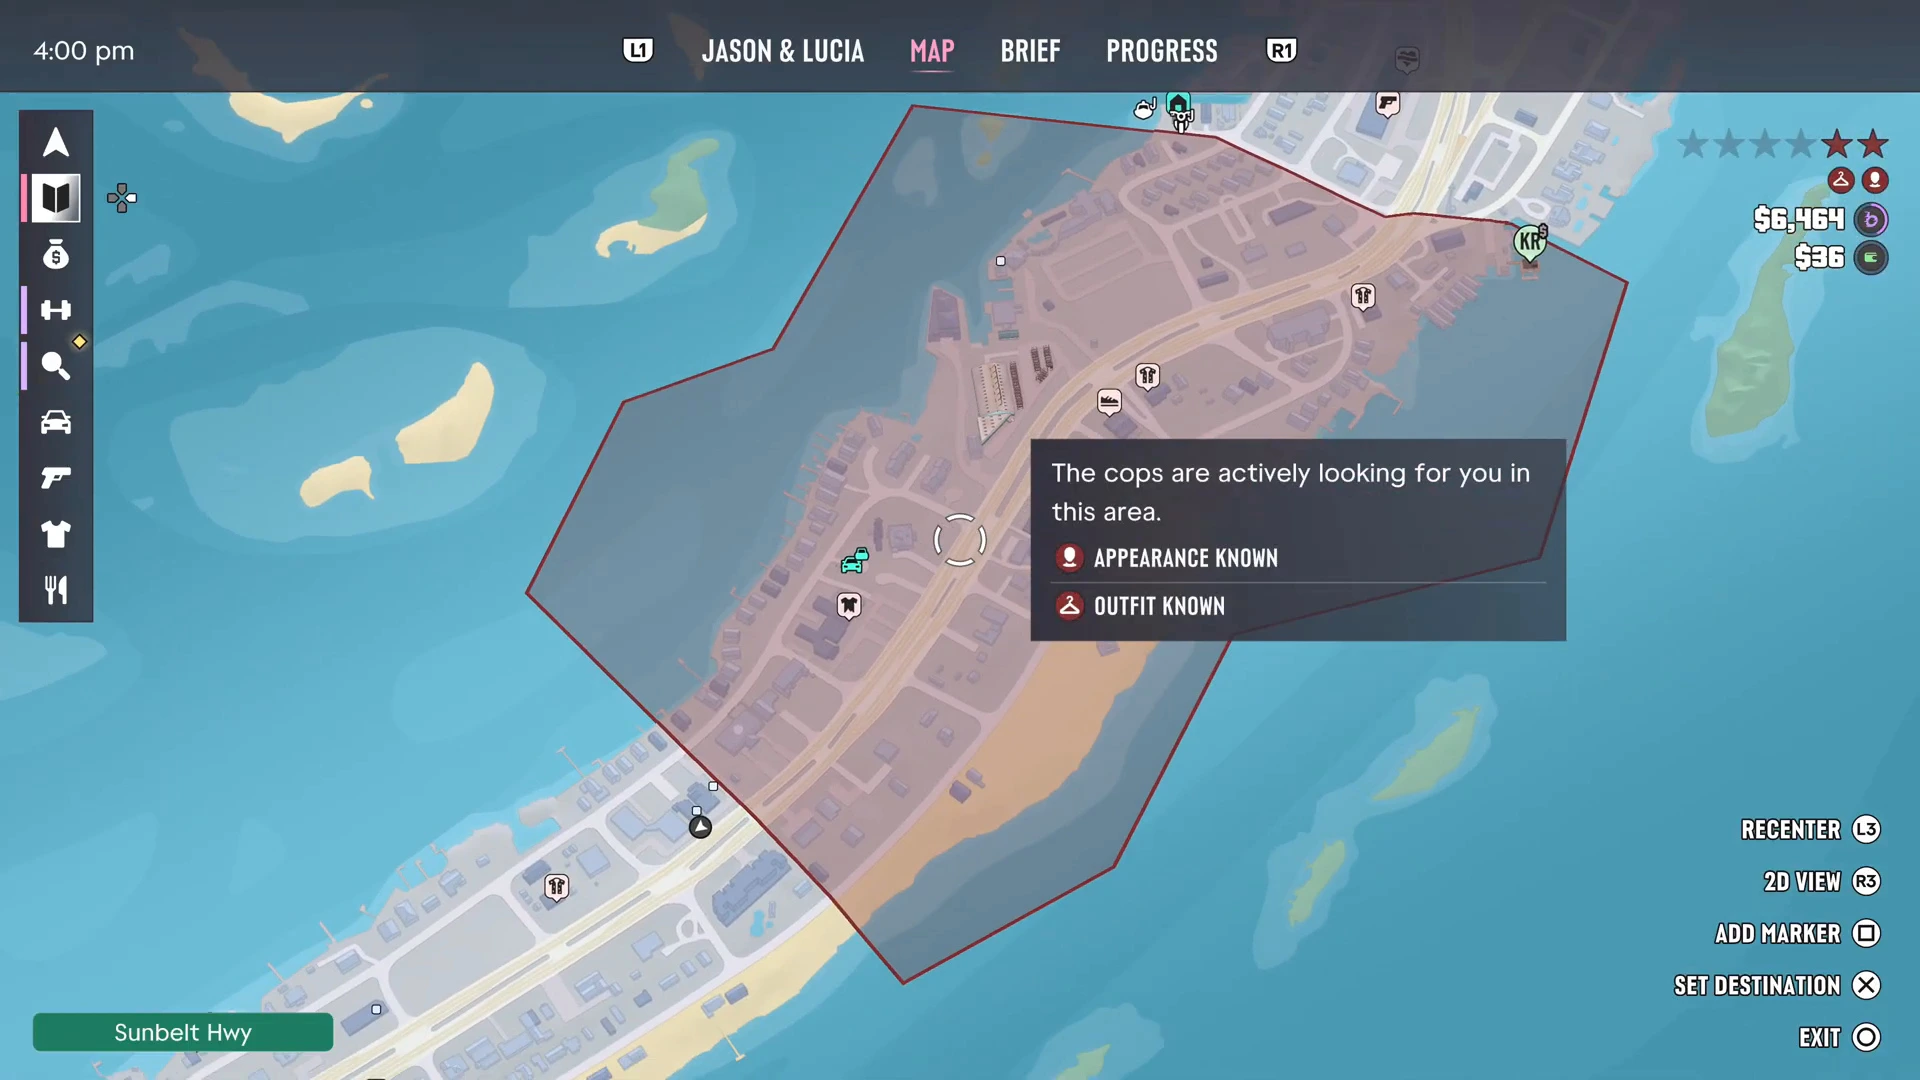
When the police are after you, the map shows their search area as a red shaded zone. A panel explains what they know: in the footage it read “The cops are actively looking for you in this area” with Appearance Known and Outfit Known. Get outside the red zone and stay out of sight to lose them. Changing clothes or your look helps with the “known” flags. The beginner tips cover heat in more detail, and the escape in Home Sweet Home is a good example.
Fast travel with taxis
There’s no click-to-teleport fast travel. Instead, set a destination on the map, then call Paradise Taxi from your phone contacts. PowerPyx reports that you can pay a flat $100 to skip the ride, and that the RydeMe app takes over from Chapter 2. A destination set in a fogged area still works.
More GTA 6 guides
- GTA 6 map: every region of Leonida
- GTA 6 safehouses
- GTA 6 shops and services
- How to deposit cash at an ATM
- GTA 6 beginner tips
- Every GTA 6 mission walkthrough